
Clearpath Hsky | Ouster | Phidgets | Emlid RS2 & M2 | ROS2 (Humble)
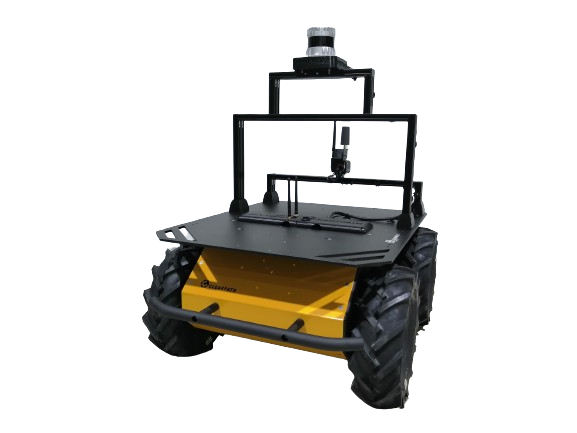
This post is a quick and compact guide for working with Husky (ROS2).
Husky Informative Links
Quick Start
Activate the robot by pressing the power button. The initialization process of the Husky, along with the Ouster and Phidgets IMU, may require up to a minute to commence. A green light signals that the MCU (Microcontroller Unit) has successfully initiated, established a connection with the onboard Mini ITX PC, and is ready to receive commands from the onboard PC.
To establish a remote connection to the robot via software, connect an Ethernet cable to the Ethernet port situated on the top of the robot. However, it is necessary to create a static connection on your PC for this purpose. You can accomplish this by following the steps outlined in the topic below.
Husky Static Network Connection
To create a static connection in your PC (not the Husky), in Ubuntu go to Settings → Network then click on + and create a new connection.
-
The first task is to go to IPv4 and change the connection to manual.
-
The second task is to put the Address IP as 192.168.131.52 (may differ from robot to robot) and the Netmask as 24.
Click save and restart your network. Next is to open up the Husky as shown, and connect the LAN cable to the robot.
After a successful connection let’s check the host’s local IP by typing in the Host PC’s terminal.
ifconfig
This should show the host IP which was assigned in the above step. Now its time to check if we can ping the robot or not, to do so type in your host pc
ping 192.168.131.1
After a successful ping, it’s time to access the robot. To access the robot you can type the following command:
ssh -X administrator@192.168.131.1
The password is
mybotshop
Once connected, you can SSH into the robot which would provide the information
-------------------------------------------------------------------------------
            .-/+oossssoo+/-.               root@ubuntu
        `:+ssssssssssssssssss+:`           -----------
    -+ssssssssssssssssssyyssss+-         OS: Ubuntu 20.04.6 LTS aarch64
    .ossssssssssssssssssdMMMNysssso.       Host: Jetson AGX Orin Developer Kit
/ssssssssssshdmmNNmmyNMMMMhssssss/      Kernel: 5.10.120-tegra
+ssssssssshmydMMMMMMMNddddyssssssss+     Uptime: 38 mins
/sssssssshNMMMyhhyyyyhmNMMMNhssssssss/    Packages: 2917 (dpkg)
.ssssssssdMMMNhsssssssssshNMMMdssssssss.   Shell: bash 5.0.17
+sssshhhyNMMNyssssssssssssyNMMMysssssss+   Terminal: run-parts
ossyNMMMNyMMhsssssssssssssshmmmhssssssso   CPU: ARMv8 rev 1 (v8l) (8) @ 1.728GHz
ossyNMMMNyMMhsssssssssssssshmmmhssssssso   Memory: 2354MiB / 62800MiB
+sssshhhyNMMNyssssssssssssyNMMMysssssss+
.ssssssssdMMMNhsssssssssshNMMMdssssssss.
/sssssssshNMMMyhhyyyyhdNMMMNhssssssss/
+sssssssssdmydMMMMMMMMddddyssssssss+
/ssssssssssshdmNNNNmyNMMMMhssssss/
    .ossssssssssssssssssdMMMNysssso.
    -+sssssssssssssssssyyyssss+-
        `:+ssssssssssssssssss+:`
            .-/+oossssoo+/-.

-------------------------------------------------------------------------------

-------------------------------------------------------------------------------
Network Configuration
-------------------------------------------------------------------------------
Interface: lo
IPv4 Address: 127.0.0.1/8
IPv6 Address: ::1/128

Interface: dummy0
IPv4 Address:
IPv6 Address:

Interface: eth0
IPv4 Address: 192.168.131.2/24
IPv6 Address: fe80::344d:5c52:9e25:614c/64

Interface: wlan0
IPv4 Address: 192.168.0.200/24
IPv6 Address: fe80::f742:483:8d7f:d6c0/64

Interface: l4tbr0
IPv4 Address:
IPv6 Address:

Interface: rndis0
IPv4 Address:
IPv6 Address:

Interface: usb0
IPv4 Address:
IPv6 Address:

Interface: docker0
IPv4 Address: 172.17.0.1/16
IPv6 Address:

Internet Status: Connected
DNS Servers: Servers:
192.168.0.1
-------------------------------------------------------------------------------
       _  _  _  _  ____   __  ____  ____  _  _   __  ____
      ( \/ )( \/ )(  _ \ /  \(_  _)/ ___)/ )( \ /  \(  _ \
      / \/ \ )  /  ) _ ((  O ) )(  \___ \) __ ((  O )) __/
      \_)(_/(__/  (____/ \__/ (__) (____/\_)(_/ \__/(__)

-------------------------------------------------------------------------------
robot_status
-------------------------------------------------------------------------------
Husky IP:            192.168.131.1
Pswd:                mybotshop
SSH:                 ssh -YC administrator@192.168.131.1

Ouster IP:           192.168.131.20
Emlid M2:            192.168.2.15
-------------------------------------------------------------------------------
Husky Startup
-------------------------------------------------------------------------------
Robot start:         sudo service clearpath-robot start
Robot stop:          sudo service clearpath-robot stop
Robot restart:       sudo service clearpath-robot restart
Robot status:        sudo service clearpath-robot status
MCU status:          sudo service clearpath-platform status

Augments status:     sudo service hsky status

Ouster:              ros2 launch hsky_lidars system.launch.py  (On by default)
Emlid M2:            ros2 launch reach_rs emlid.launch.py      (Off by default)
SLAM:                ros2 launch hsky_nav2 slam.launch.py
Map Navi:            ros2 launch hsky_nav2 map_navi.launch.py
Odom Navi:           ros2 launch hsky_nav2 odom_navi.launch.py
Visualization:       ros2 launch hsky_viz view_robot.launch.py

Rebuild package:     colcon build --symlink-install
-------------------------------------------------------------------------------
--------------------------------------------------------------------------------------
Note: in case you cannot ping the husky the ssh client may be missing in your pc. It can be installed via
sudo apt-get install openssh-server
Husky Screen Connection
An alternative for connecting to the Husky is by plugging in an HDMI cable as well as a mouse and keyboard.
Husky PC DHCP
The procedure is simply to go to your networks and add your WiFi. Then in the terminal type:
ifconfig
The IP that comes with the initial characters of wl is your WiFi’s IP. e.g. wlps0. With this IP you can SSH to your robot.
ssh -X administrator@192.168.0.228
192.168.0.228 is just an example of this. IP is taken from the ifconfig.
mybotshop
Network
Network configuration for the robot is.
| Device | Network | Password |
|---|---|---|
| Main PC | 192.168.131.1 | mybotshop |
| Ouster LIDAR | 192.168.131.20 | - |
| Emlid M2 | 192.168.2.15 | - |
Husky Software
The drivers configured by MYBOTSHOP for the Husky can be found in the ros2_ws. Within the src folder, the third_party directory includes drivers for the Husky, as well as additional sensors like the Ouster, Emlid M2, and Phidgets IMU.
If you need to configure auxiliary sensors, the provided link offers valuable information, particularly for ROS2 and navigation. As user requirements can vary, the default setup has been maintained, allowing users to specify their parameters within their custom package.
Start-up Job
The start-up job is available for both the main PCs. In the main PC the startup job launches three main items:
- Husky base drivers
- Phidgets IMU
- Ouster Lidar
You can manually launch the driver for the Emlid Reach M2 as it does not activate on startup.
The launch file system.launch.py in the ros2_ws package of hsky_bringupincludes everything that is being launched at the startup. The startup job and its content can be verified in the directory /etc/ros/humble, here the original launch file will be copied.
sudo service clearpath-robot status
Here’s what the different markers signify:
- Red Marker: Indicates a failed startup job.
- Green Marker: Indicates normal functioning.
- Grey Marker: Indicates the service hasn’t started yet.
In case of a red or grey marker, you can attempt to restart the service using:
sudo service clearpath-robot restart
EMLID Reach M2
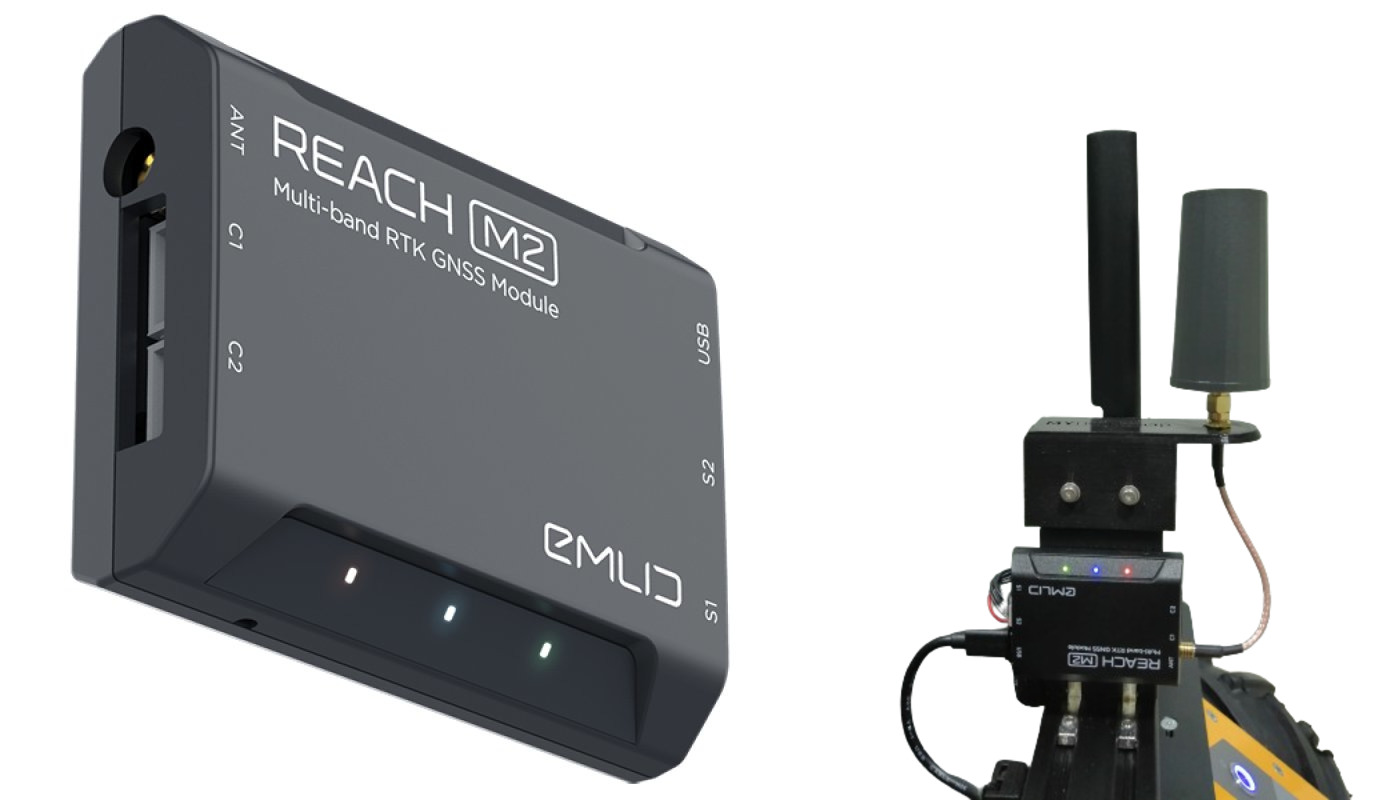
For the Emlid Reach M2, the ROS1 driver has been ported to ROS2. To run it:
ros2 launch reach_rs emlid.launch.py
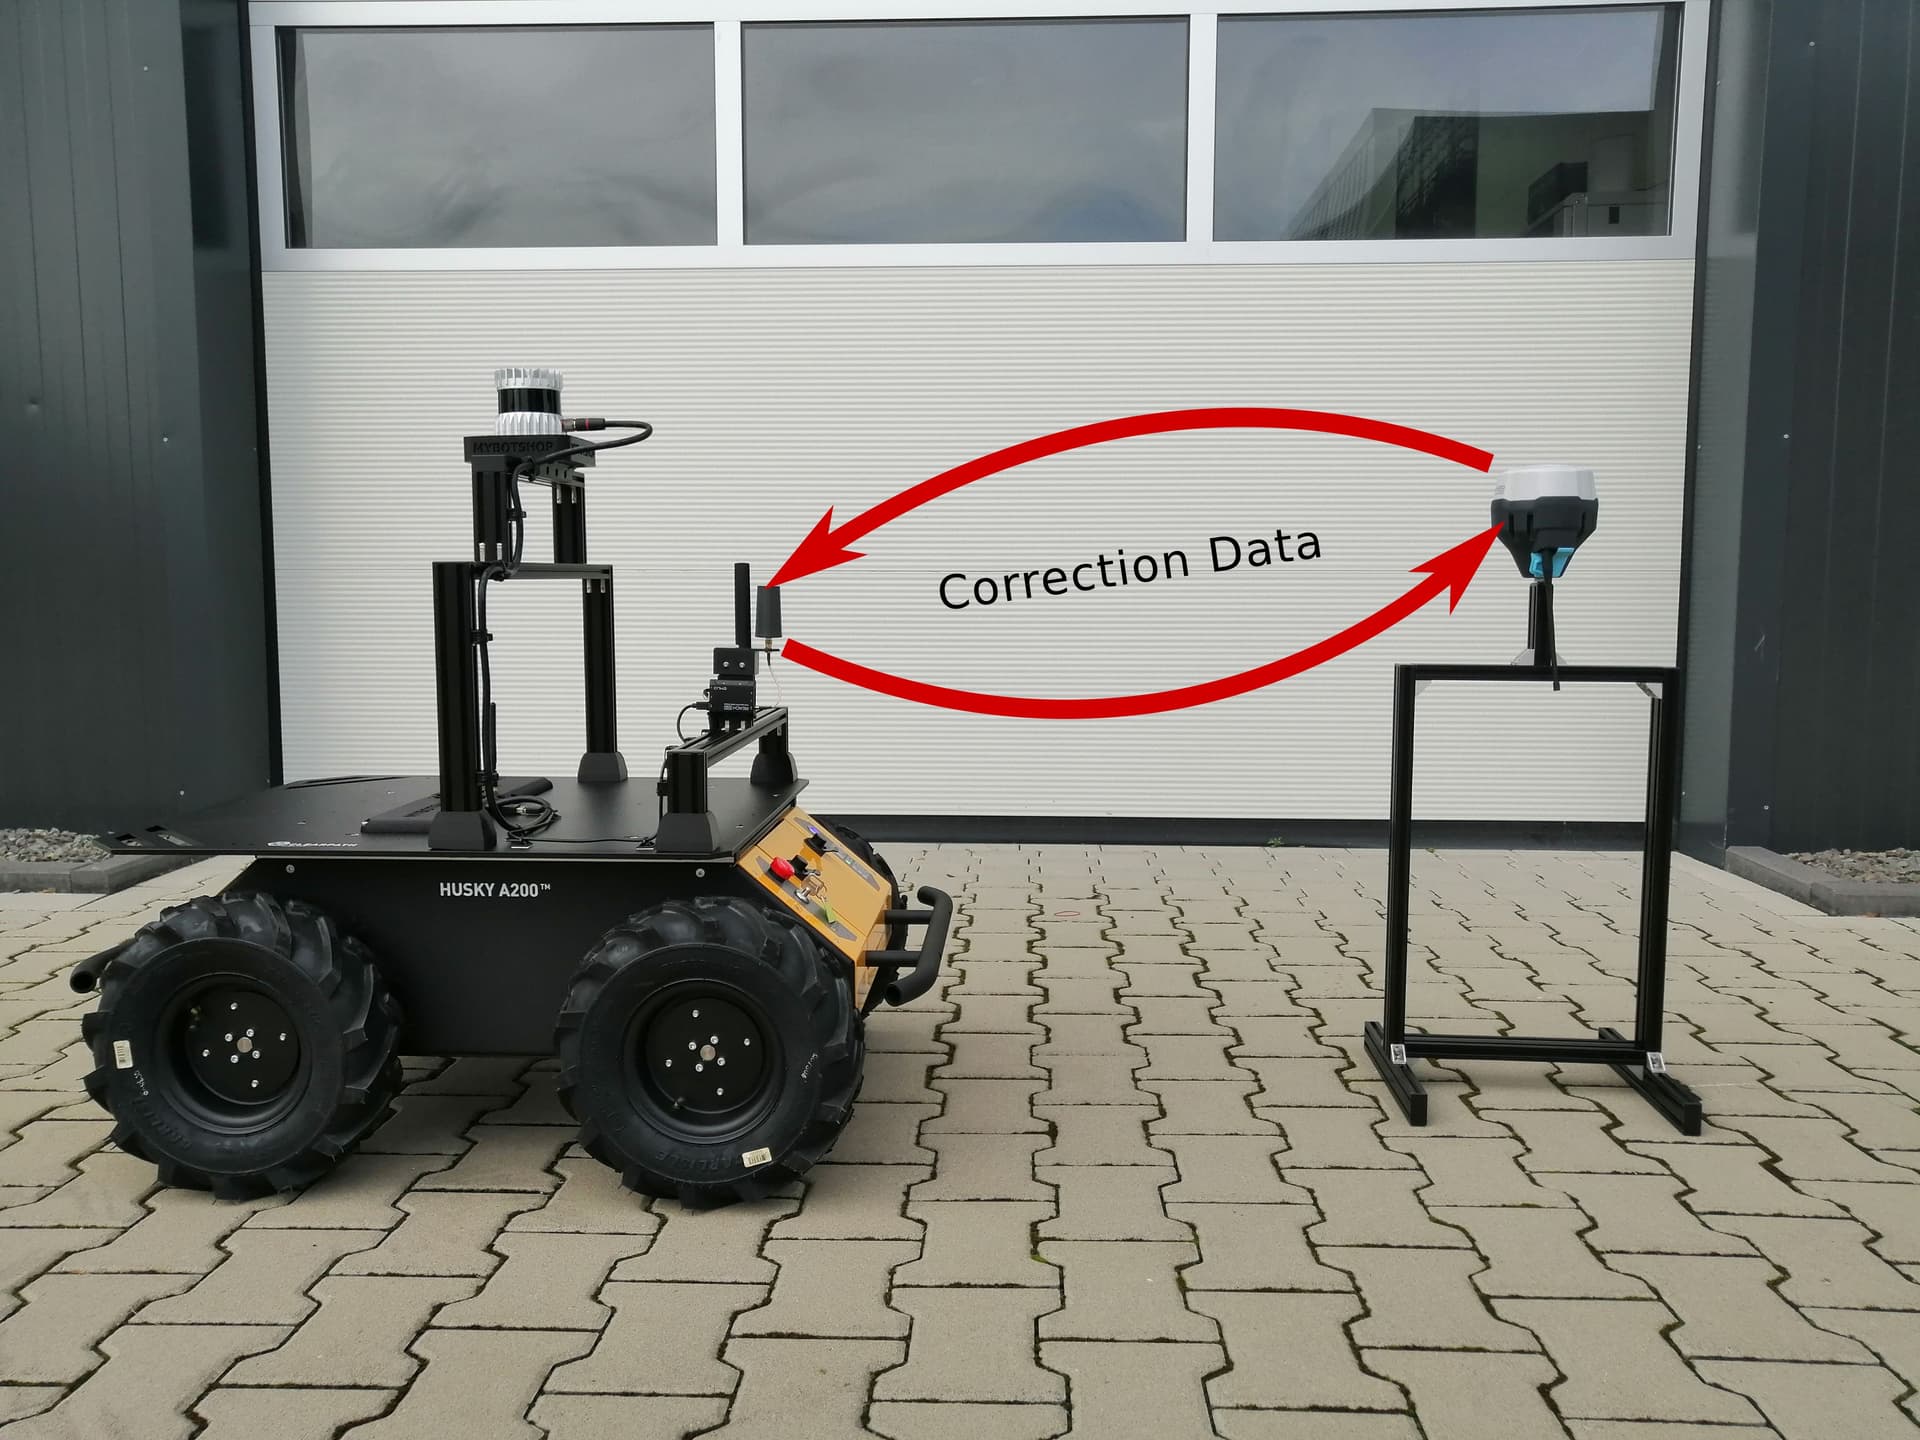
The Reach M2 is configured as a rover in this setup. It receives signals transmitted by the Emlid Reach RS2, which is configured as a base. The communication between the two devices is facilitated by the LoRa radio module connected to the Reach M2.
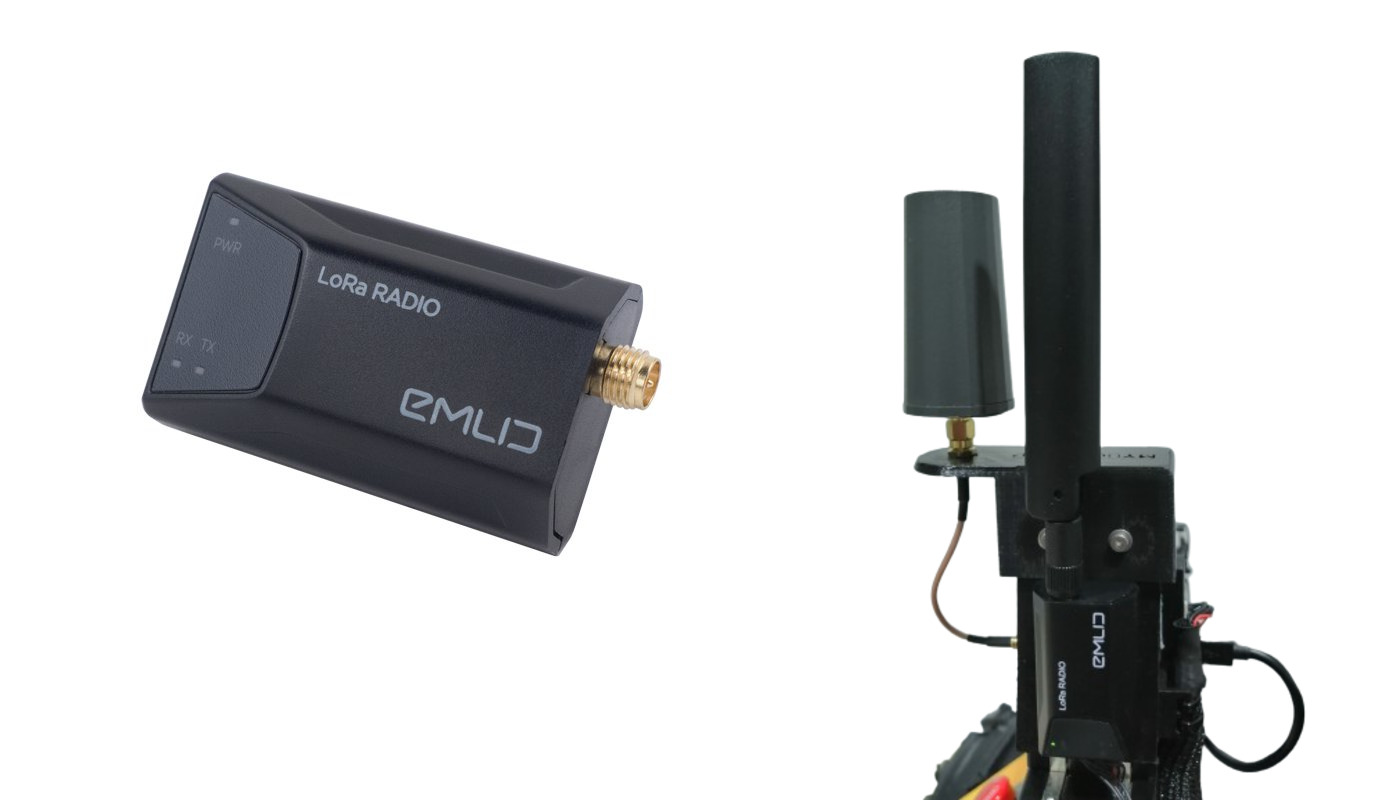
EMLID Reach RS2
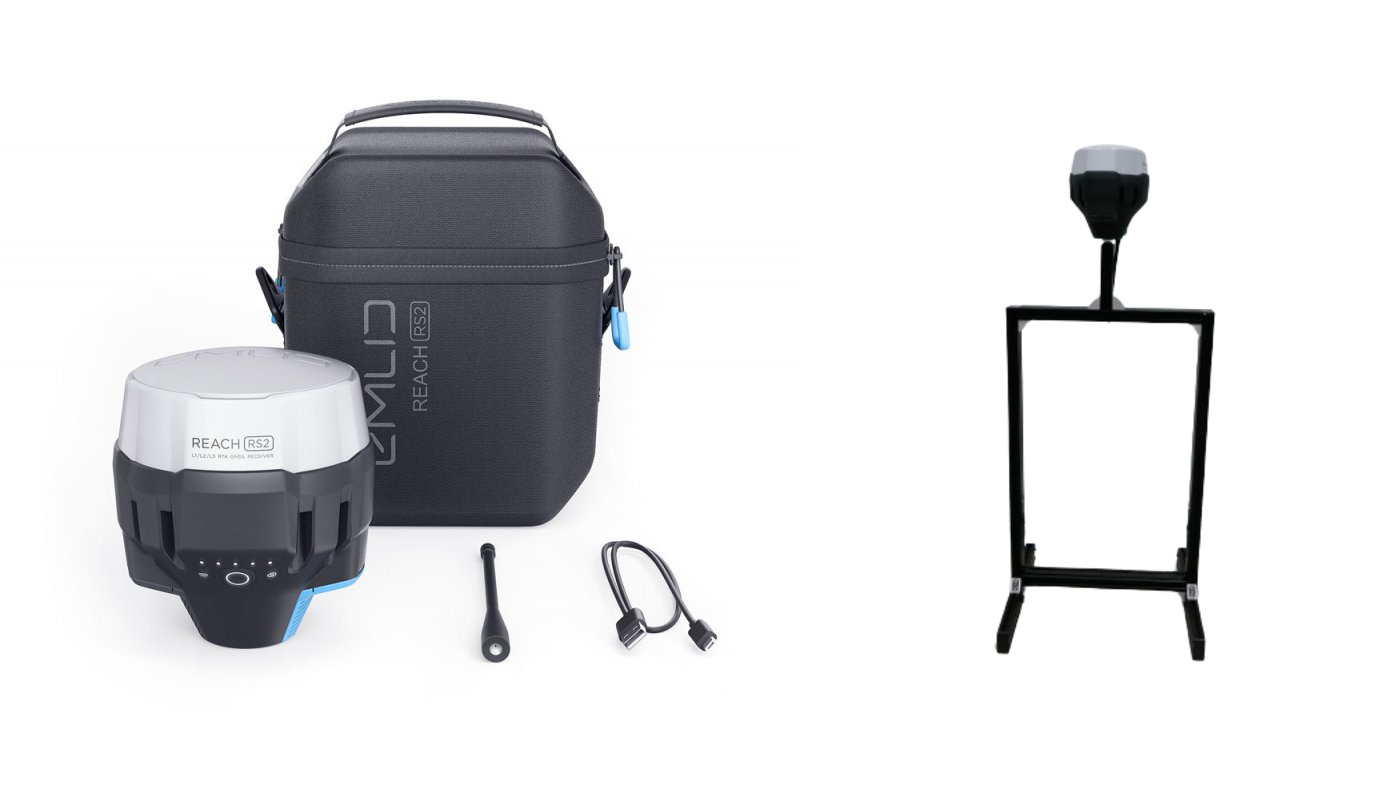
The Emlid Reach RS2 is configured as a base station, transmitting signals via a radio channel to be received by the LoRa radio module.
Phidgets IMU
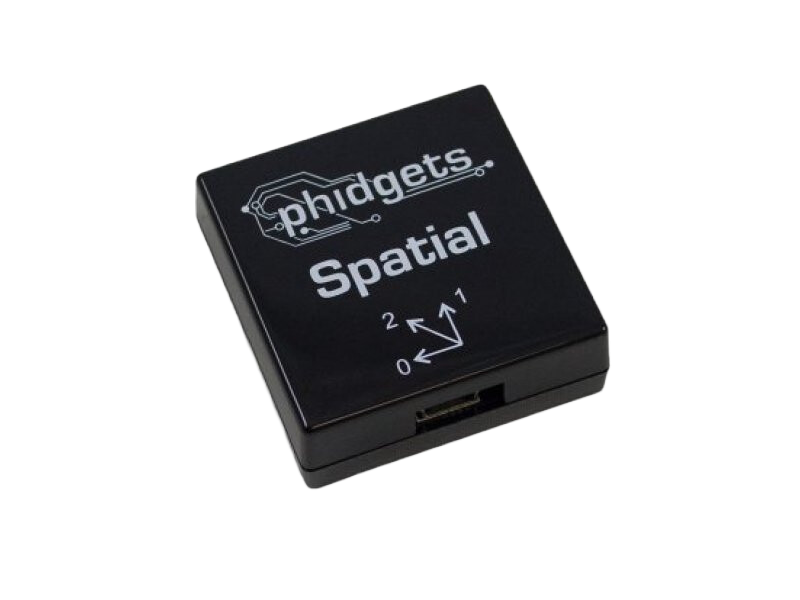
The provided Husky has a phidgets IMU integrated into it. The parameters for odometry can be tuned in the folder ros2_ws/src/mybotshop/hsky_control/config/localization.yaml.
It is recommended not to change the parameters without a backup and without expert supervision.
Autonomous Navigation
Odom Navigation
To perform odometry based navigation, execute the command:
ros2 launch hsky_nav2 odom_navi.launch.py
This command lets you navigate the robot in the global frame of map
Map Navigation
To initiate map-based navigation, the process involves mapping the environment first, followed by waypoint navigation. Here are the steps to achieve this:
- Start creating a map by executing the SLAM navigation command:
ros2 launch hsky_nav2 slam.launch.py
- Simultaneously, in a separate terminal, launch the visualization command to observe the map being constructed:
ros2 launch hsky_viz view_robot.launch.py
Utilize the joystick controller to navigate and create the map. Once satisfied with the map, export it using this command in one of the Jackal’s terminals:
ros2 run nav2_map_server map_saver_cli -f /home/administrator/ros2_ws/src/mybotshop/hsky_nav2/maps/custom_map
After saving the map, rebuild the packages to incorporate the new map:
colcon build --symlink-install --cmake-args -DCMAKE_BUILD_TYPE=Release
Upon successful rebuilding, in one terminal, launch the map navigation command to load the saved map:
ros2 launch hsky_nav2 map_navi.launch.py
Finally, in a separate terminal, execute the visualization command to visualize and control the robot via rviz:
ros2 launch hsky_viz view_robot.launch.py
Parameter Configuration
In the hsky_nav2 package, in the config folder, the parameters can be adjusted for further requirements. What is provided is just a minimal configured setup and it is recommended to adjust the parameters.
Issues
In case of any issues please first try restarting the service of the robot via:
sudo service clearpath-robot restart
Incase of questions please contact support@mybotshop.de. For issues related to the software please attach a ros2 bag e.g.
ros2 bag record -a