
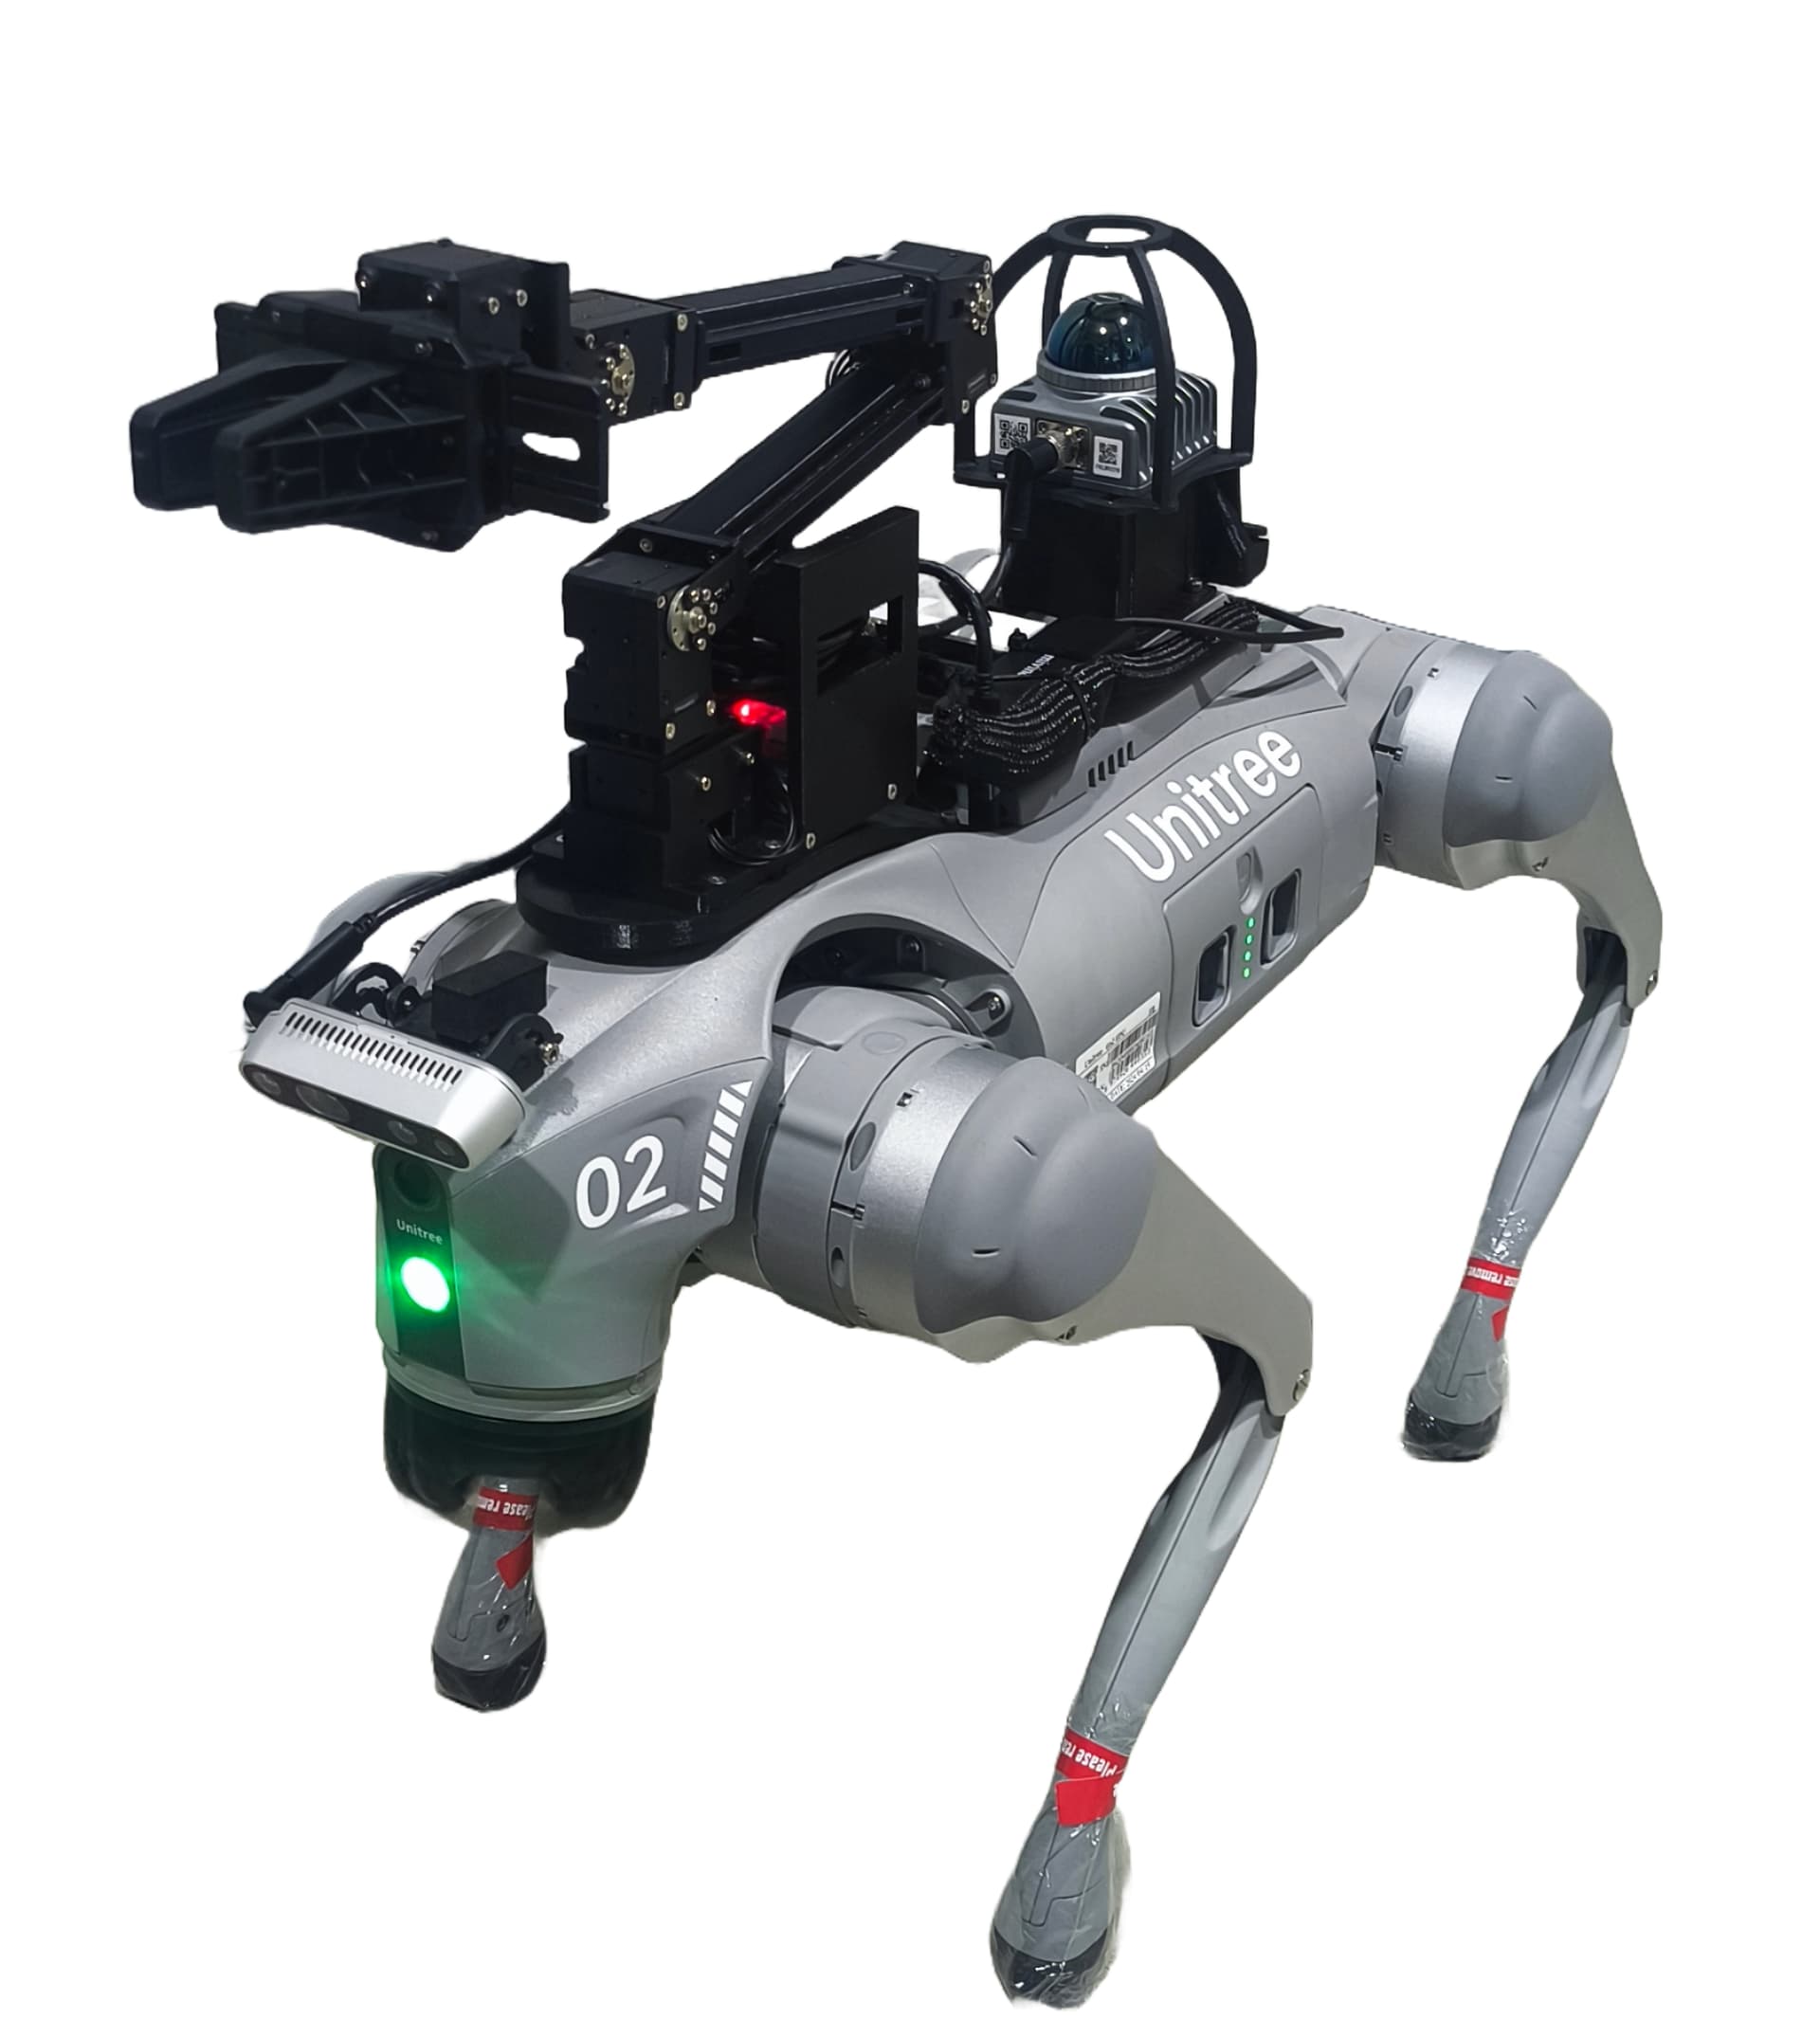
Welcome to the Quick Start Guide for the Unitree Go2 with OpenManipulator! This post will guide you through the essential steps to set up and start using your Unitree Go2 robot combined with the OpenManipulator arm. Let’s get started and explore the capabilities of this powerful robotic system.
Robot Interface
Instructions for Interfacing with the Robot using Ubuntu 20.04 and ROS2 Foxy
Follow these steps after setting up and pairing with the GO2 Edu. Ensure all functionalities of the GO2 are verified via the app. Instructions for setup can be found in the GO2 Docs. This guide builds upon the information from the docs.
Static Network Connection
For the first time, you need to connect through a LAN cable to configure the robot’s network. To create a static connection on your PC (not the robot), follow these steps in Ubuntu:
-
Go to Settings → Network, then click on + to create a new connection.
-
Change the connection to Manual in the IPv4 settings.
-
Set the Address IP to
192.168.123.51and the Netmask to24. -
Click Save and restart your network.
After a successful connection, check the host’s local IP by typing in the Host PC’s terminal:
ifconfig
Now, ping the robot:
ping 192.168.123.18
Access the robot via SSH:
ssh -X unitree@192.168.123.18
The default password is:
123
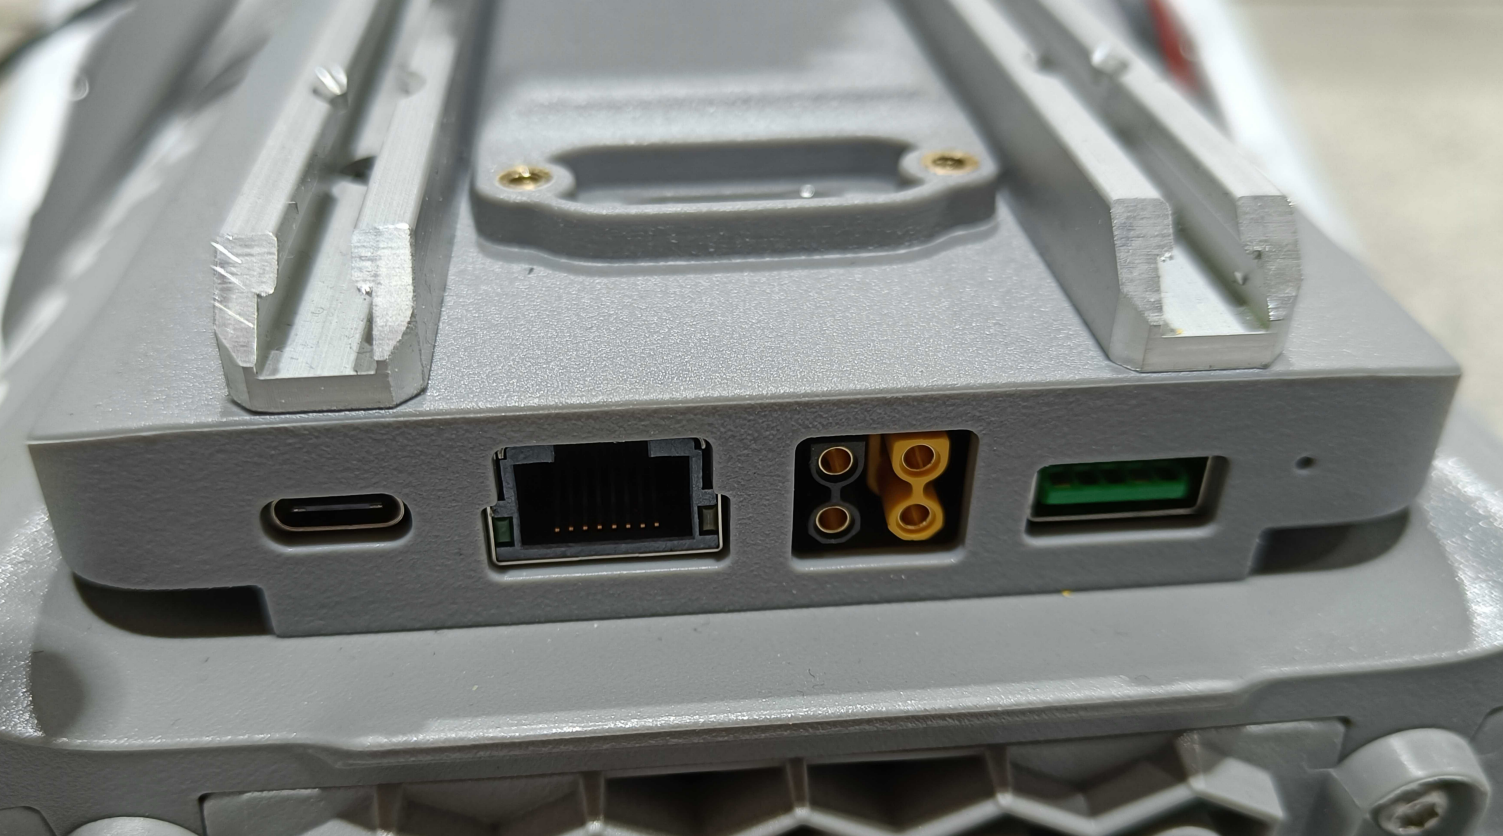
The Ethernet port at the back of the GO2 can be utilized for setting up communication via LAN.
GO2 IP Addresses
| Device | IP Address | Password |
|---|---|---|
| GO2 MCU | 192.168.123.161 | |
| GO2 External | 192.168.123.18 | 123 |
| GO2 Livox Mid360 | 192.168.123.20 |
Note: Sometimes other networks can cause disruptions when connecting to the GO2. It is best to have only your connection to the robot active and all others inactive.
Quick-Start
Powering-on
- Power on the robot by pressing the battery once and then again for 3 seconds.
Interfacing
-
Firstly, connect to the GO2 as described in the Network Section.
-
Secondly, open several SSH sessions into the GO2 via:
ssh -X unitree@192.168.123.18- Verify that the robot is processing information by typing the command in an SSH session:
ros2 topic echo /sportmodestate - If data is displayed, then it means that the drivers are running.
- Verify that the robot is processing information by typing the command in an SSH session:
GO2 Visualization
You can view the GO2’s current state by typing in one of the SSH sessions:
ros2 launch go2_viz view_robot.launch.py
GO2 Tele-operation
You can teleoperate the GO2 by running the following in one of the SSH sessions:
ros2 run teleop_twist_keyboard teleop_twist_keyboard
GO2 Mode Activation
Available GO2 Modes via ROS2 Services:
-
normal_stand -
balance_stand -
recovery_stand -
stand_down -
stand_up -
gait_type_idle -
gait_type_trot -
gait_type_trot_running -
gait_type_climb -
gait_type_obstacle -
stretch -
wallow(Robot goes on back, and can damage the Arm) -
damp -
sit -
rise_sit -
front_jump -
front_pounce -
front_flip -
stop_move
Available GO2 Functionalities via ROS2 Services:
-
Light level: 0-10 -
Volume level: 0-10
Pressing the
tabbutton on the keyboard will autocomplete the service request.
- Example of activating mode
ros2 service call /go2/modes go2_srvs/srv/Go2Modes request_data:\recovery_stand
- Example of standing down
ros2 service call /go2/modes go2_srvs/srv/Go2Modes request_data:\stand_down
- Example of changing light level 0-10
ros2 service call /go2/light go2_srvs/srv/Go2Light light_level:\3
- Example of changing volume level 0-10
ros2 service call /go2/light go2_srvs/srv/Go2Volume volume_level:\4
At times the mode does not activate correctly, such as stand, in those cases use the recovery stand.
GO2 Low-Level Control
The low-level control for GO2 can be directly used via Unitree’s provided example in their documentation. Running the provided qre go2 driver with the low-level commands from Unitree examples should both work concurrently.
An example to test the low-level control is to suspend the go2:
- Verify if the
go2_bringupis running via:
sudo service qre-platform status
- Lie down the robot:
ros2 service call /go2/modes go2_srvs/srv/Go2Modes
                            request_data :\stand_down
- Put motors in damp state:
ros2 service call /go2/modes go2_srvs/srv/Go2Modes
                            request_data :\damp
- Run low-level example:
ros2 run go2_base go2_lowroscontrol
This will move the Rear Left leg of the GO2 with a force of 1N.m. An audible clicking sound can be heard if you try to move the GO2 left leg out of position.
Note: The GO2 low-level mode should only be used if you are familiar with low-level control, and gait planning and wish to create a new/custom controller for the GO2. The GO2 in low-level mode can easily be damaged if used incorrectly.
GO2 SLAM (Simultaneous Localization and Mapping)
To create a map for map-based navigation, the first step is to create a map of the environment.
Move the robot slowly when building the map.
- Launch
ros2 launch go2_navigation slam.launch.py
- You can begin mapping using the teleop at 0.2m/s with the keyboard and/or the provided Logitech controller. Once you are satisfied with your map you can export it by running the following command:
cd /home/unitree/ros2_ws/src/go2_navigation/maps/
ros2 run nav2_map_server map_saver_cli -f map_
- Rebuild so that the maps can be found (This is required if the map name is not map_ otherwise it will directly work)
colcon build --symlink-install
This sequence of commands and instructions is presented in Markdown format, suitable for readability and reference.
- Then source the environment
source /home/$USER/ros2_ws/install/setup.bash
GO2 Odometric Navigation
To navigate without creating a map, you can simply launch the odom navi and give goals in RVIZ.
ros2 launch go2_navigation odom_navi.launch.py
GO2 Map Navigation
This will automatically take in the map created and save from the SLAM being map_. If the map has been named something other, then in go2_navigation, the parameters have to be updated.
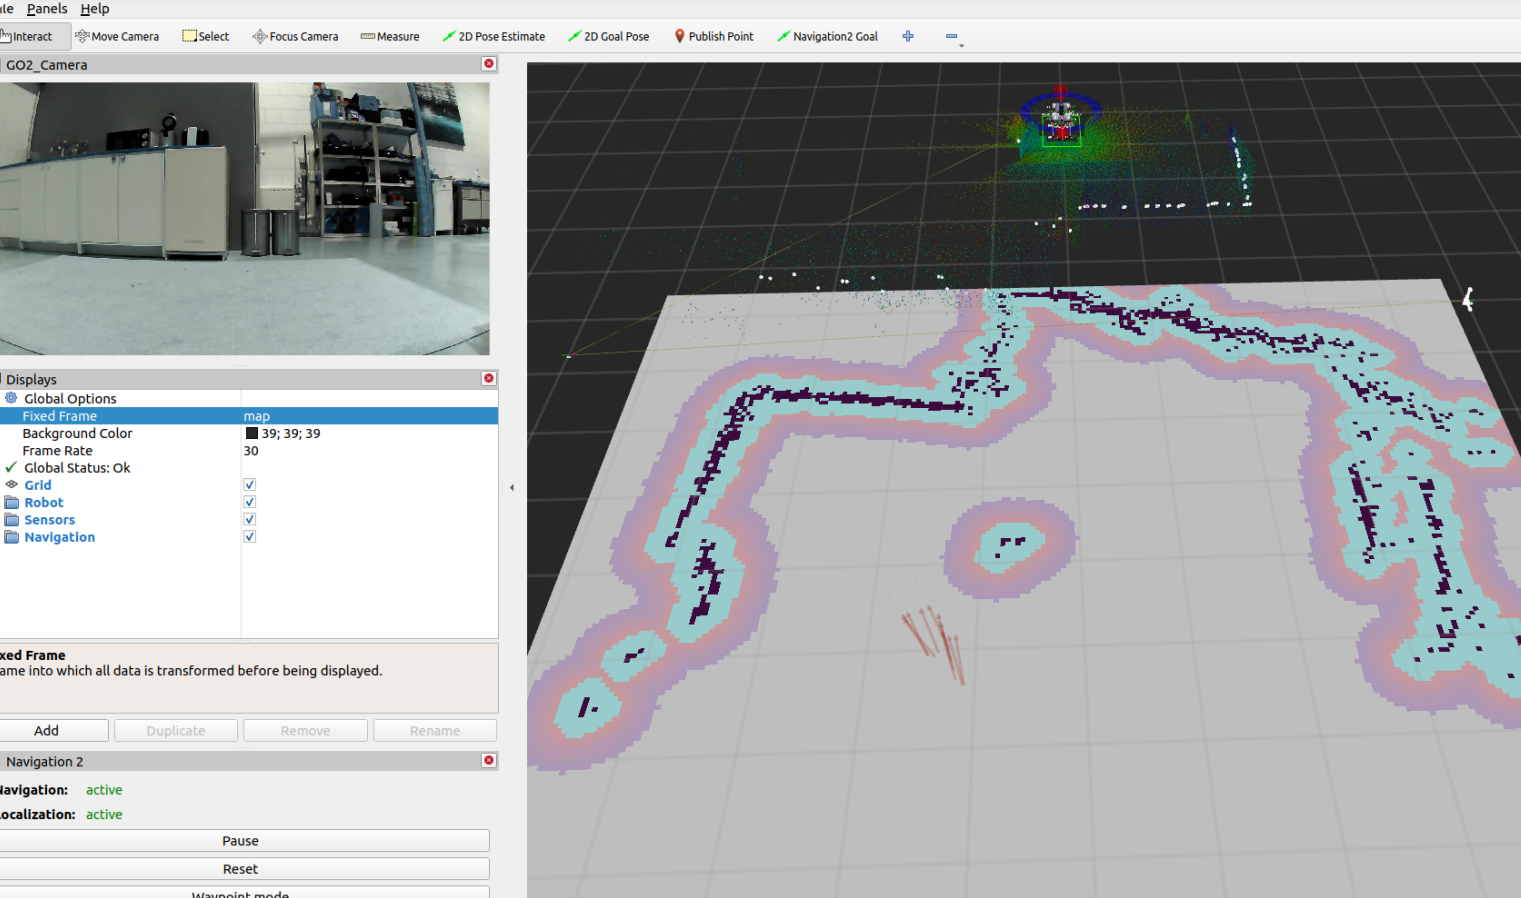
Select the 2D Pose Estimate and click and drag to where the robot corresponds in the map.

Once the robot is in the estimated location, it should self correct when the robot is moving
- Ensure the map is generated and available in the ros package (i.e. after the map is saved, you have placed and performed colcon build)
ros2 launch go2_navigation map_navi.launch.py
GO2 Drivers Startup (On by default)
The
go2_bringupsystem launch is not required if the go2 startup has been installed. This can be verified by typing in the terminal
sudo service qre-platform status
If it is available and green, then do not launch the go2_bringup as it is running in the background.
Launch the go2 ros driver the communicates and publishes the state of the robot joints.
ros2 launch go2_bringup system.launch.py
GO2 Startup (Optional)
The GO2 ordinarily does not have a startup job unless otherwise specified (In this case the GO2 has a startup job). The GO2 launches the go2_bringup system.launch.py. To verify if the startup job is available in GO2. Run the command:
sudo service qre-platform status
If an error such as Unit ros2.service could not be found., then it means that there is no startup installed.
-
The red marker in the service indicates that the startup job has failed.
-
Green marker indicates everything is working correctly.
-
Grey marker indicates that the service has not started yet.
In case of red or grey marker, you may restart the service via:
sudo service qre-platform restart
If you want to modify the upstart job or add other ROS launch files to it then it is recommended to add your changes to the main upstart file i.e. system.launch.py located in the go2_bringup package. Once done, save the file and run the following command to update startup job.
ros2 run go2_bringup startup_installer.py
GO2 Intel Realsense D435i
- To launch the Realsense d435i, launch:
ros2 launch go2_depth_camera realsense_d435i.launch.py
-
By default the Realsense D435i is off.
-
The launch file is configured to enable continuous depth stream information from the Realsense d435i without lag. To further change parameters, simply change the configuration in the
go2_depth_camera/launch/realsense_d435i.launch.py
GO2 Intel Realsense D405
Note: If launching both realsense cameras. Launch them in separate terminals with 10-second delay. Ensure that in their launch files, their serial numbers are assigned.
- To launch the Realsense D405, launch:
ros2 launch go2_depth_camera realsense_d405.launch.py
-
By default the Realsense D405 is off.
-
The launch file is configured to enable continuous depth stream information from the Realsense D405 without lag. To further change parameters, simply change the configuration in the
go2_depth_camera/launch/realsense_d405.launch.py
GO2 Mid360 Lidar
- To activate the Livox Mid360 Lidar, launch:
ros2 launch go2_livox system.launch.py
- By default the Livox Mid360 is off.
Open Manipulator X ROS Control
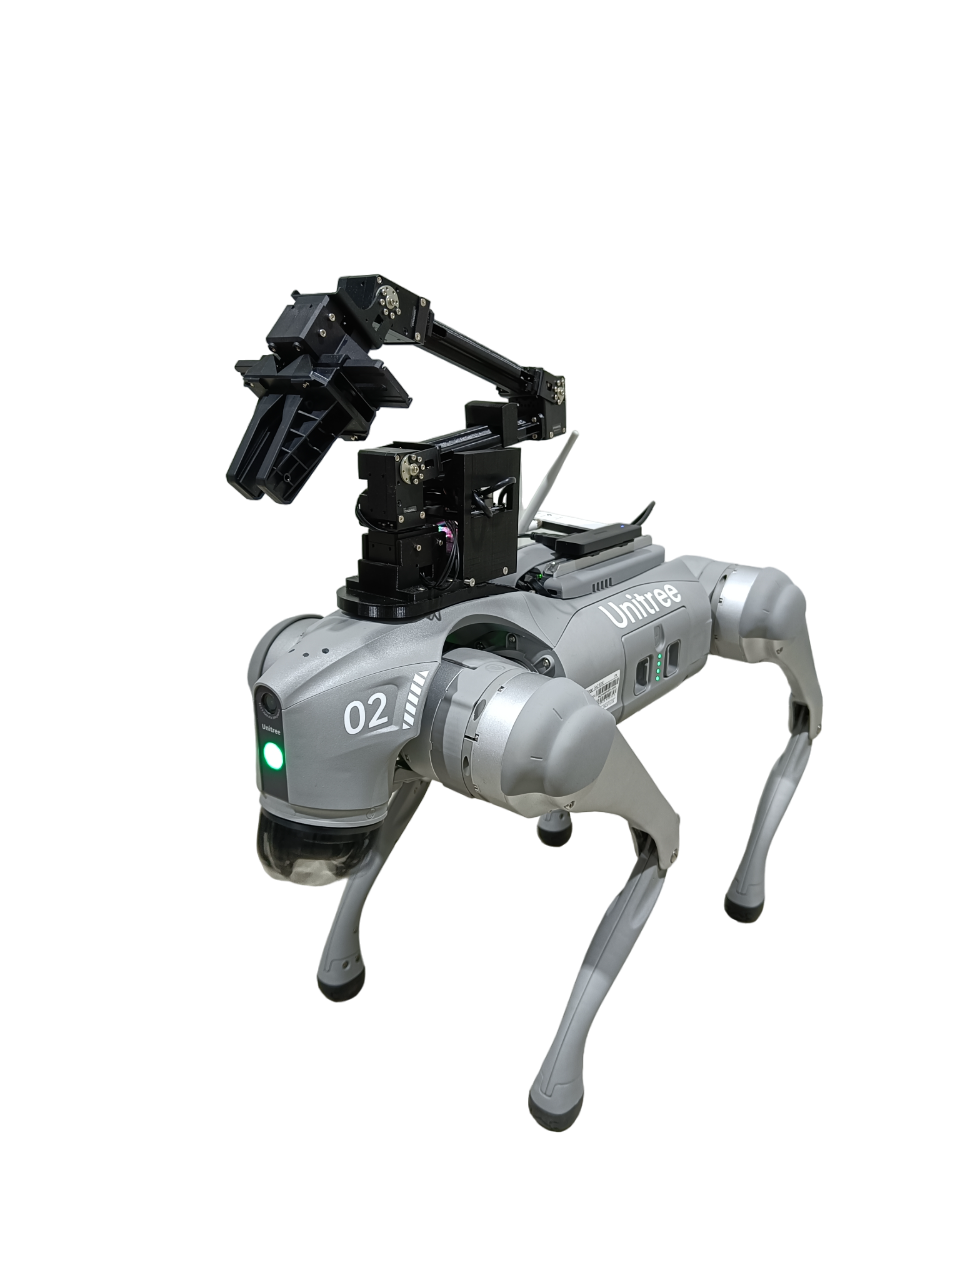
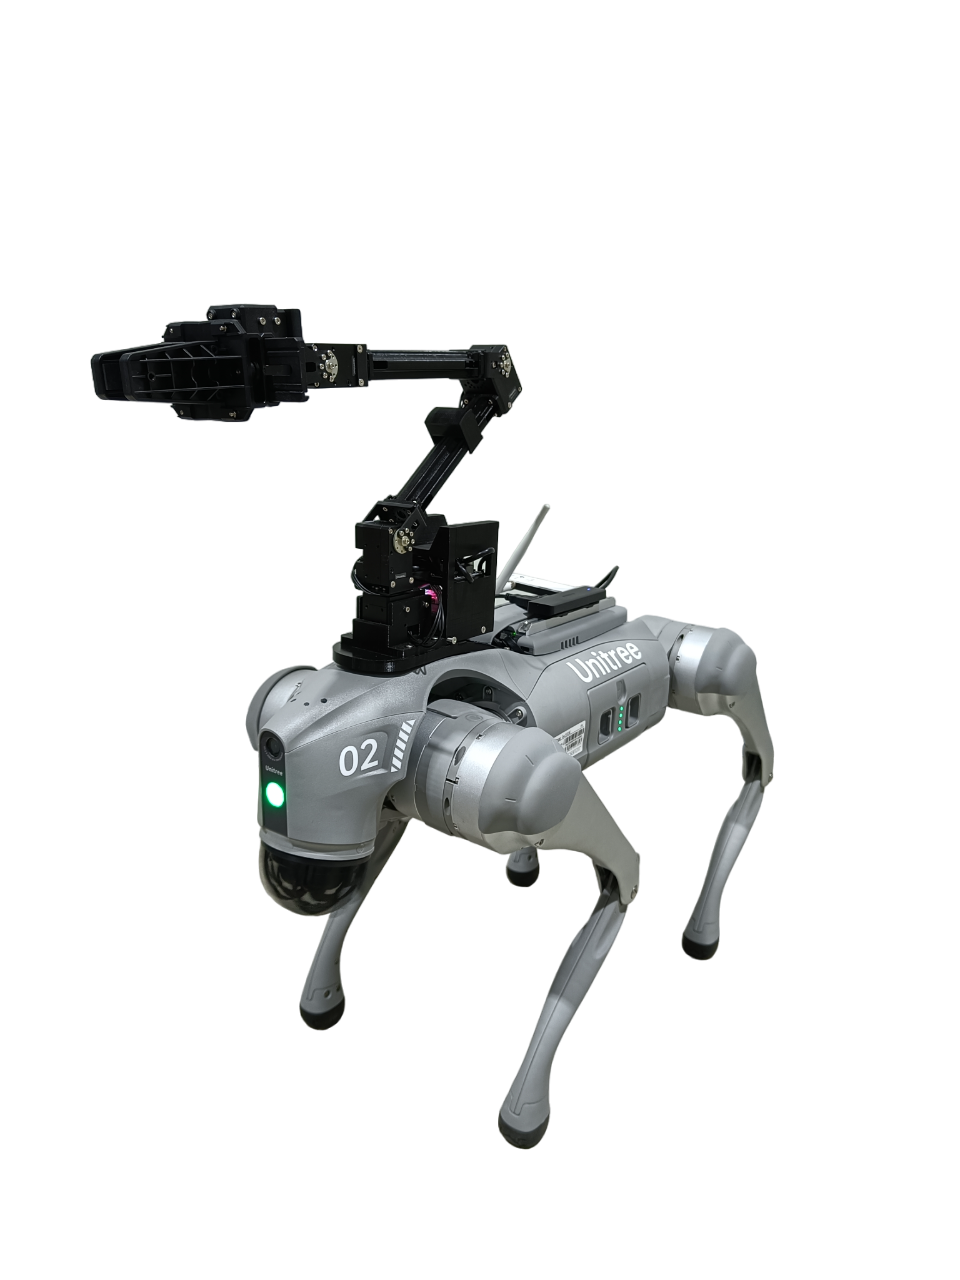
Openmanipulator Home Pose Openmanipulator Ready Pose
- Start Open manipulator X custom ROS driver
ros2 launch go2_manipulation system_openmanipulator.launch.py
This should always be running when using the provided moveit and/or joint trajectories
- Launch moveit and state publisher
ros2 launch go2_manipulation system_moveit.launch.py
- Test the driver
ros2 action send_goal/open_manipulator/joint_trajectory_controller
/follow_joint_trajectory control_msgs/action/FollowJointTrajectory -f "{
   trajectory : {
      joint_names : [ joint1 , joint2 , joint3 , joint4 ] ,
      points : [
          { positions : [0.1 , 0.1 , 0.1 , 0.1] , time_from_start : { sec : 2 } } ,
          { positions : [ -0.1 , -0.1 , -0.1 , -0.1] , time_from_start : { sec : 4 } } ,
          { positions : [0 , 0 , 0 , 0] , time_from_start : { sec : 6 } }
       ]
   }
}"
- Home position (Must be done when turning off)
ros2 action send_goal /open_manipulator / joint_trajectory_controller
/follow_joint_trajectory control_msgs/action/FollowJointTrajectory -f "{
   trajectory : {
      joint_names : [ joint1 , joint2 , joint3 , joint4 ] ,
      points : [
          { positions : [0.0 , -1.4 , 1.2 , 1.2] , time_from_start : { sec : 2 } } ,
       ]
   }
}"
- Close gripper (Must be done when turning off)
ros2 action send_goal /open_manipulator/gripper_controller
/follow_joint_trajectory control_msgs/action/FollowJointTrajectory -f "{
   trajectory : {
      joint_names : [gripper] ,
      points : [
          { positions : [1.0] , time_from_start : { sec : 2 } } ,
       ]
   }
}"
- Open gripper
ros2 action send_goal /open_manipulator/ gripper_ controller
/follow_joint_trajectory control_msgs/action/FollowJointTrajectory -f " {
    trajectory : {
        joint_names : [gripper] ,
        points : [
            { positions : [ -1.0] , time_from_start : { sec : 2 } } ,
       ]
   }
}"
Fresh Installation (GO2 Nvidia)
This repository should already be available and built on GO2’s Nividia board if it has been configured by the MYBOTSHOP team.
-
Clone this repository into the GO2’s Nvidia board.
-
Run the bash install script.
-
Then build the repository via
colcon build --symlink-install
- Once built remember to source the install/setup.bash and be sure to add the source to your workspace in the .bashrc file.
Installation (Host PC)
Requires installation of ROS2 Foxy on Ubuntu 20.04. This is highly recommended if you wish to view the RVIZ on your own computer without latency. All the instructions provided here are to be performed on your own computer.
First Time Setup
Important: Make sure the command source /opt/ros/foxy/setup.bash has not been activated
- Install Dependencies located in the qre_go2/src
./go2_install.bash
-
Make folder called ros2_ws in home directory and clone foxy branch of qre_go2 into it
-
Then build Cyclone in the ros2_ws via.
colcon build --packages-select cyclonedds
- Source the work space
source install/setup.bash
- Now source ros foxy distro via
source /opt/ros/foxy/setup.bash
- Next build the repository twice
coclcon build --symlink-install
- Source the built ros workspace via:
source /home/$USER/ros2_ws/install/setup.bash
-
Connect to
123network with static ip as described in the Network Section and then note down the network interface name. -
Edit and source go2_bringup/config/setup.bash with the corrected network interface e.g. enp92s0
-
Then source the special configuration for the GO2
source /home/$USER/ros2_ws/src/go2_bringup/setup.bash
Now if you are connected via LAN to the GO2 and you do ros2 topic list, the topics should be visible from the go2.
After First Time Setup
- Once the first time setup is performed, then next time simply
source /opt/ros/foxy/setup.bash
source /home/$USER/ros2_ws/src/go2_bringup/setup.bash
- You can now communicate with ros2 features in the go2. To test it out, launch
ros2 launch go2_viz view_robot.launch.py
Caution
-
Be careful with certain go2 actions such as wallow. This will cause the robot to flip over onto its back damaging the arm.
-
Power off the GO2 correctly when power is low from the battery.
-
Ensure the Open manipulator is in home position before killing its driver, otherwise it will fall.
Known Issues
-
Open Manipulator not responding
-
This may occur due to wrong joint positions of the dynamixels.
-
The solution is to either power cycle the entire robot or only the open manipulator arm ensuring that the open manipulator’s driver is turned off.
-