
Jackal-Ouster-Zed
This article serves as a concise and rapid reference for utilizing the Jackal alongside ROS2 (foxy).
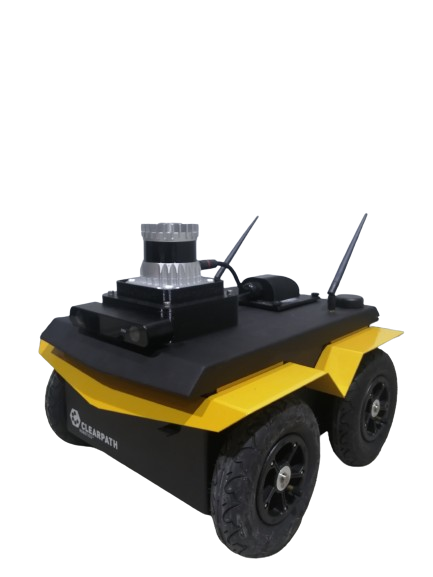
The Jackal, a differential robot, stands as an indoor development platform created by Clearpath Robotics, a Canadian manufacturer. Normally, this unit arrives with pre-installed ROS Noetic, ensuring smooth operations. However, for this specific project, both the MCU and the onboard PC required a complete reconfiguration with ROS Foxy.
Jackal Informative Links
Quick Start
The Jackal is activated by pressing the designated power button. When initiating startup alongside the Ouster and Zed2i, it may require up to a minute to commence fully.
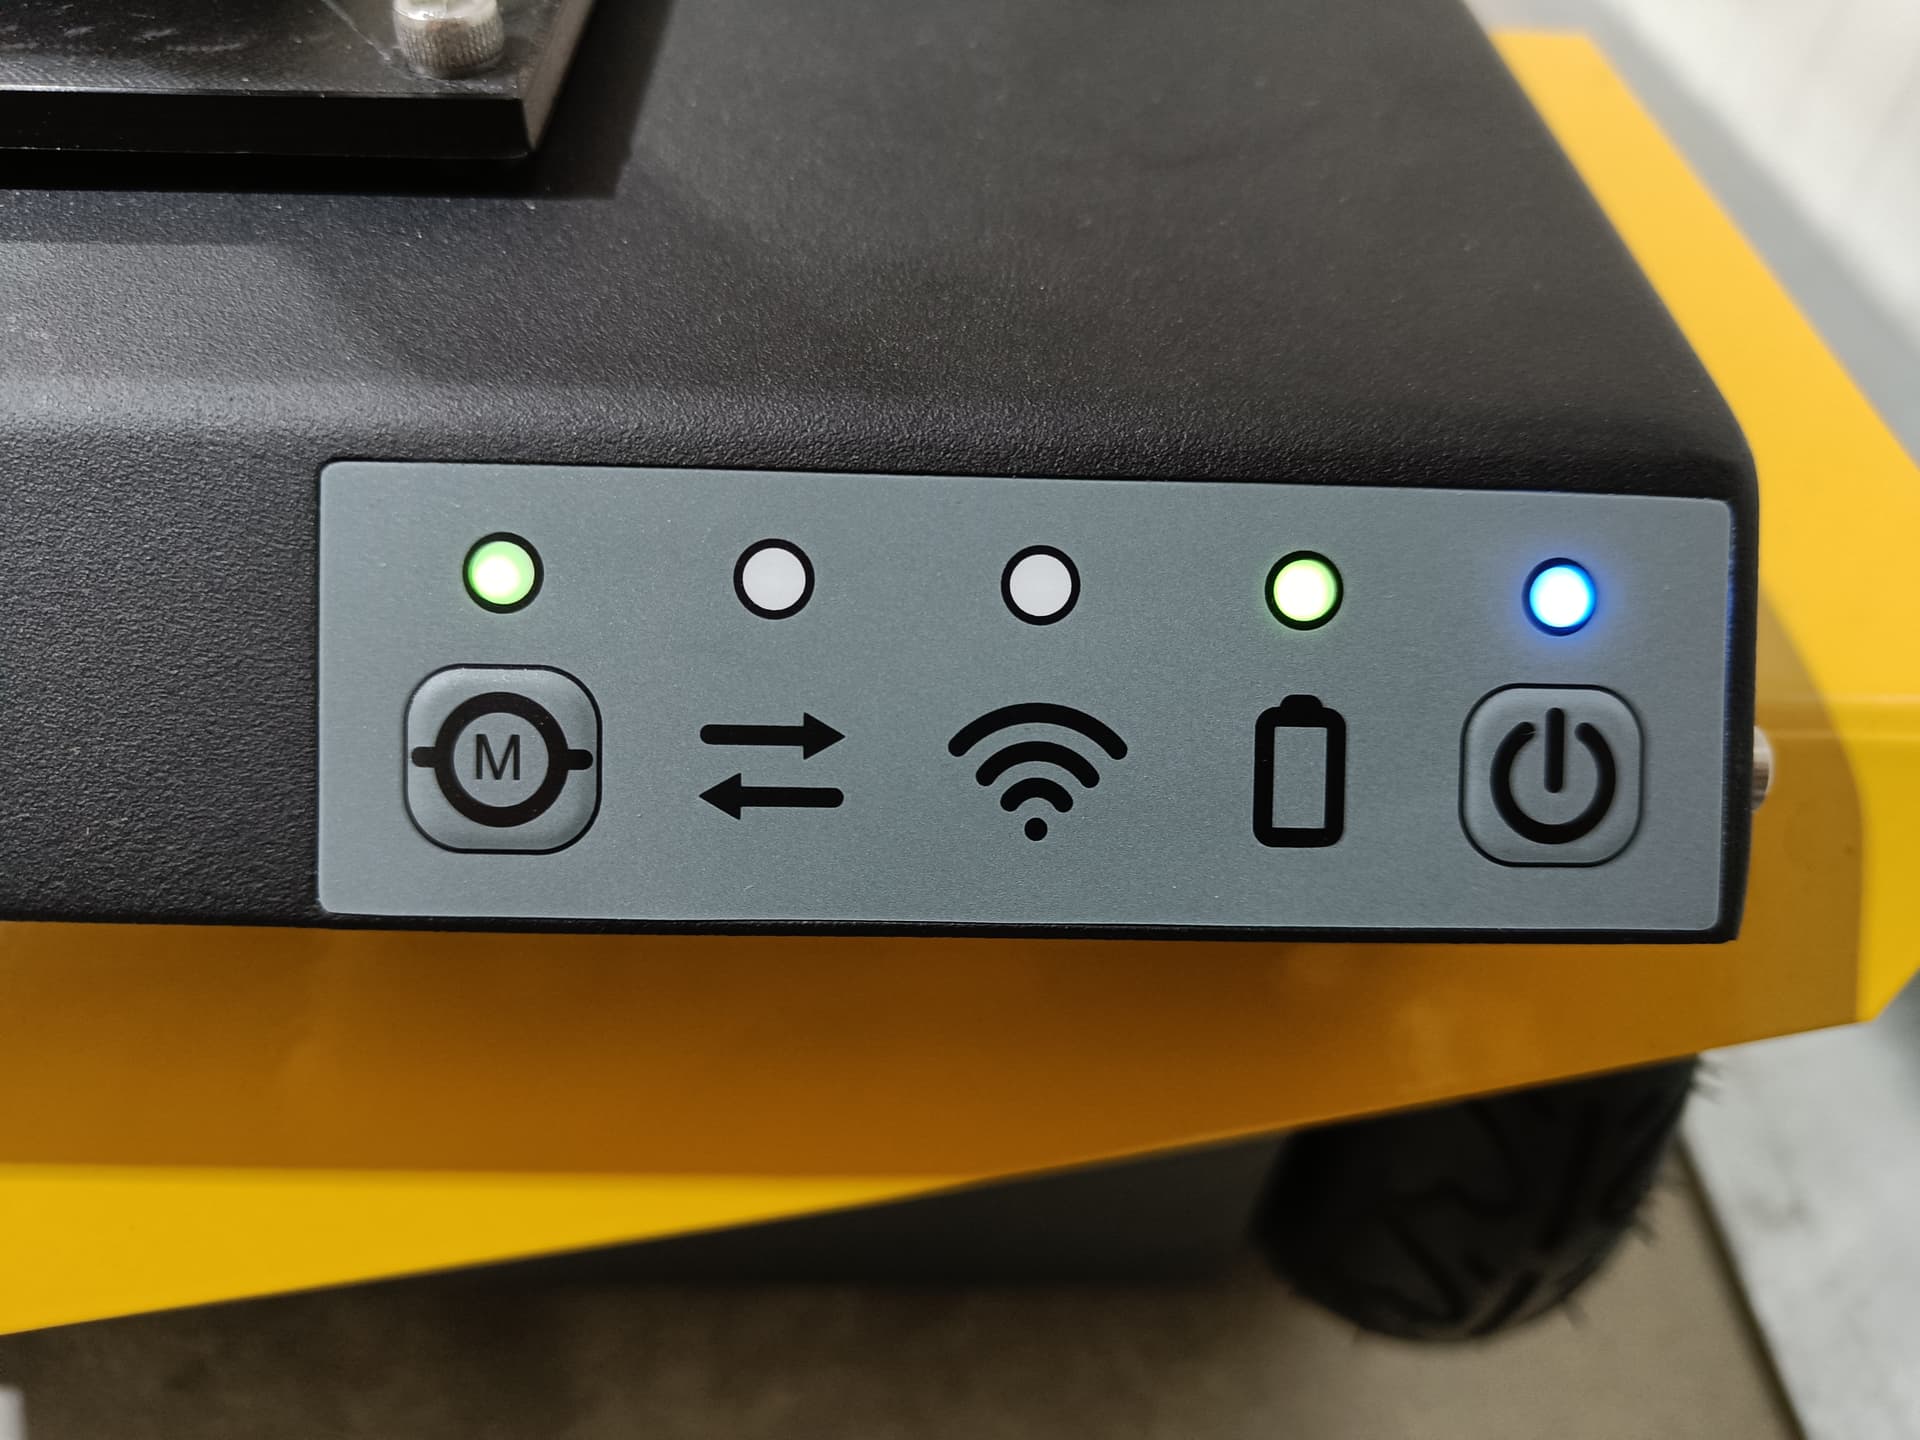
The illuminated green light on the ‘M’ signifies the successful initiation of the MCU, while the directional arrows indicate its readiness to receive commands from the onboard PC.
This particular Jackal model is equipped with an Ouster LiDAR and Stereolab ZED2i camera. Instances, where the LiDAR or other supplementary components are integrated into the robot’s startup procedure but encounter cable disconnection or damage, may result in startup failure.
To enable software remote connection, initial access to the robot is necessary for configuring the WiFi network. Configuration can be accomplished through two methods: the first involves a static network connection, while the second, carried out via the screen interface, offers a quicker and more user-friendly setup for clients.
Jackal Static Network Connection
Initial Configuration of Jackal’s WLAN Network
To establish a static connection on your PC (not the Jackal) running Ubuntu, follow these steps:
-
Navigate to Settings → Network, then click on the “+” icon to create a new connection.
-
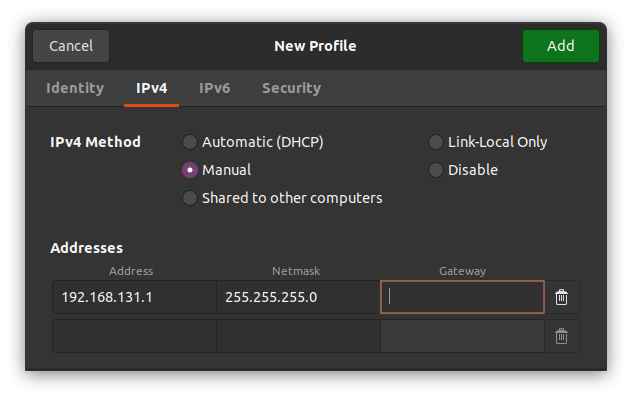
In the network settings, locate and select “IPv4” and switch the connection type to “manual.”
-
Set the IP Address to 192.168.131.1 (note: this value might vary depending on the specific robot) and the Netmask to 24 to configure the static connection.
Once you’ve saved the settings and restarted your network, proceed by opening the Jackal as demonstrated and connecting the LAN cable to the robot.
After establishing a successful connection, let’s verify the host’s local IP by entering the following command in the Host PC’s terminal:
ifconfig
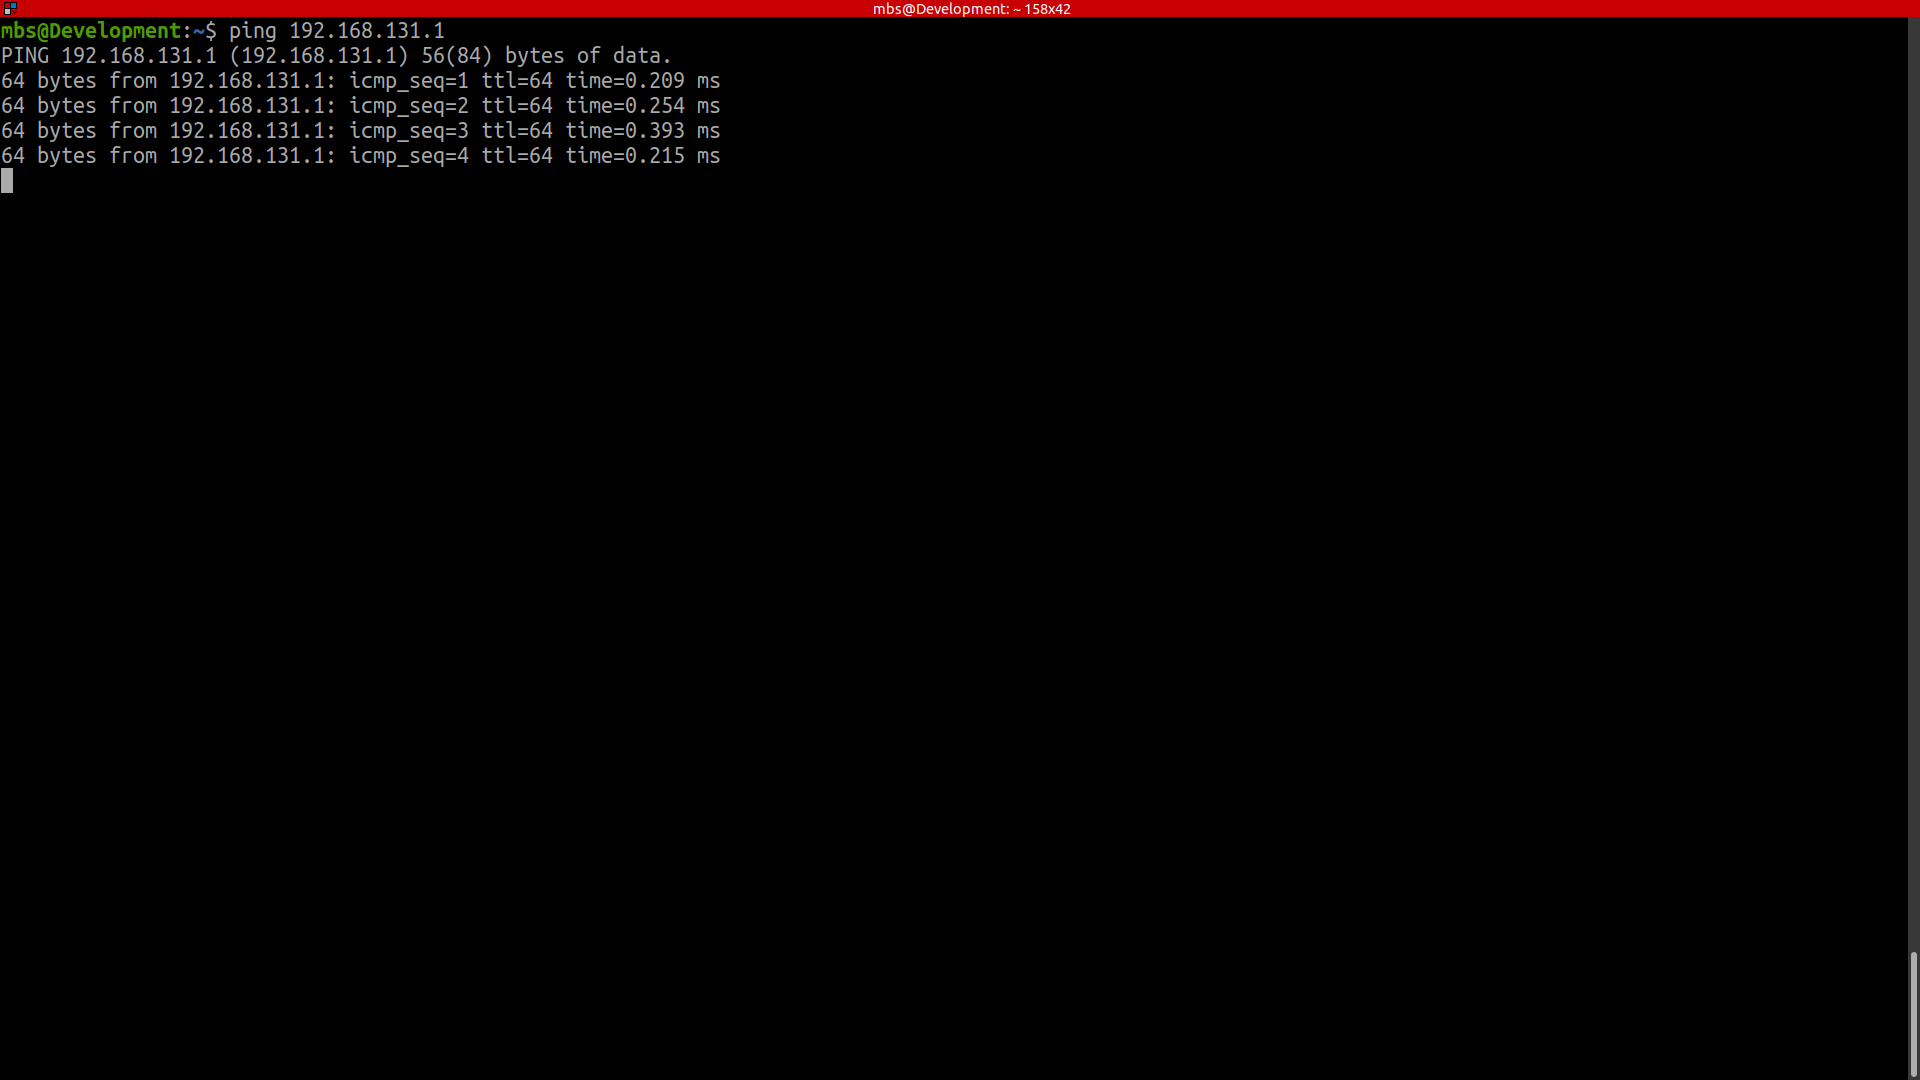
This command will display the assigned host IP from the previous step. To check if we can communicate with the robot, attempt to ping it from your host PC by executing:
ping 192.168.131.1
This command will verify the connectivity between your host PC and the robot.
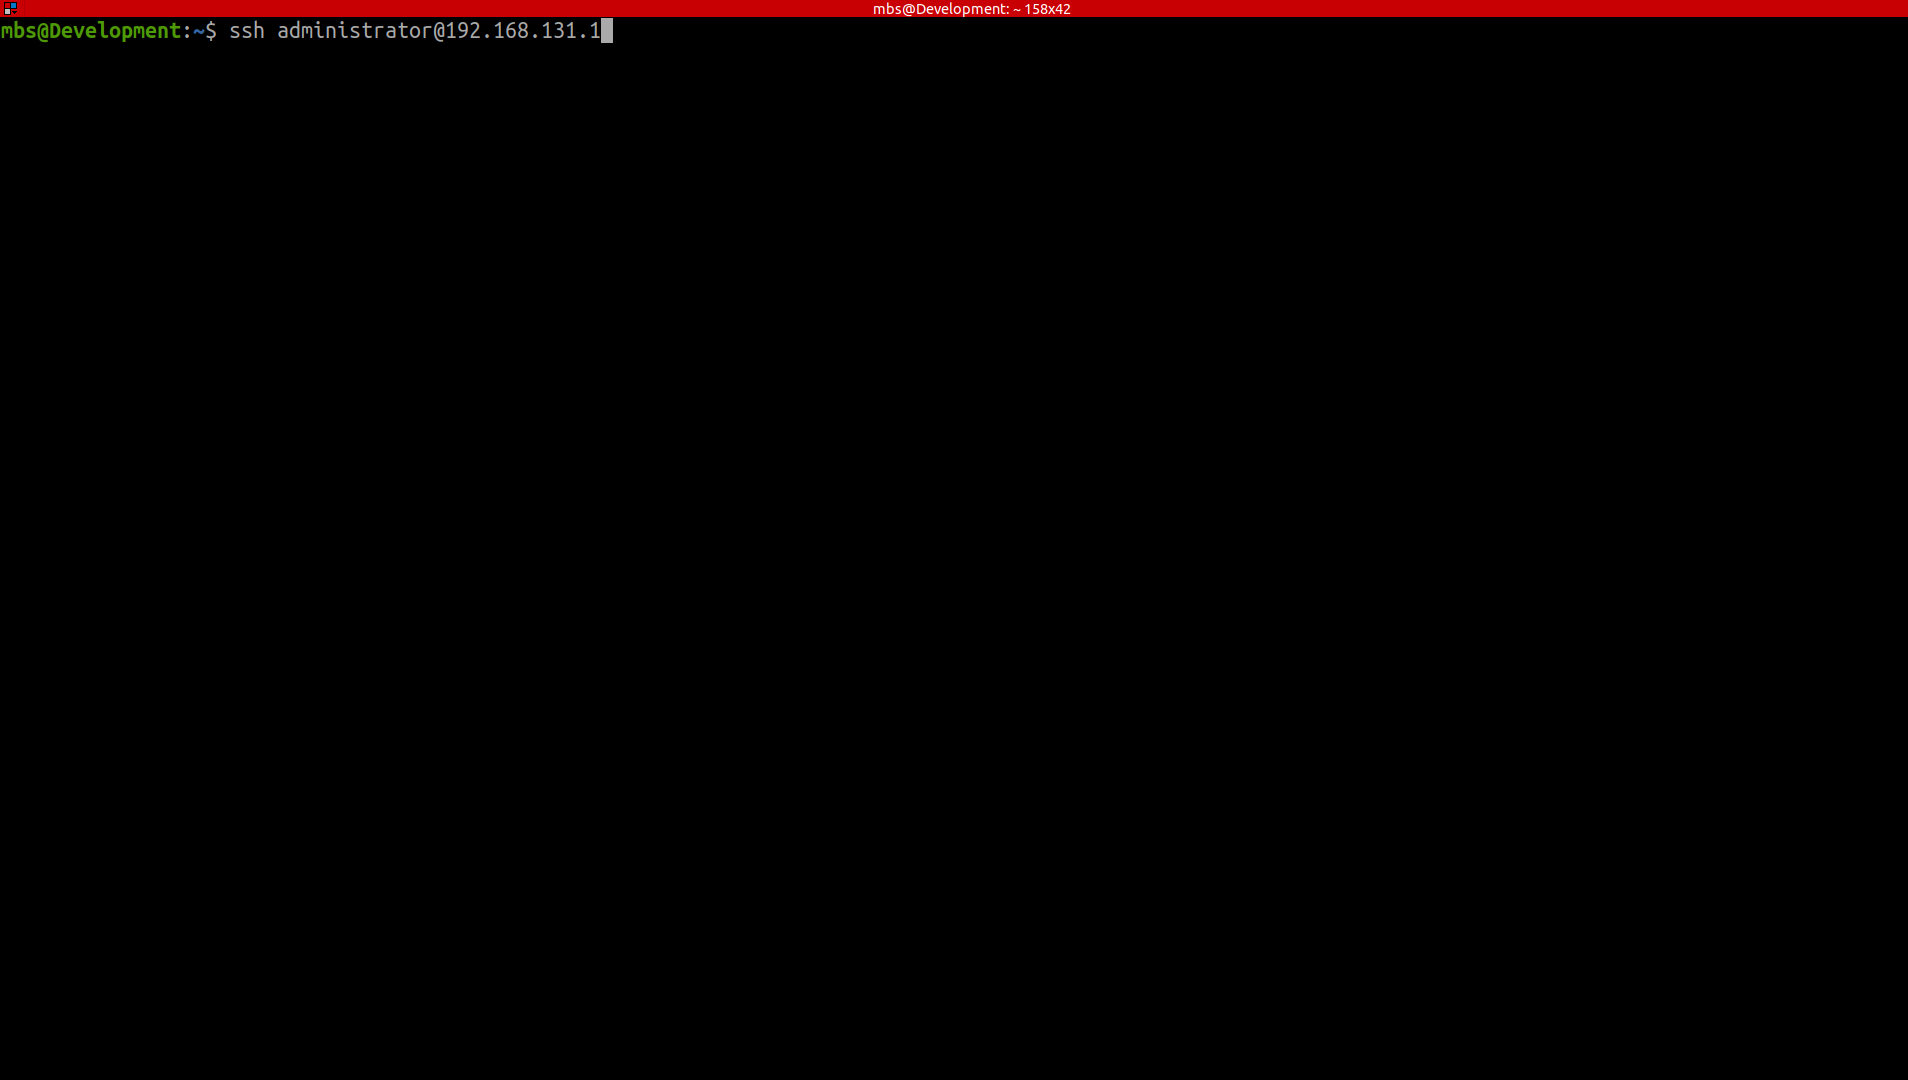
After a successful ping, you can access the robot by using the following command:
ssh -X administrator@192.168.131.1
The password required is:
mybotshop
Note: For Jackals operating on the default DHCP connections, there are a couple of approaches: Method 1 Follow the second method for connecting to the Jackal as described below. Alternative for Static Connection You can choose not to set up a static connection and instead run the command
nmap -sP 192.168.0.*. This command scans all available networks within the .0 range. After identifying the network associated with the Jackal, you can establish a connection using SSH.
This alternative method allows you to locate the Jackal’s network and subsequently connect to it via SSH without configuring a static connection on your system.
-----------------------------------------------------------------------
       _  _  _  _  ____   __  ____  ____  _  _   __  ____
      ( \/ )( \/ )(  _ \ /  \(_  _)/ ___)/ )( \ /  \(  _ \
      / \/ \ )  /  ) _ ((  O ) )(  \___ \) __ ((  O )) __/
      \_)(_/(__/  (____/ \__/ (__) (____/\_)(_/ \__/(__)

-----------------------------------------------------------------------
Current PC: Jackal
-----------------------------------------------------------------------
Jackal IP:    192.168.131.1
Pswd:         mybotshop
SSH:          ssh -X administrator@192.168.131.1

Ouster IP:    192.168.131.20 (INFO: Default off)
--------------------------------------------------------------------------
Jackal Startup
--------------------------------------------------------------------------
ROS status:          sudo service ros2 status
ROS start:           sudo service ros2 start
ROS stop:            sudo service ros2 stop
ROS restart:         sudo service ros2 restart

Ouster + Zed2i:      ros2 launch jkl_sensors system.launch.py
SLAM:                ros2 launch jkl_navigation slam.launch.py
Map Navi:            ros2 launch jkl_navigation map_navi.launch.py
Odom Navi:           ros2 launch jkl_navigation odom_navi.launch.py
Visualization:       ros2 launch jkl_viz view_robot.launch.py

Rebuild package:     colcon build --symlink-install
--------------------------------------------------------------------------
Jackal Screen Connection
An alternative method to connect with the Jackal is by utilizing an HDMI cable along with a mouse and keyboard. This setup facilitates the connection of the Jackal to your local WiFi network, enabling subsequent connections via WiFi.
Jackal PC Setup
To utilize this method:
- Access your networks and add your WiFi connection.
- Open the terminal and type:
ifconfig
Identify the IP that starts with wl (e.g., wlps0 ). This IP corresponds to your WiFi connection. Use this IP to SSH into your robot:
ssh -X administrator@192.168.0.228
Replace 192.168.0.228 with the actual IP obtained from the ifconfig command. This will establish an SSH connection to your robot. Afterward, input the command clearpath .
Note: The provided IP (192.168.0.228 ) is an example. The real IP is acquired from the ifconfig command output.
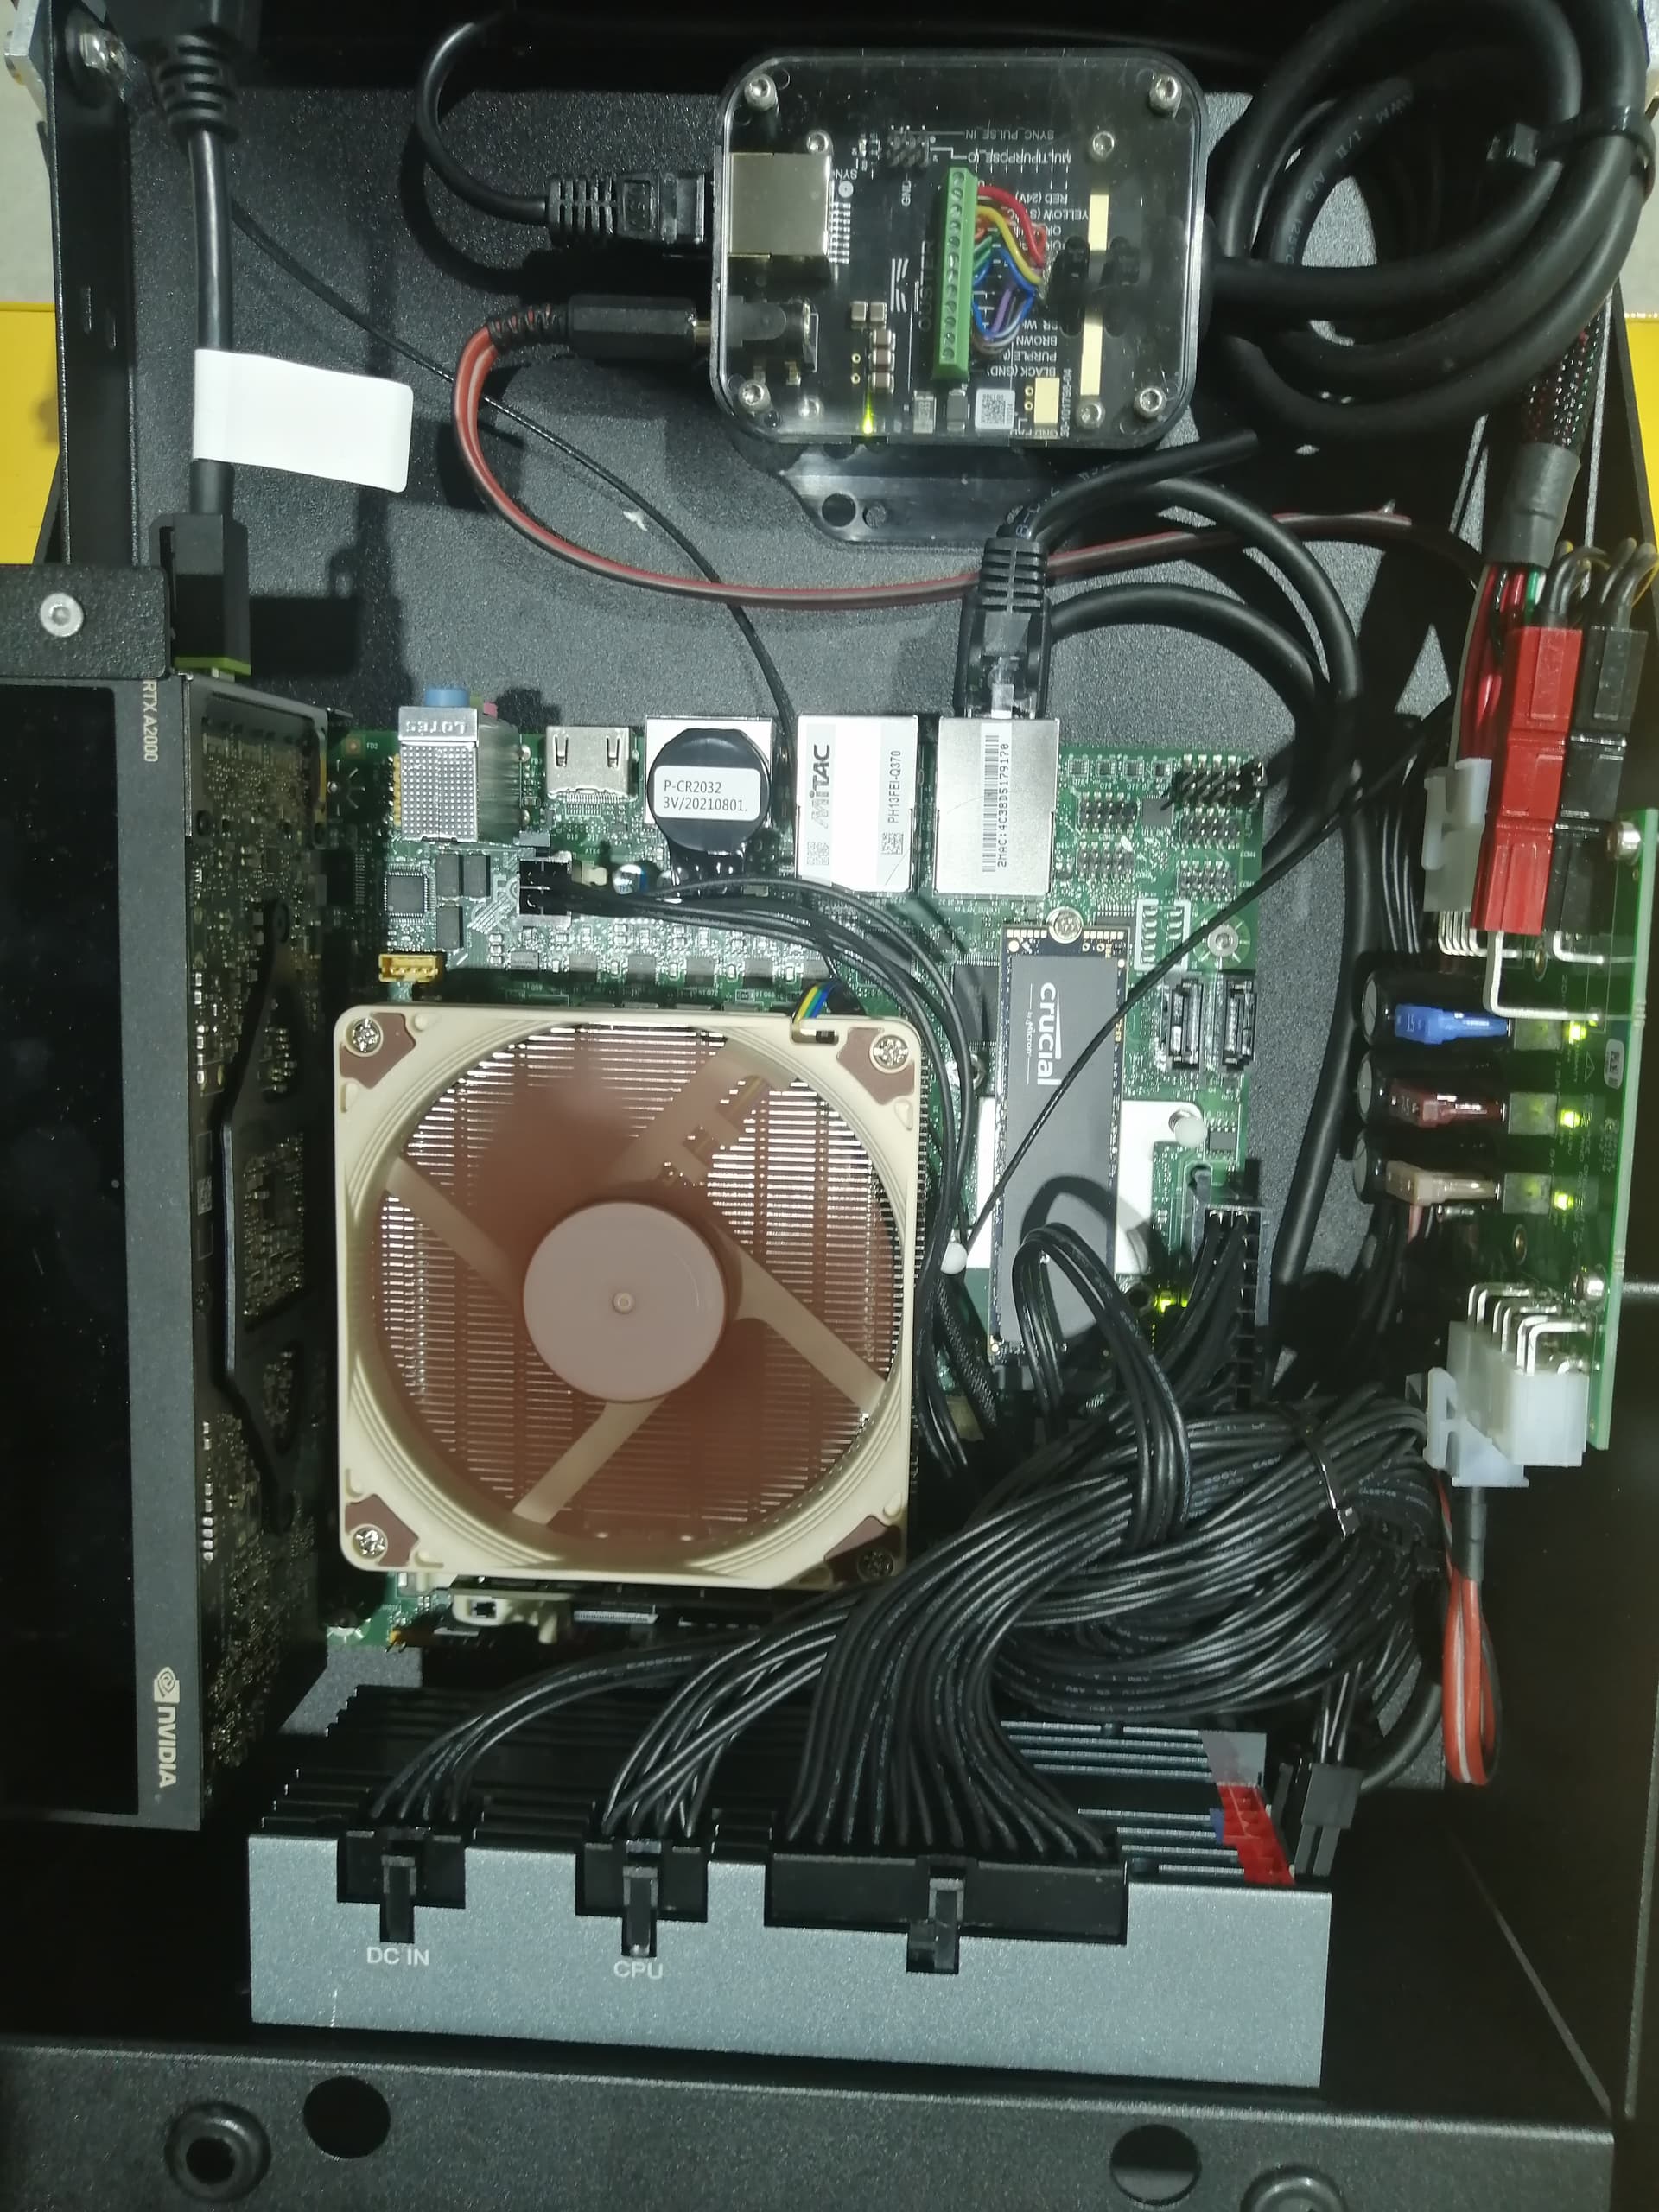
Network Configuration
The Jackal is equipped with an industrial-grade onboard computer. Specifically:
- The MCU port functions on 192.168.131.1.
- The Ouster Lidar port operates on 192.168.132.20.
| Device | Network |
|---|---|
| Jackal | 192.168.131.1 |
| Ouster Lidar | 192.168.132.20 |
Jackal Software
The Jackal drivers, set up by MYBOTSHOP, are stored within the ros2_ws. Specifically, in the src folder, you’ll find the third_party section housing drivers designed for the Jackal and additional sensors such as the Ouster Lidar and ZED2 camera.
For configuring these auxiliary sensors, the link provided offers valuable information, particularly regarding navigation. It’s important to note that while the setup maintains a default configuration, users have the flexibility to define their parameters within their custom package, as per their specific requirements.
Start-up Job
The default startup configuration for the Jackal is managed by the Clearpath startup job, unless explicitly specified otherwise. If there are any concerns regarding the robot’s startup, SSH into the Jackal allows you to verify the status of the startup job:
sudo service ros2 status
Here’s what the different markers signify:
- Red Marker: Indicates a failed startup job.
- Green Marker: Indicates normal functioning.
- Grey Marker: Indicates the service hasn’t started yet.
In case of a red or grey marker, you can attempt to restart the service using:
sudo service ros2 restart
Auxiliary Sensors
To start the ouster lidar as well as the zed2i, you can launch it via:
ros2 launch jkl_sensors system.launch.py
Ouster Lidar
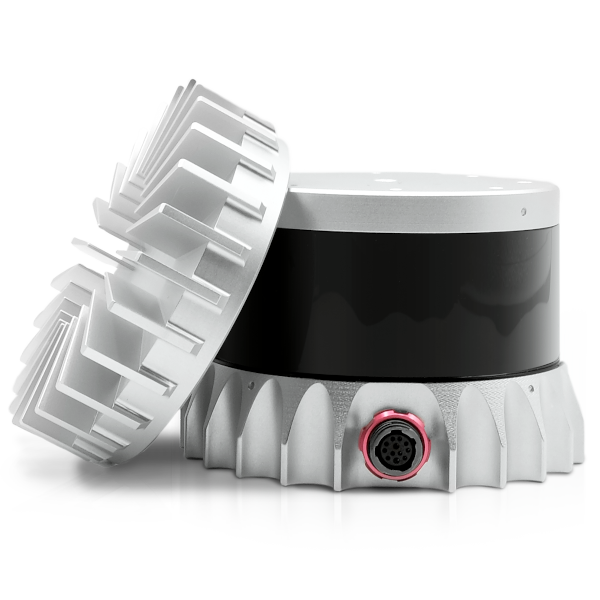
Start the Ouster Lidar driver only using:
ros2 launch jkl_sensors ouster.launch.py
Configuration settings are available within the jkl_sensors/ouster.launch.py file.
ZED2
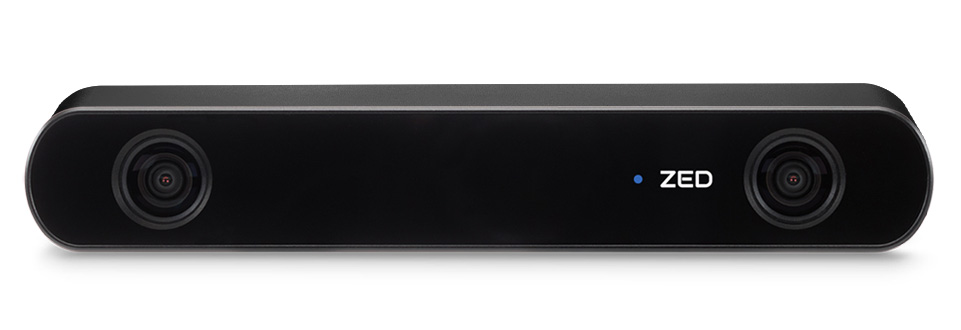
The ZED2 camera employs an Nvidia Graphics card integrated into the onboard PC.
To start the Zed2i camera only:
ros2 launch jkl_sensors zed2i.launch.py
Ensure the camera is connected via USB3.0. If disconnected, reattach it; otherwise, the camera may not be detected.
For usage instructions, refer to the ZED2 ROS2 Tutorial
Configuration settings are available within the jkl_sensors/zed2i.launch.py file.
Autonomous Navigation
Odom Navigation
One can easily initiate basic navigation using the built-in odometry of the Jackal by executing the command:
ros2 launch jkl_navigation odom_navi.launch.py
This command lets you navigate the robot in the global frame of map
Map Navigation
To initiate map-based navigation, the process involves mapping the environment first, followed by waypoint navigation. Here are the steps to achieve this:
- Start creating a map by executing the SLAM navigation command:
ros2 launch jkl_navigation slam.launch.py
- Simultaneously, in a separate terminal, launch the visualization command to observe the map being constructed:
ros2 launch jkl_viz view_robot.launch.py
Utilize the joystick controller to navigate and create the map. Once satisfied with the map, export it using this command in one of the Jackal’s terminals:
ros2 run nav2_map_server map_saver_cli -f /home/administrator/ros2_ws/src/mbs/jkl_navigation/maps/custom_map
After saving the map, rebuild the packages to incorporate the new map:
colcon build --symlink-install --cmake-args -DCMAKE_BUILD_TYPE=Release
Upon successful rebuilding, in one terminal, launch the map navigation command to load the saved map:
ros2 launch jkl_navigation map_navi.launch.py
Finally, in a separate terminal, execute the visualization command to visualize and control the robot via rviz:
ros2 launch jkl_viz view_robot.launch.py
Debugging Controller
In case of joystick issues, SSH into the robot and teleoperate it using:
rosrun teleop_twist_keyboard teleop_twist_keyboard.py
This rearrangement aims to offer a clear breakdown of steps and commands related to Ouster Lidar, ZED2 camera, and joystick debugging, making it easier to navigate and utilize these components effectively.