
Jackal-Ouster-Zed

This guide provides a quick and compact overview for managing the Jackal.
The Jackal, produced by Clearpath Robotics, is an indoor, compact development platform—a differential robot. Normally, this unit arrives with pre-installed ROS Noetic, ensuring smooth operations. However, for this specific project, both the MCU and the onboard PC required a complete reconfiguration with ROS Foxy
Jackal Informative Links
Quick Start
The Jackal is powered on using the designated power button, and when starting up with the Ouster and Zed2, it might take up to a minute to initiate.
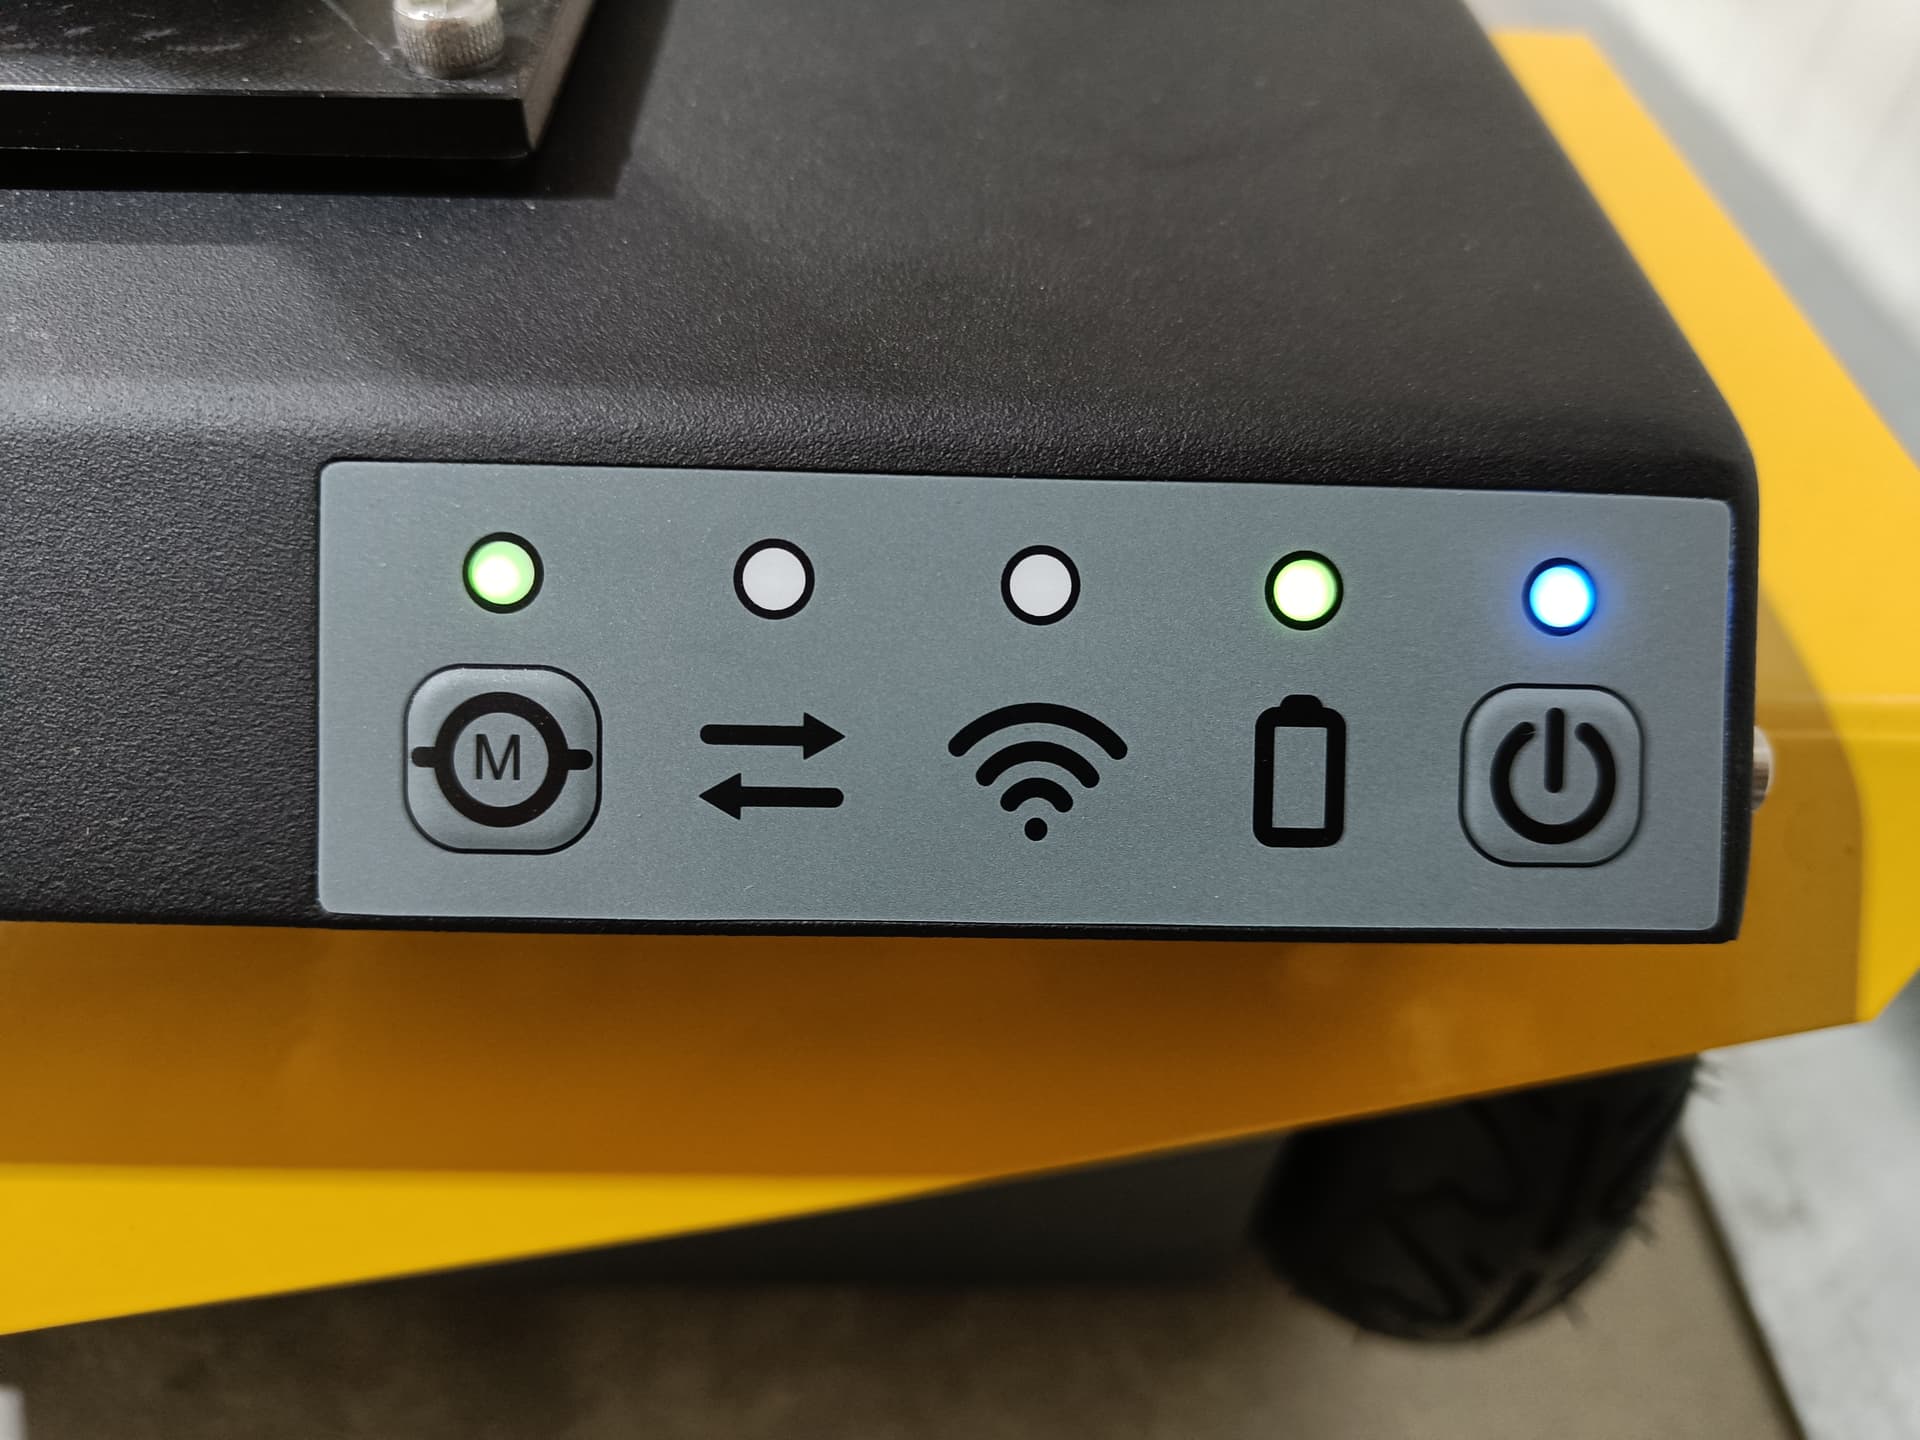
Upon successful initiation, the green light on the MCU signifies the system’s activation, while the directional arrows indicate its readiness to receive commands from the onboard PC.
In certain Jackal configurations, auxiliary sensor software drivers, like LiDAR, may commence during startup. However, if there’s a disconnection or damage to the sensor’s wiring, this can hinder the robot’s startup process.
For remote software connection, initial access to configure the WiFi network is necessary. This configuration can be achieved through two methods: either via a static network connection or through the screen. The screen method is often preferred due to its efficiency and user-friendliness, making it quicker for clients to set up.
Jackal Static Network Connection
Initial Configuration of Jackal’s WLAN Network
To set up the robot’s WLAN network for the first time, follow these steps using a LAN cable connection:
- On your own PC (not the Jackal), navigate in Ubuntu to Settings → Network. Click on the “+” to create a new connection.
- Under IPv4, switch the connection to manual.
- Enter the following settings:
- Address: 192.168.131.1 (may vary for different robots)
- Netmask: 24
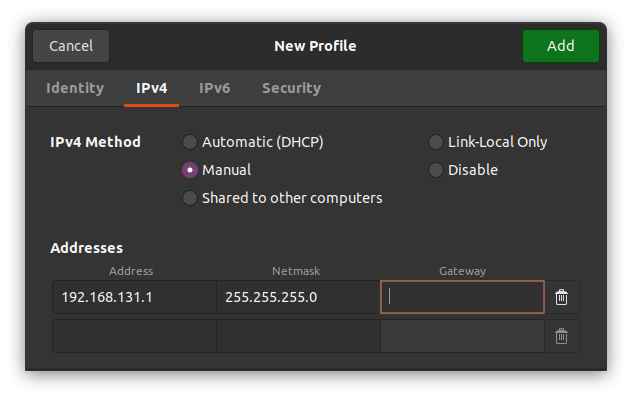
Save these settings and restart your network. Then, open the Jackal as shown and connect the LAN cable to the robot.
Once connected, determine the host’s local IP by entering the following command in the Host PC’s terminal:
ifconfig
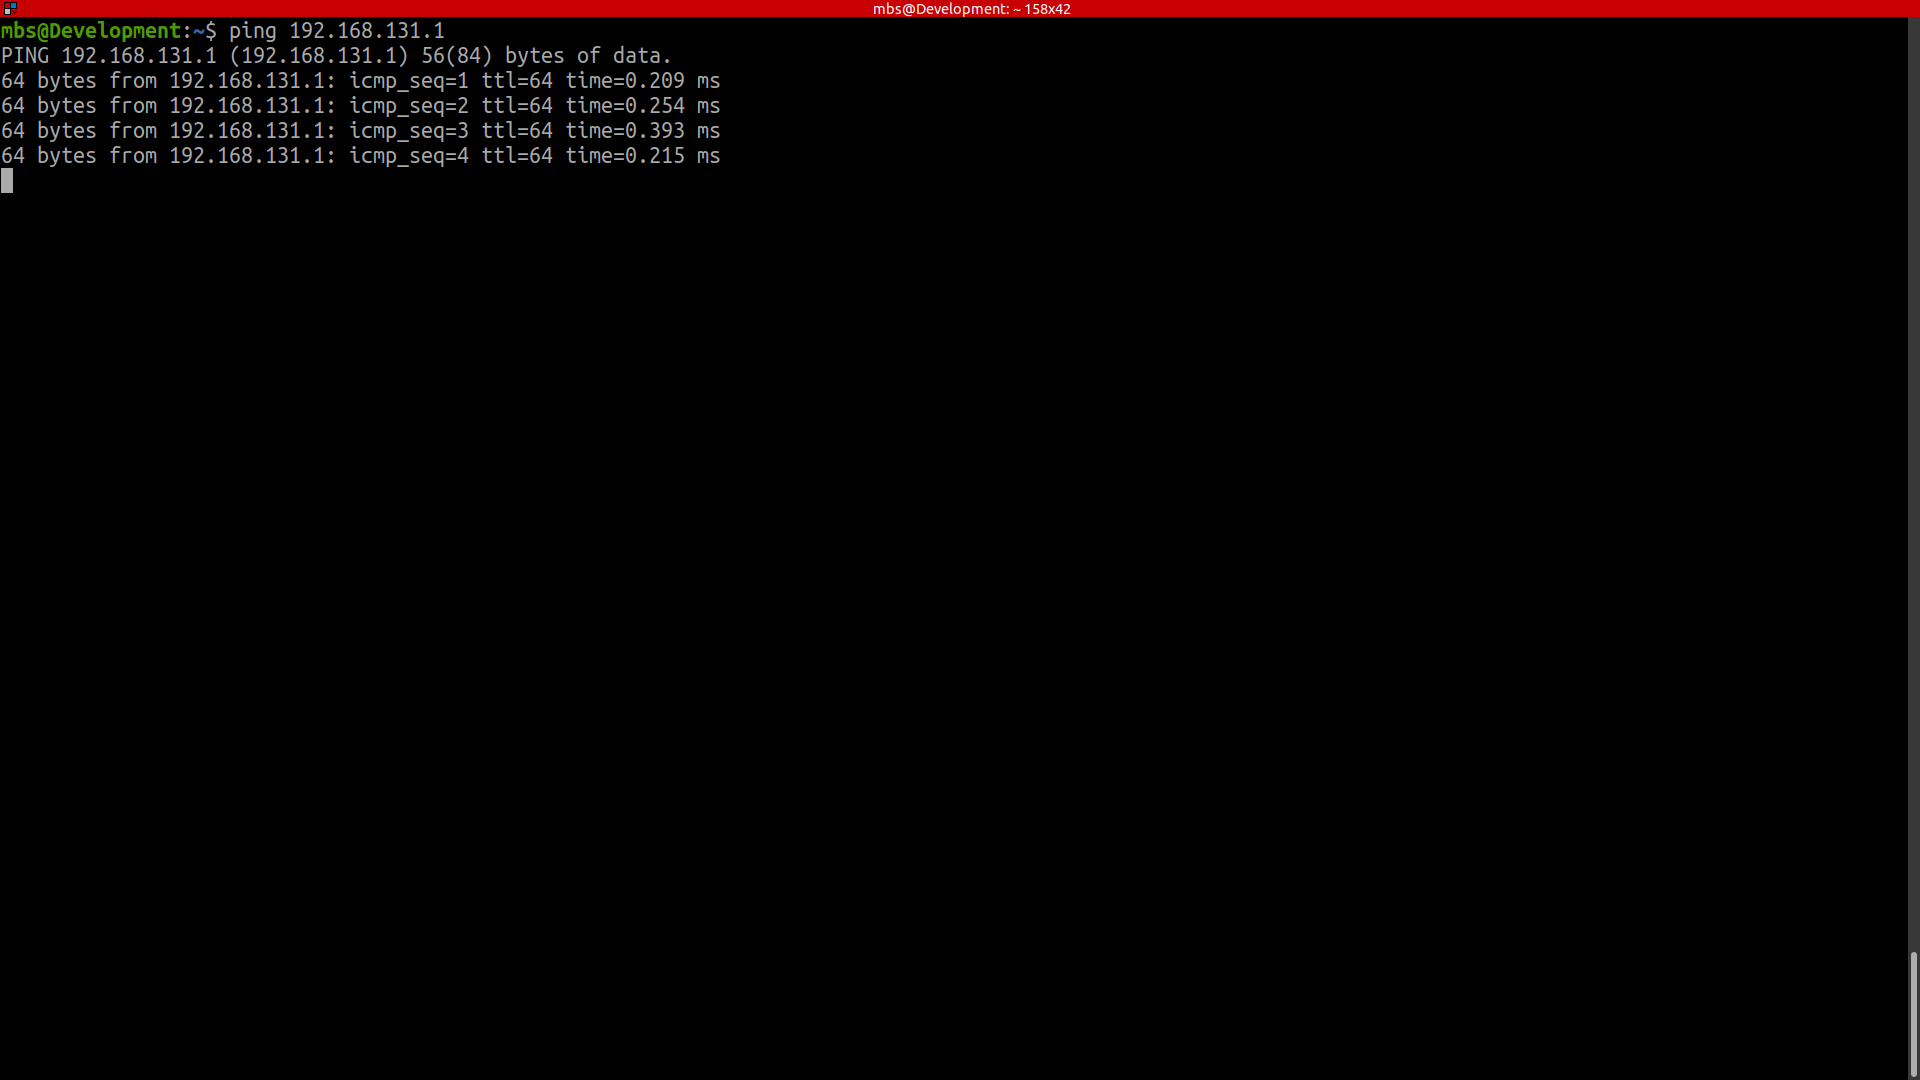
This command should display the host IP assigned in the previous step. Next, check if you can ping the robot from your host PC:
ping 192.168.131.1
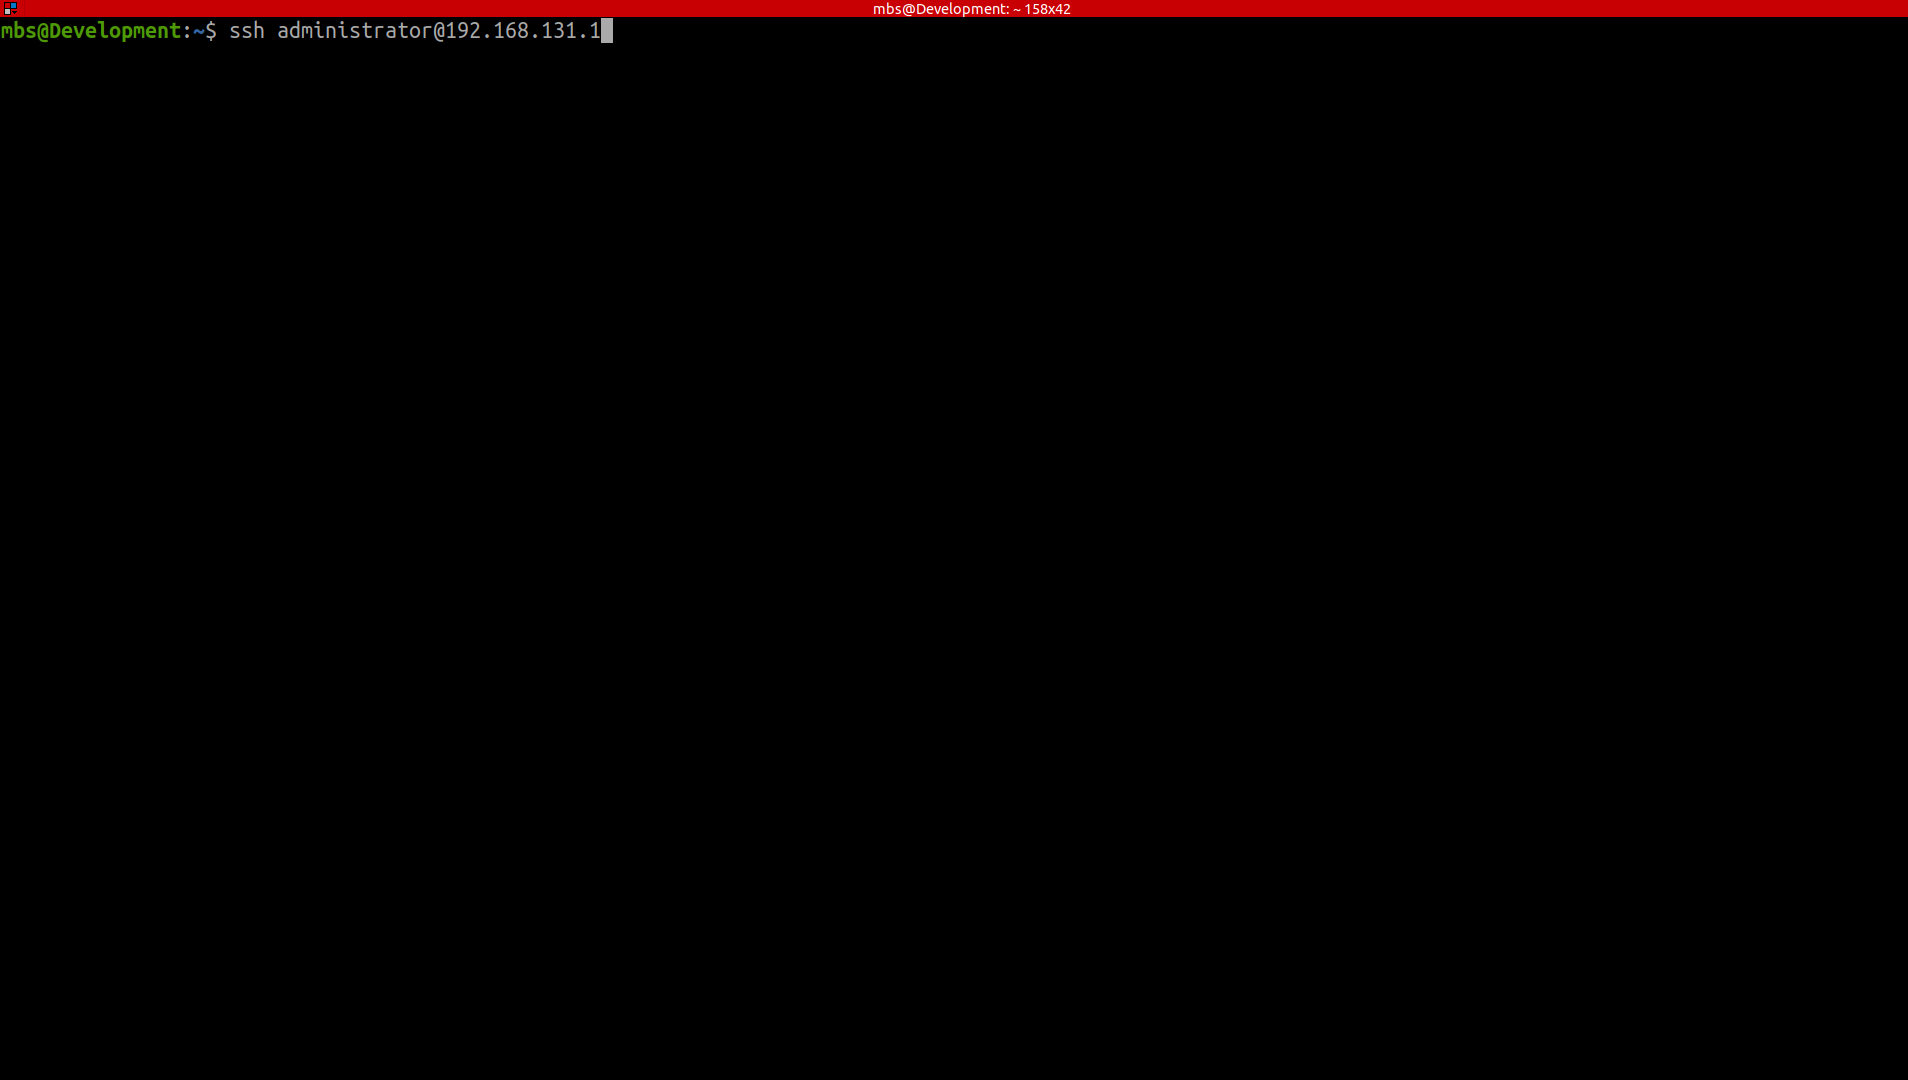
After a successful ping, you can access the robot by using the following command:
ssh -X administrator@192.168.131.1
The password required is:
mybotshop
Note: Some Jackals use default DHCP connections. In such cases, you can either follow the alternative connection method mentioned below or skip setting up a static connection. Instead, run the command
nmap -sP 192.168.0.*. This command scans available networks within the .0 range. Once you identify the Jackal’s network, you can connect via SSH.
-----------------------------------------------------------------------
       _  _  _  _  ____   __  ____  ____  _  _   __  ____
      ( \/ )( \/ )(  _ \ /  \(_  _)/ ___)/ )( \ /  \(  _ \
      / \/ \ )  /  ) _ ((  O ) )(  \___ \) __ ((  O )) __/
      \_)(_/(__/  (____/ \__/ (__) (____/\_)(_/ \__/(__)

-----------------------------------------------------------------------
Current PC: Jackal
-----------------------------------------------------------------------

Jackal IP:    192.168.131.1
Pswd:         clearpath
SSH:          ssh -X administrator@192.168.131.1

Ouster IP:    192.168.131.20 (INFO: Default off)

--------------------------------------------------------------------------
Jackal Startup
--------------------------------------------------------------------------

JKL status:      sudo service jkl status
JKL start:       sudo service jkl start
JKL stop:        sudo service jkl stop
JKL restart:     sudo service jkl restart

Sensors Launch:  roslaunch jkl_sensors sensor.launch

Update startup:  rosrun jkl startup_script.sh

Rebuild package: catkin build --cmake-args -DCMAKE_BUILD_TYPE=Release
--------------------------------------------------------------------------
Jackal Screen Connection
Another way to connect to the Jackal involves using an HDMI cable along with a mouse and keyboard. This setup enables connecting the Jackal to your local WiFi network, allowing subsequent connections over WiFi.
Jackal PC Setup
To connect via this method, access your networks and add your WiFi. Then, in the terminal, type
ifconfig
Identify the IP starting with wl (e.g., wlps0). This is your WiFi’s IP. Use this IP to SSH into your robot:
ssh -X administrator@192.168.0.228
clearpath
Note: 192.168.0.228 is an example. The actual IP is obtained from the ifconfig command.
Network Configuration
The Jackal features an industrial-grade computer onboard. The MCU port operates on 192.168.131.1, while the Ouster Lidar port operates on 192.168.132.20.
| Device | Network |
|---|---|
| Jackal | 192.168.131.1 |
| Ouster Lidar | 192.168.132.20 |
Jackal Software
The Jackal drivers, configured by MYBOTSHOP, are located in the ros_ws. Within the src folder, the third_party section contains drivers for the Jackal and auxiliary sensors like the Ouster Lidar and ZED2 camera.
For configuring auxiliary sensors, this link provides valuable information, especially for navigation. As user requirements differ, the setup remains the default, allowing users to specify their parameters in their custom package.
Start-up Job
By default, the Jackal utilizes the Clearpath startup job, unless specified otherwise. In case of any issues with the robot’s startup, SSH into the Jackal allows verification of the startup job’s status:
sudo service jkl status
- Red Marker: Indicates a failed startup job.
- Green Marker: Indicates normal functioning.
- Grey Marker: Indicates the service hasn’t started yet.
For red or grey markers, restarting the service can be attempted using:
sudo service jkl restart
The system_startup.launch launch file, located in jkl_startup, encompasses everything initiated at startup. This file can be modified to include additional nodes or launch files (e.g., custom packages). After adding your custom content to mbs_jackal.launch, execute the following script to update the startup job on the Jackal’s PC:
rosrun mbs_jackal_startup startup_script.sh
This script ensures the updated mbs_jackal.launch is used during the startup process.
Ouster Lidar
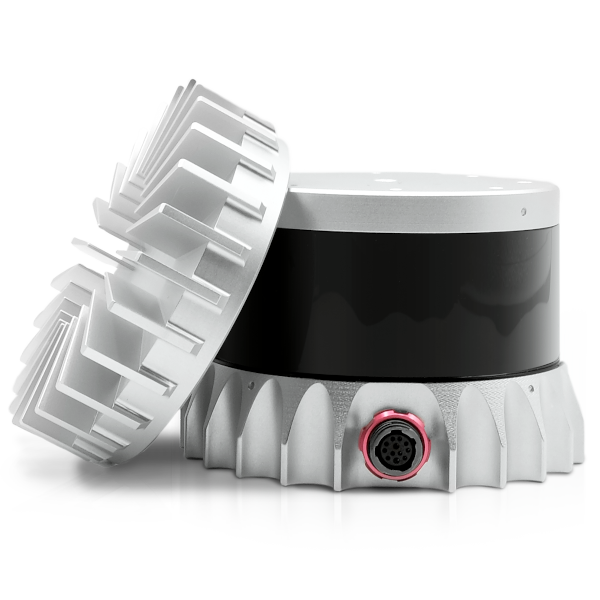
Start the Lidar drivers using:
roslaunch jkl_sensors sensor.launch
Configuration settings are available within the jkl_sensors/sensor.launch file.
ZED2
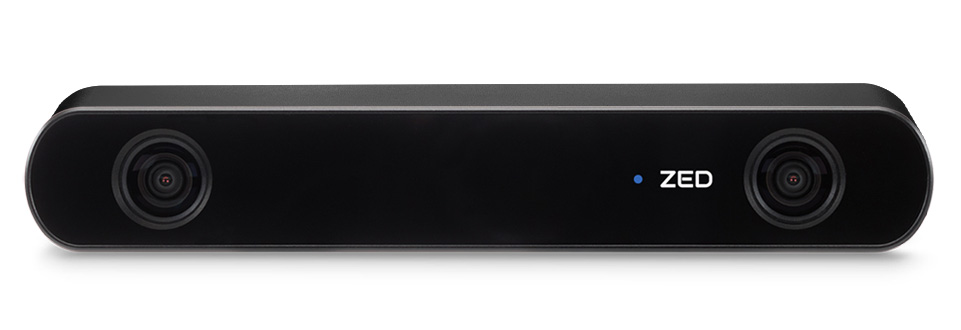
The ZED2 camera utilizes an onboard Nvidia Graphics card. Drivers are typically built and provided within the third_party section in the ros_ws. Depending on the ZED2 camera version, launch the appropriate command:
roslaunch zed_wrapper zed2.launch
roslaunch zed_wrapper zed2i.launch
roslaunch zed_wrapper zed_no_tf.launch
Ensure the camera is connected via USB3.0. If disconnected, reattach it; otherwise, the camera may not be detected.
For usage instructions, refer to the ZED2 ROS Tutorial.
Debugging Controller
In case of joystick issues, SSH into the robot and teleoperate it using:
rosrun teleop_twist_keyboard teleop_twist_keyboard.py
This rearrangement aims to offer a clear breakdown of steps and commands related to Ouster Lidar, ZED2 camera, and joystick debugging, making it easier to navigate and utilize these components effectively.