HUSKY-Emlid_Reach_RS2-Phidgets_IMU-Ouster_Lidar-ZED2i-NVIDIA_AGX_Orin
Tutorial]
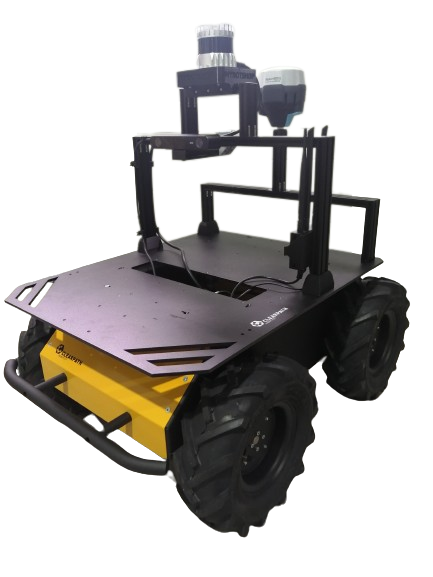
This post serves as a brief and concise manual for operating Husky, utilizing an Nvidia Orin as the computational unit to process the Stereolabs Zed2i camera feed. Additionally, it manages other sensor processes, such as utilizing Phidgets for orientation data, Ouster lidar for obstacle avoidance, and Emlid Reach RS2 for GPS tracking, all handled by a custom-built PC.
Informative Links
-
Husky ROS Cheat Sheet (Applicable to Noetic)
Quick Start
Powering On
The robot is turned on via the power button, and the start-up of the Husky may take up to a minute to start. The green light indicates that the MCU has successfully started and connected to the onboard PC and is now able to receive commands from the onboard PC.
To establish a software remote connection, access to the robot can be achieved either through an Ethernet port or via the Wi-Fi router installed on the Husky.
Teleop
Some quick useful commands in case there is an issue with the joystick is to ssh into the robot and teleoperate it via:
rosrun teleop_twist_keyboard teleop_twist_keyboard.py
Network
Network configuration for the robot is.
| Device | Network | username | Password |
|---|---|---|---|
| Husky Wifi | Husky-A200-0986 | - | mynotshop |
| Wifi Router | 192.168.131.100 | admin | Admin123 |
| Main PC | 192.168.131.1 | administrator | mynotshop |
| Nvidia Jetson Orin | 192.168.131.2 | administrator | - |
| Ouster OS1-32 | 192.168.131.20 | - | - |
Robot Interface
To enable software remote connection, initial access to the robot is required to configure the WiFi network. This configuration can occur through either of two methods: the first is using the static network connection, while the second involves using the screen. The screen method is notably quicker and more user-friendly for clients during setup.
Static Network Connection
For the first time, one needs to connect through a LAN cable to configure the robot’s WLAN network.
To create a static connection in your own PC (not the Husky), in Ubuntu go to Settings → Network then click on + and create a new connection.
-
The first task is to go to IPv4 and change the connection to manual.
-
The second task is to put the Address IP as 192.168.131.1 (may differ from robot to robot) and the Netmask as 24.
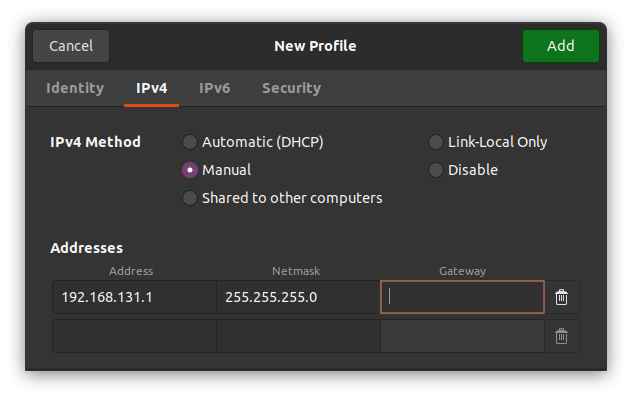
Click save and restart your network. Next is to connect the LAN cable to the robot. After a successful connection let’s check the host’s local IP by typing in the Host PC’s terminal.
ifconfig
This should show the host IP which was assigned in the above step. Now it is time to check if we can ping the robot or not, to do so type in your host pc
ping 192.168.131.1
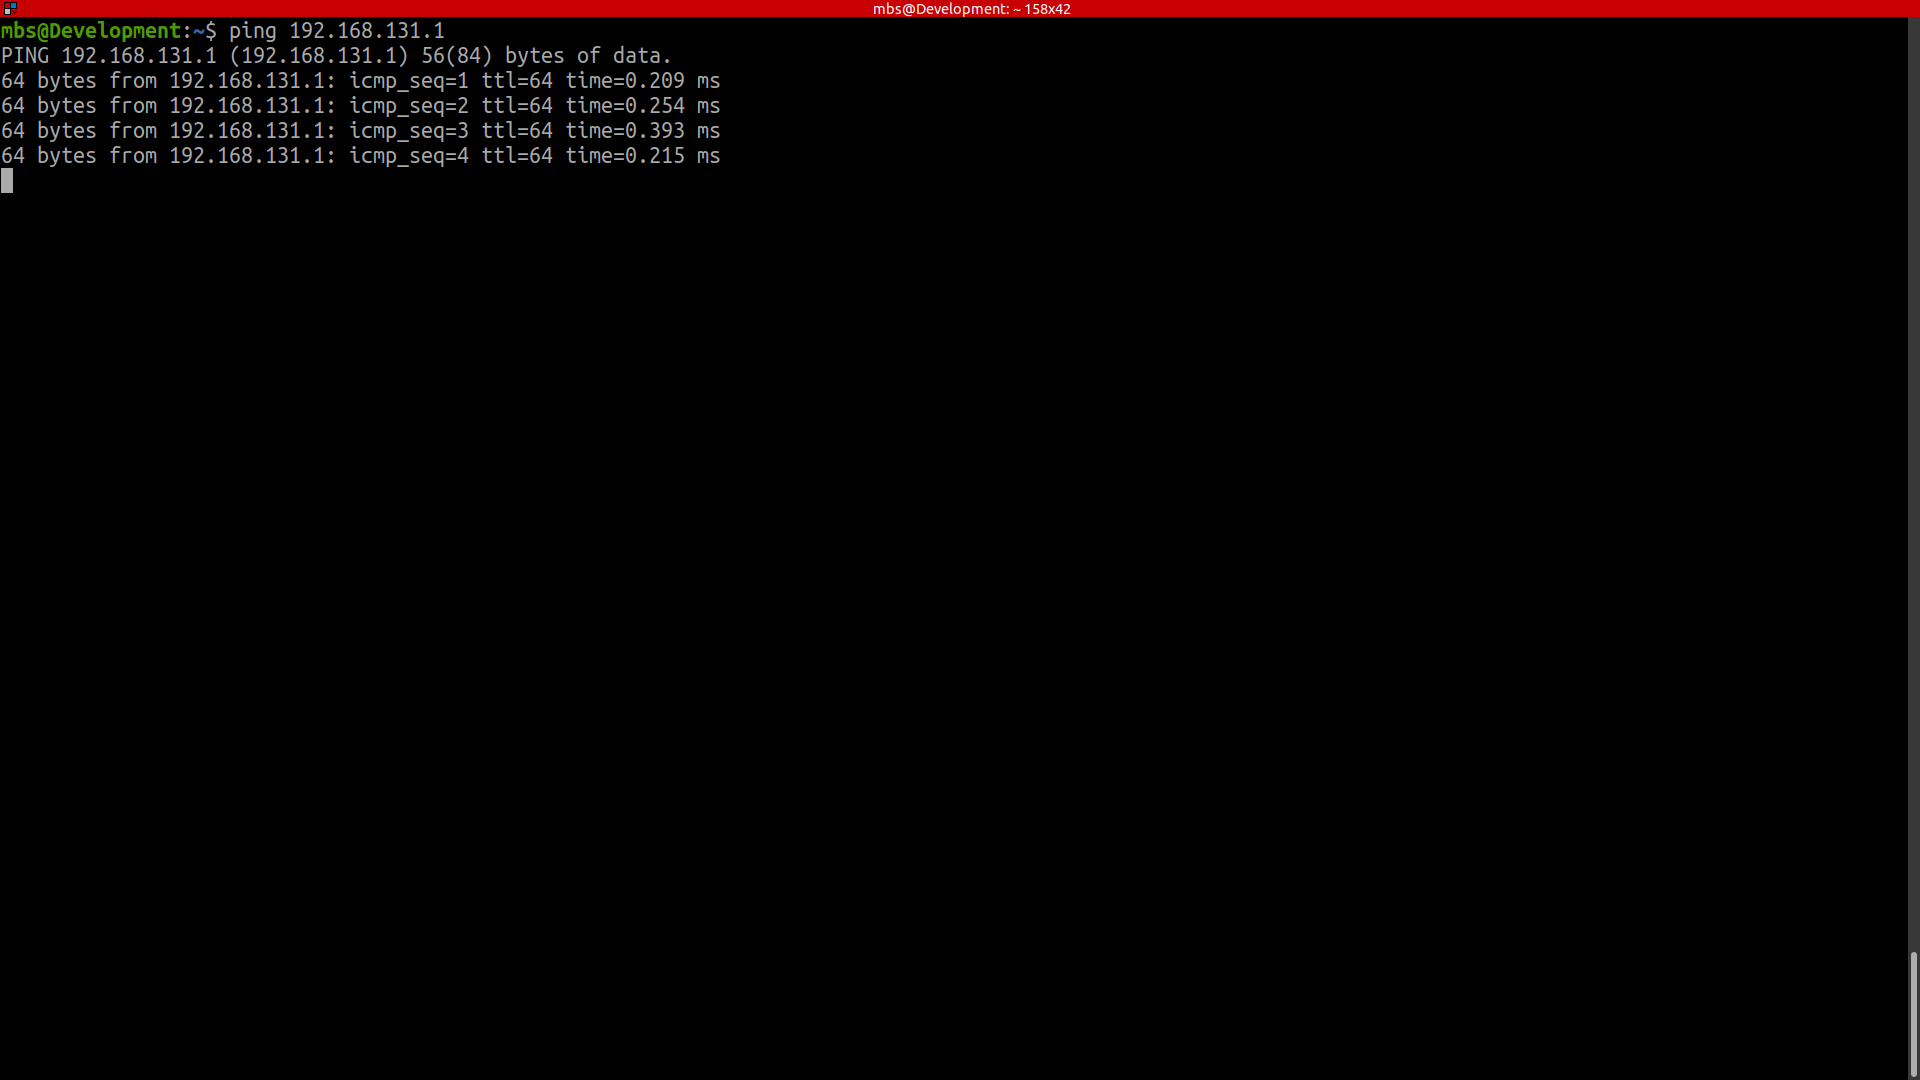
After a successful ping, it’s time to access the robot. To access the robot you can type the following command:
ssh -X administrator@192.168.131.1
The password is
clearpath
Screen Connection
An alternative for connecting to the Husky is by plugging in an HDMI cable as well as a mouse and keyboard. This will allow you to connect the Husky to your own local WiFi network and then you can connect later over the WiFi.
Husky PC
The procedure is simply to go to your networks and add your WiFi. Then in the terminal type:
ifconfig
The IP that comes with the initial characters of wl is your WiFi’s IP. e.g. wlps0. With this IP you can SSH to your robot via your host PC.

ssh -X administrator@192.168.0.228
192.168.0.228 is just an example of this. IP is taken from the ifconfig.
clearpath
WiFi Connection
Users have the option to connect to the Husky’s WiFi named Husky-A200-0986 using the password mybotshop . Once connected, they can directly SSH into the Husky PC with:
ssh -X administrator@192.168.131.1
Alternatively, they can SSH into the Nvidia unit with:
ssh -X administrator@192.168.131.2
The password for both SSH connections remains consistent:
mybotshop
Robot Software
The Husky drivers configured by MYBOTSHOP are located in the ros_ws. In the src folder, the third_party contains the drivers for the Husky.
As requirements vary from user to user, the setup has been left as default and the users can specify their own parameters in their own custom package. When connecting or ssh’ing to the robot pc, additional information regarding the robot will be displayed e.g.
-------------------------------------------------------------------------------
            .-/+oossssoo+/-.               root@Husky-A200-0986
        `:+ssssssssssssssssss+:`           --------------------
      -+ssssssssssssssssssyyssss+-         OS: Ubuntu 20.04.3 LTS x86_64
    .ossssssssssssssssssdMMMNysssso.       Host: PD11TGS N/A
   /ssssssssssshdmmNNmmyNMMMMhssssss/      Kernel: 5.15.0-88-generic
  +ssssssssshmydMMMMMMMNddddyssssssss+     Uptime: 2 mins
 /sssssssshNMMMyhhyyyyhmNMMMNhssssssss/    Packages: 2948 (dpkg), 9 (snap)
.ssssssssdMMMNhsssssssssshNMMMdssssssss.   Shell: bash 5.0.17
+sssshhhyNMMNyssssssssssssyNMMMysssssss+   Terminal: run-parts
ossyNMMMNyMMhsssssssssssssshmmmhssssssso   CPU: 11th Gen Intel i5-1145G7E (8) @
ossyNMMMNyMMhsssssssssssssshmmmhssssssso   GPU: Intel Device 9a49
+sssshhhyNMMNyssssssssssssyNMMMysssssss+   Memory: 858MiB / 31848MiB
.ssssssssdMMMNhsssssssssshNMMMdssssssss.
 /sssssssshNMMMyhhyyyyhdNMMMNhssssssss/
  +sssssssssdmydMMMMMMMMddddyssssssss+
   /ssssssssssshdmNNNNmyNMMMMhssssss/
    .ossssssssssssssssssdMMMNysssso.
      -+sssssssssssssssssyyyssss+-
        `:+ssssssssssssssssss+:`
            .-/+oossssoo+/-.

-------------------------------------------------------------------------------

-------------------------------------------------------------------------------
Network Configuration
-------------------------------------------------------------------------------
Interface: lo
IPv4 Address: 127.0.0.1/8
IPv6 Address: ::1/128

Interface: enp1s0
IPv4 Address:
IPv6 Address:

Interface: eno1
IPv4 Address:
IPv6 Address:

Interface: bridge0
IPv4 Address: 192.168.131.1/24
IPv6 Address: fe80::ee08:bd65:8655:54a4/64

Internet Status: Disconnected
DNS Servers:
-------------------------------------------------------------------------------

-------------------------------------------------------------------------------
       _  _  _  _  ____   __  ____  ____  _  _   __  ____
      ( \/ )( \/ )(  _ \ /  \(_  _)/ ___)/ )( \ /  \(  _ \
      / \/ \ )  /  ) _ ((  O ) )(  \___ \) __ ((  O )) __/
      \_)(_/(__/  (____/ \__/ (__) (____/\_)(_/ \__/(__)

-------------------------------------------------------------------------------
Current PC: Husky
-------------------------------------------------------------------------------

Husky IP:    192.168.131.1
Pswd:        mybotshop
SSH:         ssh -X administrator@192.168.131.1

Nvidia IP:   192.168.131.2
Pswd:        mybotshop
SSH:         ssh -X administrator@192.168.131.2

Ouster IP:   192.168.131.20 (INFO: Default off)

Router IP:   192.168.131.100
Router Pswd: mybotshop
login:       admin
Pswd:        Admin123

-------------------------------------------------------------------------------
Husky Startup
-------------------------------------------------------------------------------

HSKY status:      sudo service hsky status
HSKY start:       sudo service hsky start
HSKY stop:        sudo service hsky stop
HSKY restart:     sudo service hsky restart

Rviz:             roslaunch hsky_viz view_robot.launch

Ouster-Driver:    roslaunch hsky_lidars lidars.launch
Emlid-Driver:     roslaunch reach_rs_driver reach_rs.launch
Update startup:   rosrun hsky startup_installer.py

Rebuild package: catkin build --cmake-args -DCMAKE_BUILD_TYPE=Release

-------------------------------------------------------------------------------
Robot (Main-Pc) Startup
The start-up job is available for the main PC. The startup job launches two main components:
- Husky base drivers
- Phidgets IMU driver
The launch file system_bringup.launch in the ros_ws package of hsky_startup includes everything that is being launched at the startup.
The Husky ordinarily utilizes Clearpath startup job unless otherwise specified. In this robot, we have our own upstart job for the custom auxiliary drivers. In case there is an issue with the robot not starting up. One can ssh into the Husky and verify if the startup job is working correctly.
sudo service hsky status
The red marker in the service indicates that the startup job has failed. Green indicates everything is operating correctly. Grey indicates that the service has not started yet. In case of red or grey marker, you may restart the service via:
sudo service hsky restart
New launch files and nodes can be added to the startup job by inserting them into the system_bringup.launch launch file for PC startup. Once added Run the following in ros_ws.
rosrun hsky_startup startup_installer.py
It should now run with the updated additions.
Robot (Nvidia-Pc) Startup
-------------------------------------------------------------------------------
            .-/+oossssoo+/-.               root@ubuntu
        `:+ssssssssssssssssss+:`           -----------
      -+ssssssssssssssssssyyssss+-         OS: Ubuntu 20.04.6 LTS aarch64
    .ossssssssssssssssssdMMMNysssso.       Host: Jetson AGX Orin Developer Kit
   /ssssssssssshdmmNNmmyNMMMMhssssss/      Kernel: 5.10.120-tegra
  +ssssssssshmydMMMMMMMNddddyssssssss+     Uptime: 38 mins
 /sssssssshNMMMyhhyyyyhmNMMMNhssssssss/    Packages: 2917 (dpkg)
.ssssssssdMMMNhsssssssssshNMMMdssssssss.   Shell: bash 5.0.17
+sssshhhyNMMNyssssssssssssyNMMMysssssss+   Terminal: run-parts
ossyNMMMNyMMhsssssssssssssshmmmhssssssso   CPU: ARMv8 rev 1 (v8l) (8) @ 1.728GHz
ossyNMMMNyMMhsssssssssssssshmmmhssssssso   Memory: 2354MiB / 62800MiB
+sssshhhyNMMNyssssssssssssyNMMMysssssss+
.ssssssssdMMMNhsssssssssshNMMMdssssssss.
 /sssssssshNMMMyhhyyyyhdNMMMNhssssssss/
  +sssssssssdmydMMMMMMMMddddyssssssss+
   /ssssssssssshdmNNNNmyNMMMMhssssss/
    .ossssssssssssssssssdMMMNysssso.
      -+sssssssssssssssssyyyssss+-
        `:+ssssssssssssssssss+:`
            .-/+oossssoo+/-.

-------------------------------------------------------------------------------

-------------------------------------------------------------------------------
Network Configuration
-------------------------------------------------------------------------------
Interface: lo
IPv4 Address: 127.0.0.1/8
IPv6 Address: ::1/128

Interface: dummy0
IPv4 Address:
IPv6 Address:

Interface: eth0
IPv4 Address: 192.168.131.2/24
IPv6 Address: fe80::344d:5c52:9e25:614c/64

Interface: wlan0
IPv4 Address: 192.168.0.200/24
IPv6 Address: fe80::f742:483:8d7f:d6c0/64

Interface: l4tbr0
IPv4 Address:
IPv6 Address:

Interface: rndis0
IPv4 Address:
IPv6 Address:

Interface: usb0
IPv4 Address:
IPv6 Address:

Interface: docker0
IPv4 Address: 172.17.0.1/16
IPv6 Address:

Internet Status: Connected
DNS Servers: Servers:
192.168.0.1
-------------------------------------------------------------------------------

-------------------------------------------------------------------------------
       _  _  _  _  ____   __  ____  ____  _  _   __  ____
      ( \/ )( \/ )(  _ \ /  \(_  _)/ ___)/ )( \ /  \(  _ \
      / \/ \ )  /  ) _ ((  O ) )(  \___ \) __ ((  O )) __/
      \_)(_/(__/  (____/ \__/ (__) (____/\_)(_/ \__/(__)

-------------------------------------------------------------------------------
Current PC: Nvidia
-------------------------------------------------------------------------------

Husky IP:    192.168.131.1
Pswd:        mybotshop
SSH:         ssh -X administrator@192.168.131.1

Nvidia IP:   192.168.131.2
Pswd:        mybotshop
SSH:         ssh -X administrator@192.168.131.2

Router IP:   192.168.131.100
Router Pswd: mybotshop
login:       admin
Pswd:        Admin123

-------------------------------------------------------------------------------
Nvidia Startup
-------------------------------------------------------------------------------

Nvidia status:      sudo service zed2i status
Nvidia start:       sudo service zed2i start
Nvidia stop:        sudo service zed2i stop
Nvidia restart:     sudo service zed2i restart

Update startup:   rosrun nv_startup startup_installer.py

Rebuild package: catkin build --cmake-args -DCMAKE_BUILD_TYPE=Release

-------------------------------------------------------------------------------
The start-up job is available for the Nvidia PC. The startup job launches one component i.e. Stereolabs ZED2i drivers which constantly takes camera feedback and sends it to the main pc.
In case there is an issue with the starting up. One can ssh into the Nvidia and verify if the startup job is working correctly.
sudo service zed2i status
The red marker in the service indicates that the startup job has failed. Green indicates everything is operating correctly. Grey indicates that the service has not started yet. In case of red or grey marker, you may restart the service via:
sudo service zed2i restart
Ouster
The Husky model provided comes equipped with Ouster OS1-32, lidar which is integrated into the system. To receive data from lidar, it is necessary to run the corresponding drivers. This can be achieved using the following command:
roslaunch hsky_lidars lidars.launch
Emlid Reach RS2
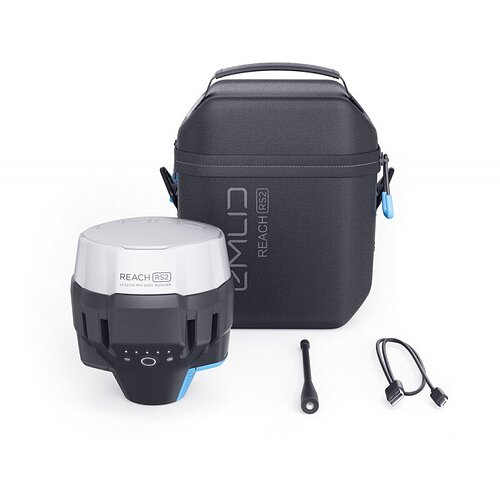
To obtain data, the device needs to be outdoors where it can receive GPS signals. The data from Reach2 can be visualized by following these steps:
First, run the Emlid drivers using the following command:
roslaunch reach_rs_driver reach_rs.launch
Once the Emlid driver is running, open a new window and subscribe to the specified rostopic:
rostopic echo /emlid/fix
By following the above procedure, you will be able to view the data coming from Emlid Reach.
Zed2i
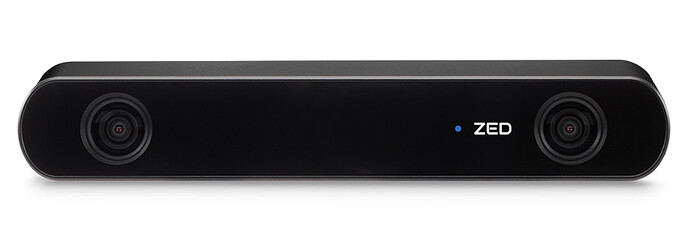
For the Zed2i, an onboard Nvidia Graphics card is installed. The drivers are commonly built and provided in the third_party in the ros_ws. If you have dis-plugged the camera, be sure to re-attach it USB3.0 otherwise it does not detect the camera. Instructions for use are given in:
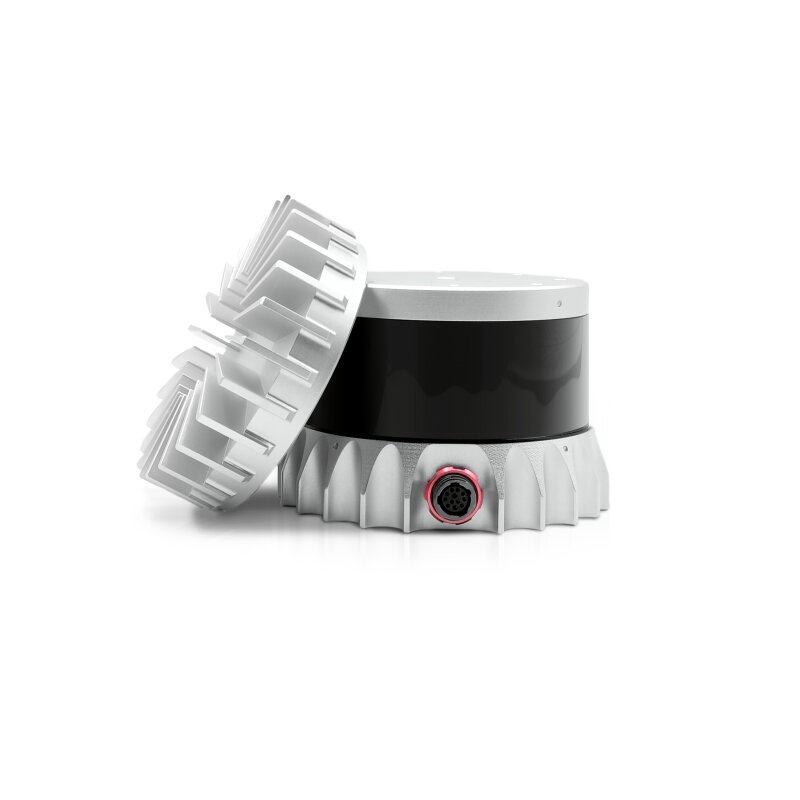
Phidgets IMU
The provided Husky has a phidgets IMU integrated into it. The parameters for odometry can be tuned in the folder ros_ws/src/mbs/hsky_control/config/wheel_localization_config.yaml.
It is recommended not to change the parameters without a backup and without expert supervision.
visualization
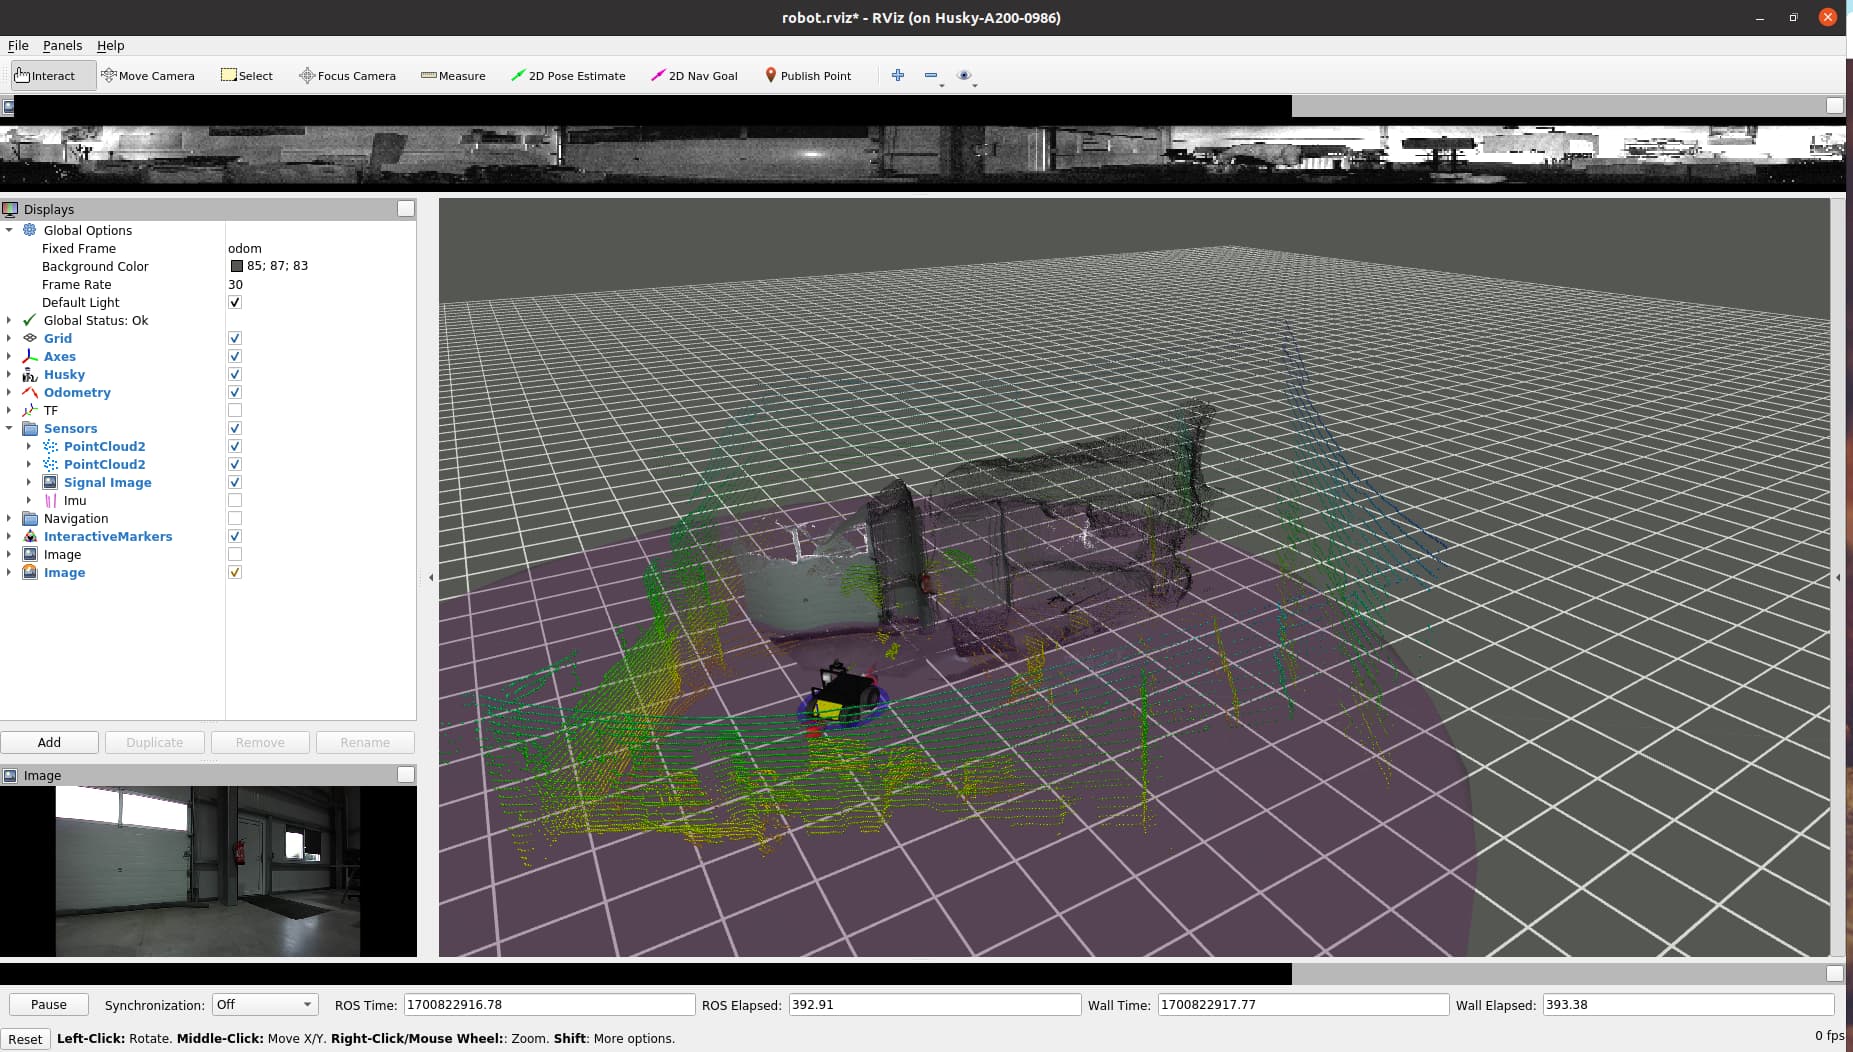
To visualize all the data from the sensors, follow these steps:
- Start by running the lidar driver in a terminal.
- Next, open a new terminal and execute the “Rviz launch” file mentioned in the command below. By following these instructions, you will be able to visualize all the sensor data.
roslaunch hsky_viz view_robot.launch
Issues
In case of any issues please first try restarting the service of the robot via:
sudo service hsky restart
In case of questions please contact support@mybotshop.de. For issues related to the software please attach a ros bag e.g.
rosbag record -a