HUSKY-EMLID-LIVOX-Zed2i-ROS2
This post is a quick and compact guide for working with Husky (ROS2).
Husky Informative Links
Quick Start
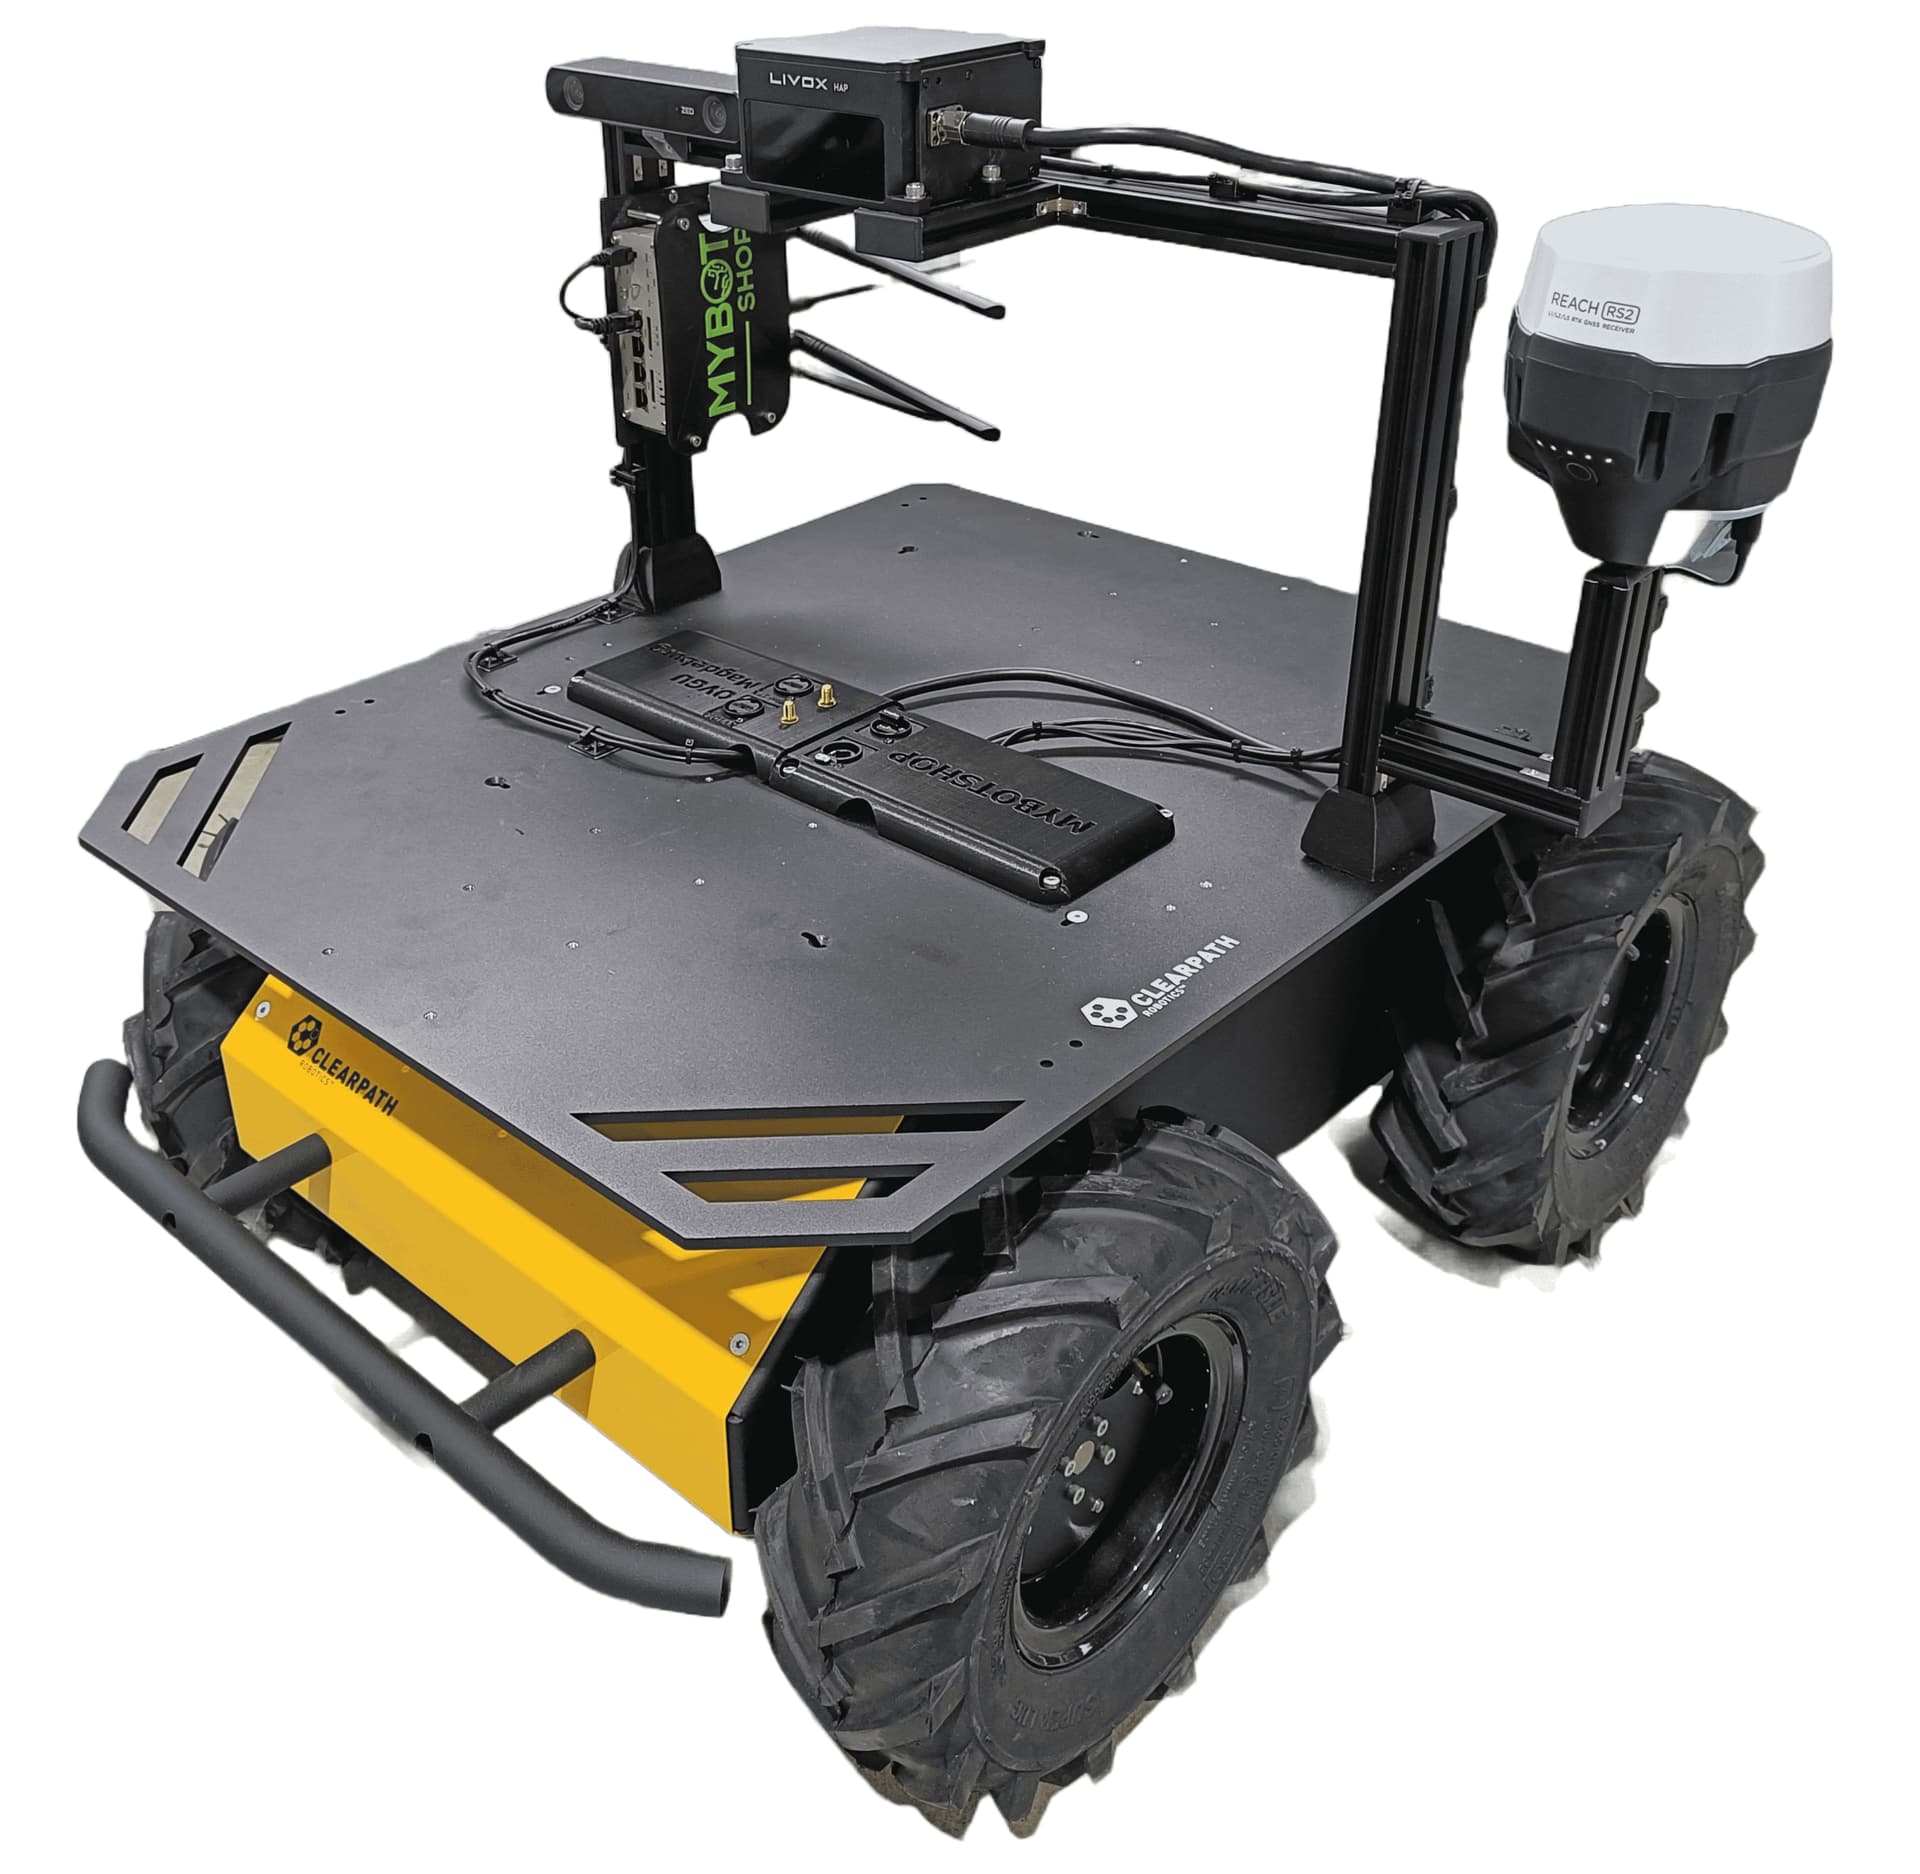
The robot is turned on via the power button, and the start-up of the Husky with the Livox and Zed2i may take up to a minute to start. The green light indicates that the MCU has successfully started and connect to the onboard Mini ITX PC and is now able to receive commands from the on-board PC.
Depending on the configuration of the Husky, auxiliary sensors software drivers such as LiDar may start with the robot but often do not run as disconnection or damage of the wire of the sensor can cause the robot to not startup. In this case, this Husky is installed with an Nvidia PC and the Livox lidar and Zed2i both start on boot-up.
For software remote connection, the robot may be be accessed via the onboard WiFi router by connecting to the SSID Husky-A100-***-5G and providing the password mybotshop.
Once connected, you can SSH into the robot which would provide the information
--------------------------------------------------------------------------------------
                _  _  _  _  ____   __  ____  ____  _  _   __  ____
               ( \/ )( \/ )(  _ \ /  \(_  _)/ ___)/ )( \ /  \(  _ \
               / \/ \ )  /  ) _ ((  O ) )(  \___ \) __ ((  O )) __/
               \_)(_/(__/  (____/ \__/ (__) (____/\_)(_/ \__/(__)

--------------------------------------------------------------------------------------
Current PC: Husky
--------------------------------------------------------------------------------------

Husky IP:     192.168.131.1
Pswd:         clearpath
SSH:          ssh -X administrator@192.168.131.1

Router IP:    192.168.131.100
Wifi Pswd:    mybotshop
Site User:    admin
Site Pswd:    Mybotshop2023

Nvidia IP:    192.168.131.3
Pswd:         clearpath
SSH:          ssh -X administrator@192.168.131.3

Livox IP:     192.168.131.2

GPS Rover IP: 192.168.2.15 (USB)
Pswd:         emlidreach

--------------------------------------------------------------------------------------
Husky-Drivers
--------------------------------------------------------------------------------------

Husky status:    sudo service mbs_startup status
Husky start:     sudo service mbs_startup start
Husky stop:      sudo service mbs_startup stop
Husky restart:   sudo service mbs_startup restart

Update startup:  ros2 run mbs_startup startup_installer.py

View robot:      ros2 launch mbs_viz view_robot.launch.py
Teleop robot:    ros2 run teleop_twist_keyboard teleop_twist_keyboard

--------------------------------------------------------------------------------------
Auxiliary Drivers
--------------------------------------------------------------------------------------

Relay driver:    [Runs on startup]
On relay:        ros2 service call /activate_relay std_srvs/srv/SetBool data:\ true
Off relay:       ros2 service call /activate_relay std_srvs/srv/SetBool data:\ false


Emlid driver:    ros2 run reach_rs launch_reach_rs
--------------------------------------------------------------------------------------
Husky Static Network Connection
To create a static connection in your own PC (not the Husky), in Ubuntu go to Settings → Network then click on + and create a new connection.
-
The first task is to go to IPv4 and change the connection to manual.
-
The second task is to put the Address IP as 192.168.131.52 (may differ from robot to robot) and the Netmask as 24.
Click save and restart your network. Next is to open up the Husky as shown, and connect the LAN cable to the robot.
After a successful connection let’s check the host’s local IP by typing in the Host PC’s terminal.
ifconfig
This should show the host IP which was assigned in the above step. Now its time to check if we can ping the robot or not, to do so type in your host pc
ping 192.168.131.1
After a successful ping, it’s time to access the robot. To access the robot you can type the following command:
ssh -X administrator@192.168.131.1
The password is
clearpath
Note: incase you cannot ping the husky the ssh client may be missing in your pc. It can be installed via
sudo apt-get install openssh-server
Husky Screen Connection
An alternative for connecting to the Husky is by plugging in an HDMI cable as well as a mouse and keyboard. This can be done for either the main PC or the Nvidia PC.
Husky PC DHCP
The procedure is simply to go to your networks and add your WiFi. Then in the terminal type:
ifconfig
The IP that comes with the initial characters of wl is your WiFi’s IP. e.g. wlps0. With this IP you can SSH to your robot.
ssh -X administrator@192.168.0.228
192.168.0.228 is just an example of this. IP is taken from the ifconfig.
clearpath
However, this version of the Husky has a router attached for which one may connect by selecting the SSID of
Husky-A100-****-5G
or
Husky-A100-****-2.4G
The password for both is:
mybotshop
Network
Network configuration for the robot is.
| Device | Network | Password |
|---|---|---|
| Main PC | 192.168.131.1 | clearpath |
| Livox Lidar | 192.168.131.2 | - |
| Nvidia PC | 192.168.131.3 | clearpath |
| Router | 192.168.131.100 | mybotshop |
| GPS | 192.168.2.15 | - |
Husky Software

The Husky drivers configured by MYBOTSHOP are located in the ros_ws. In the src folder, the third_party contains the drivers for the Husky as well as any auxiliary sensors such as the Livox Lidar, Zed2i camera, Reach RS2 GPS, Lordmicrostrain IMU.
For a configuration of auxiliary sensors, the following link provides useful information even for ROS2, especially for navigation. As requirements vary from user to user, the setup has been left as default and the users can specify their own parameters in their own custom package.
Start-up Job
The start-up job is available for both the main pc as well as the Nvidia pc. In the main pc the startup job launches three main items:
- Husky base drivers
- Lordmicrostrain IMU
- 24V Relay switch
As for the Nvidia pc two items are launced on start-up.
- Livox Lidar
- Zed2i Camera
For both PC’s, the launch file driver.launch.py in the ros_ws package of mbs_startup/mbs_nvidia_startup includes everything which is being launched at the startup. The startup job and its content can be verified in the directory /etc/ros/foxy, here the original launch file will be copied.
sudo service mbs_startup status
The red marker in the service indicates that the startup job has failed. Green indicates everything is operating correctly. Grey indicates that the service has not started yet. In case of red or grey marker, you may restart the service via:
sudo service mbs_startup restart
The default ROS2 Domain ID is 0 for both the Main PC and the Nvidia PC. New launch files and nodes can be added to the startup job by inserting them into the driver.launch.py launch file for both PC’s startup. Once added Run the following in ros_ws.
cd && cd ros_ws
colcon build
source install/setup.bash
ros2 run mbs_startup startup_installer.py
It should now run with the updated additions.
EMLID Reach RS2
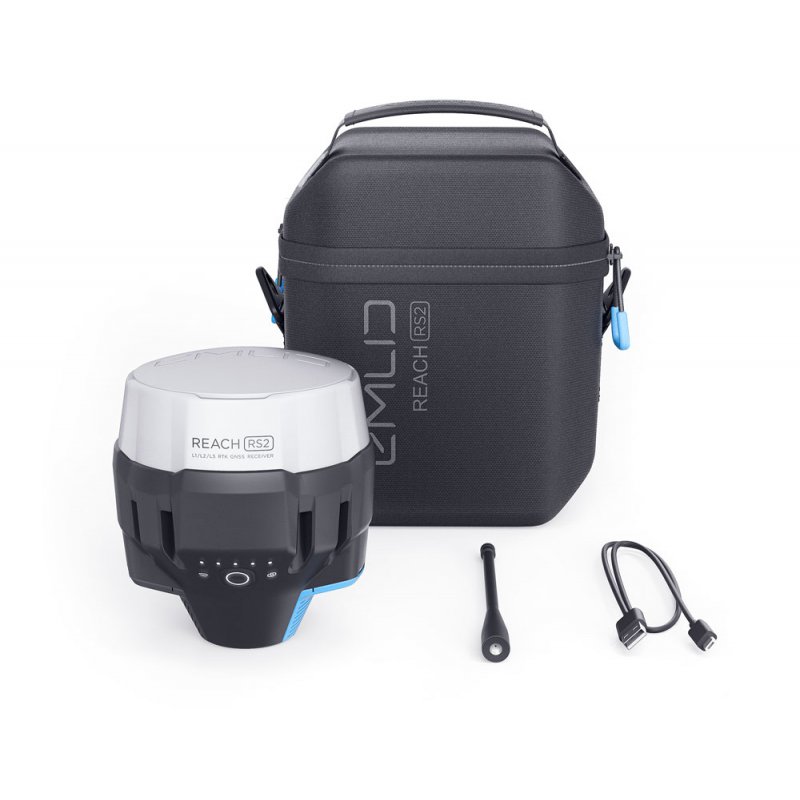
For the Emlid Reach RS2, the ROS1 driver has been ported to ROS2. To run it:
ros2 run reach_rs launch_reach_rs
Livox Lidar

The Lidar drivers are started automatically on start-up. Configuration is available in the src/third_party/livox_ros_driver2/config/HAP_config.json file.
Zed2i
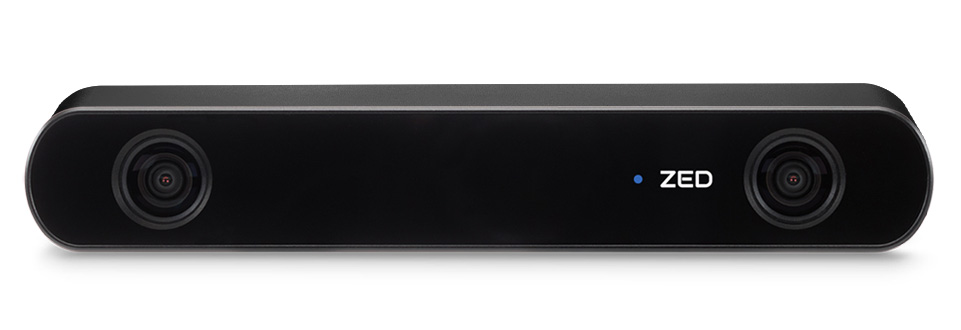
For the Zed2i, an onboard Nvidia Graphics card is installed. The drivers are commonly built and provided in the third_party in the ros_ws. If you have dis-plugged the camera, be sure to re-attach it USB3.0 otherwise it does not detect the camera. Instructions for use are given in:
Lordmicrostrain IMU
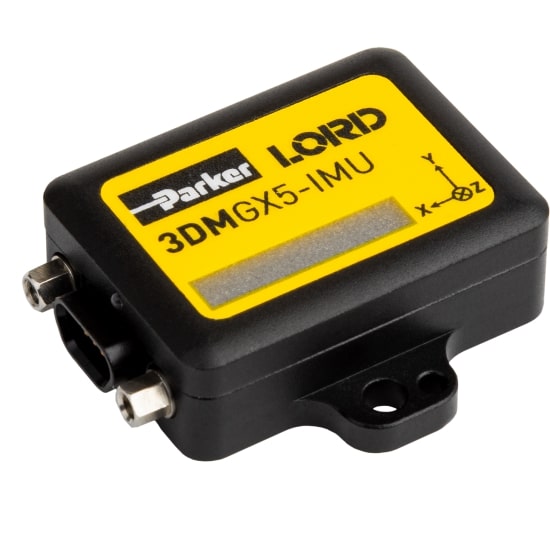
The provided Husky has a lordmicrostrain IMU integrated into it. The parameters for odometry can be tuned in the folder ros_ws/src/mbs/mbs_core/mbs_control/config/localization.yaml. Furthermore, to change the parameters of the IMU itself, it can be done via ros_ws/src/mbs/mbs_core/mbs_control/config/microstrain.yaml.
Be aware changing the ENU frame will cause disruption to the Husky’s orientation. It is recommended not to change the parameters without a backup and without expert supervision.
24V Relay
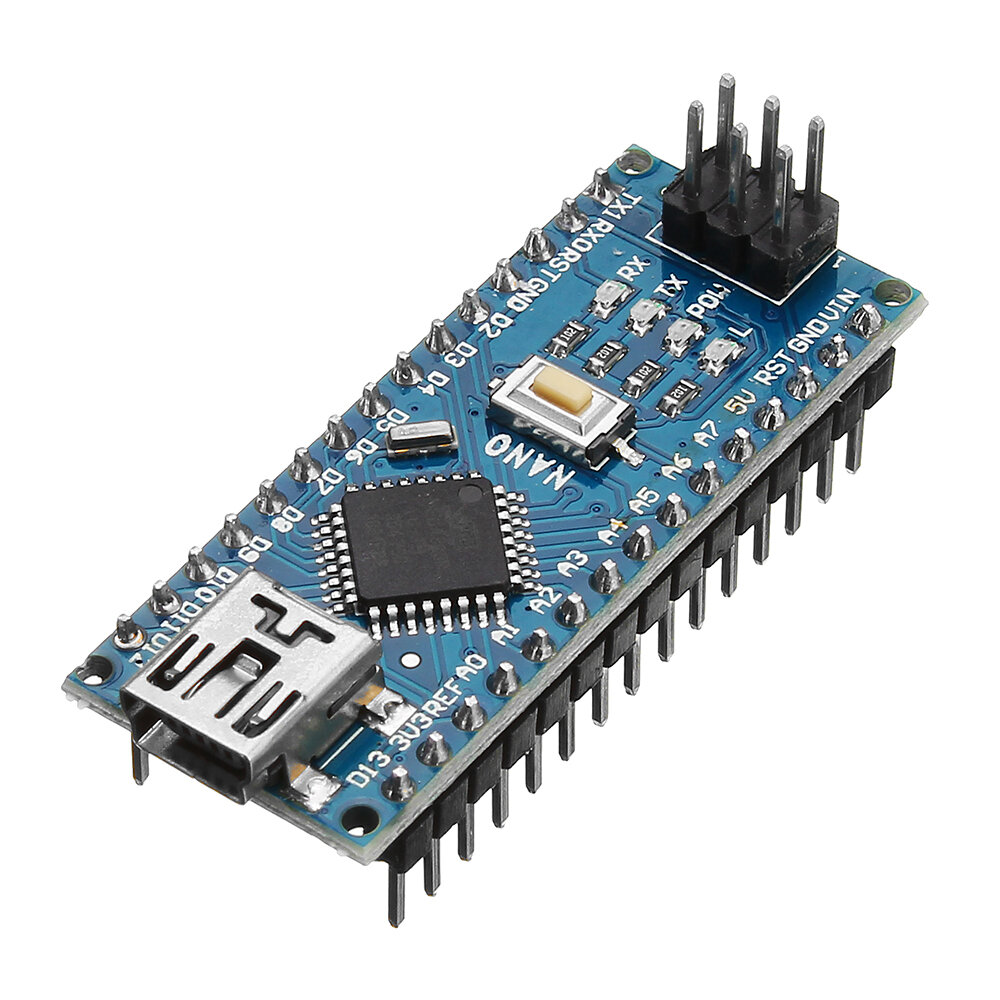
The 24V relay is controlled by an Arduino Nano ATMEGA328P connected to the main PC. The driver boots on startup with the main driver. By default the relay is switched off. To turn it on run:
ros2 service call /activate_relay std_srvs/srv/SetBool data:\ true
To turn it off:
ros2 service call /activate_relay std_srvs/srv/SetBool data:\ false
Issues
In case of any issues please first try restarting the service of the robot via:
sudo service mbs_startup restart
Incase of questions please contact support@mybotshop.de. For issues related to the software please attach a ros2 bag e.g.
ros2 bag record -a