DINGO-D
This post is a quick and compact guide for working with the Dingo-D.
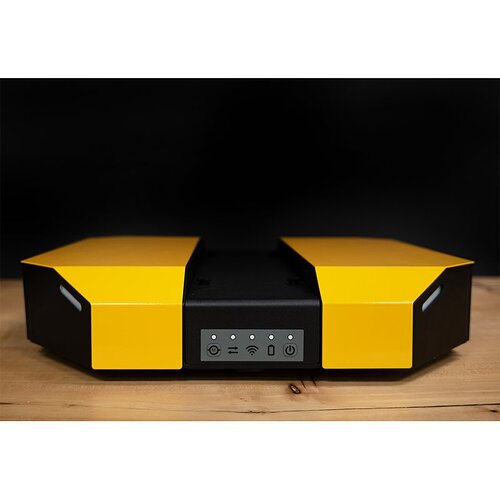
The Dingo-D (differential robot) is an indoor compact development platform of the Canadian manufacturer Clearpath Robotics. ROS Noetic is pre-installed, so after receiving the robot the user can start developing algorithms right away.
DINGO-D Informative Links
-
DINGO-D ROS Cheat Sheet (Applicable to Noetic)
Quick Start
The robot is turned on via the power button, and the start-up of the Dingo-D may take up to a minute to start.
Depending on the configuration of the Dingo, auxiliary sensors software drivers such as LiDar may start with the robot but often do not run as disconnection or damage of the wire of the sensor can cause the robot to startup incorrectly.
When the Dingo has flashing yellow lights or white lights in the front and red lights in the back, it means that it has correctly, started up. At this moment, the controller can be used for movement. For software remote connection, the robot has to be accessed once to configure the WiFi network.
Configuration can take place in one of two methods, the first being via the static network connection and the second being through the screen, where the screen method is much quicker and easier for clients to set up.
Dingo-D Static Network Connection
For the first time, one needs to connect through a LAN cable to configure the robot’s WLAN network.
To create a static connection in your own PC (not the Dingo-D), in Ubuntu goto Settings → Network then click on + and create a new connection.
-
The first task is to go to IPv4 and change the connection to manual.
-
The second task is to put the Address IP as 192.168.132.1 (may differ from robot to robot) and the Netmask as 24.
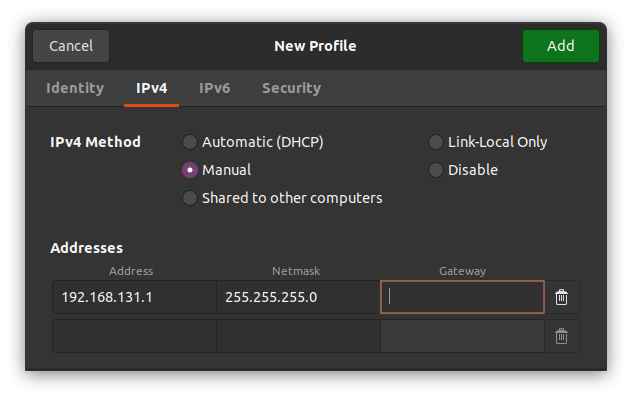
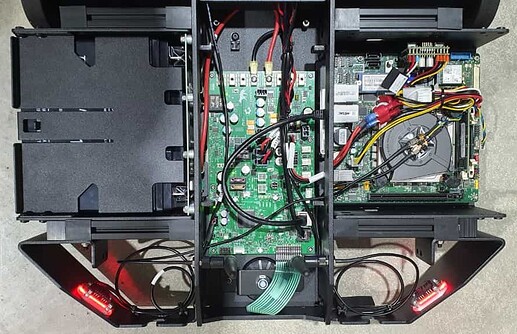
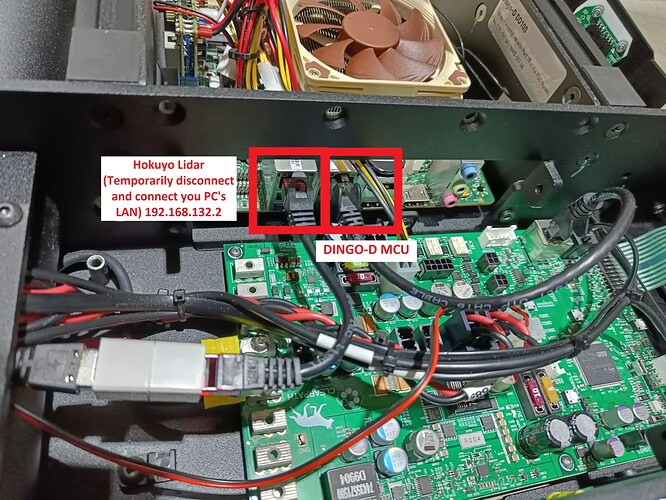
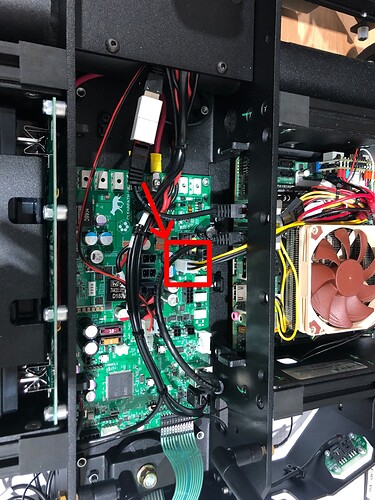
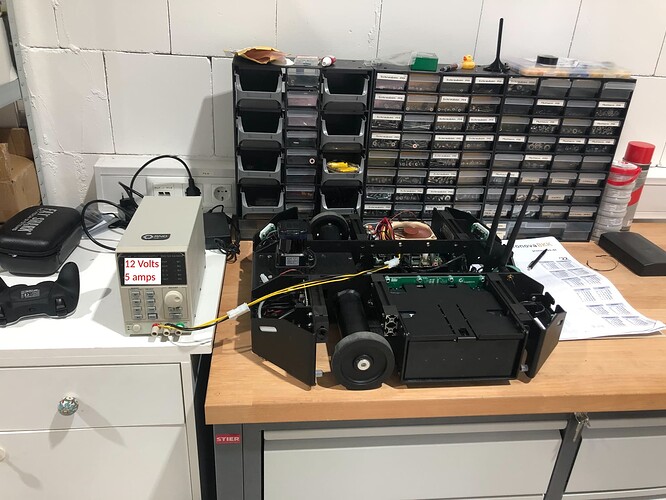
Click save and restart your network. Next is to open up the dingo as shown, and connect the LAN cable to the robot.
After a successful connection let’s check the host’s local IP by typing in the Host PC’s terminal.
ifconfig
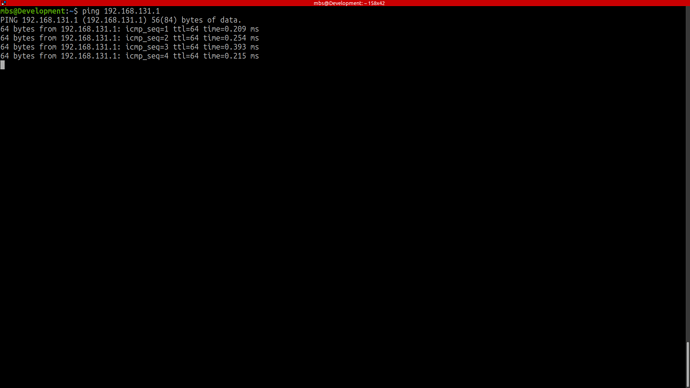
This should show the host IP which was assigned in the above step. Now its time to check if we can ping the robot or not, to do so type in your host pc
ping 192.168.132.1
After a successful ping, it’s time to access the robot. To access the robot you can type the following command:
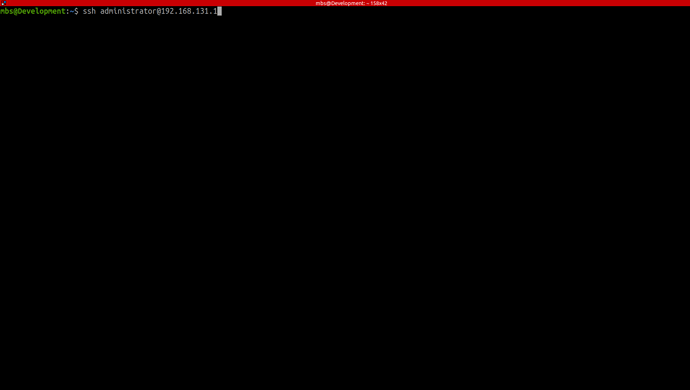
ssh -X administrator@192.168.132.2
The password is
clearpath
Dingo-D Screen Connection
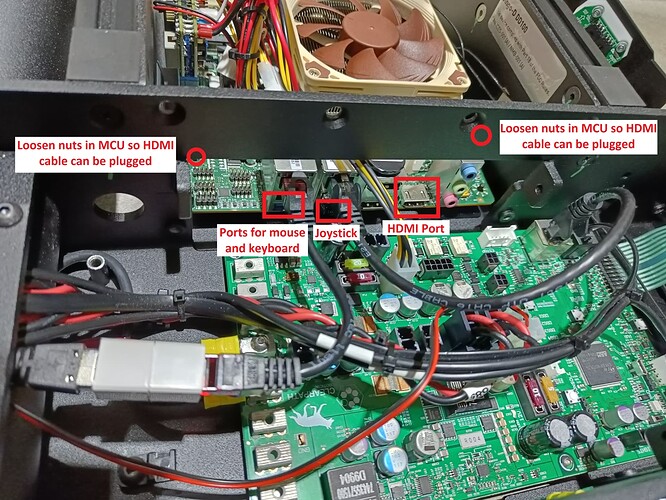
An alternative for connecting to the dingo is by plugging in an HDMI cable as well as a mouse and keyboard. This will allow you to connect the dingo to your own local WiFi network and then you can connect later over the WiFi.
DINGO-D PC
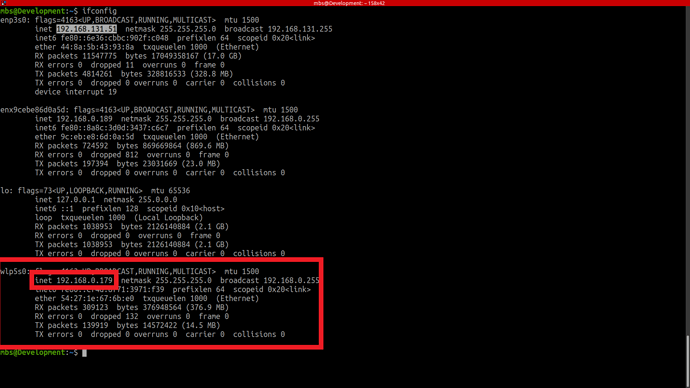
The procedure is simply to go to your networks and add your WiFi. Then in the terminal type:
ifconfig
The IP that comes with the initial characters of wl is your WiFi’s IP. e.g. wlps0. With this IP you can SSH to your robot.
ssh -X administrator@192.168.0.228
192.168.0.228 is just an example of this. IP is taken from the ifconfig.
clearpath
Network
This robot has an industrial-grade computer on board with the MCU port being on 192.168.131.1, and the Hokuyo Lidar port being on 192.168.132.1.
| Device | Network |
|---|---|
| Dingo | 192.168.131.1 |
| Hokuyo Lidar | 192.168.132.1 |
Dingo-D Software
The Dingo-D drivers configured by MYBOTSHOP are located in the catkin_ws. In the src folder, the third_party contains the drivers for the Dingo-D and its Puma motors as well as any auxiliary sensors such as the Hokuyo Lidar.
For a configuration of auxiliary sensors, the following link provides useful information, especially for navigation. As requirements vary from user to user, the setup has been left as default and the users can specify their own parameters in their own custom package.
Start-up Job
The Dingo-D ordinarily utilizes Clearpath startup job unless otherwise specified. In case there is an issue with the robot not starting up. One can ssh into the Dingo and verify if the startup job is working correctly.
sudo service ros status
The red marker in the service indicates that the startup job has failed. Green indicates everything is working correctly. Grey indicates that the service has not started yet. In case of red or grey marker, you may restart the service via:
sudo service ros restart
Hokuyo Lidar
The Lidar drivers are started via:
roslaunch urg_node urg_lidar.launch
Debugging Controller
Some quick useful commands in case there is an issue with the joystick is to ssh into the robot and teleoperated it via:
rosrun teleop_twist_keyboard teleop_twist_keyboard.py

