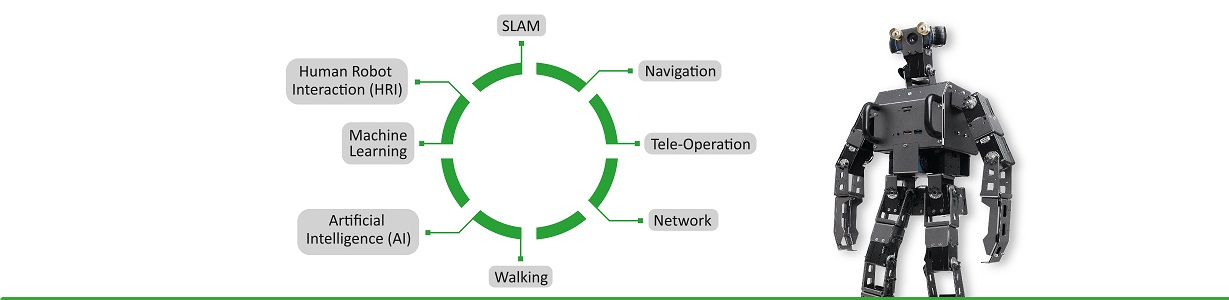
Clearpath Husky | Steamdeck | Nvidia Orin | Ouster | Phidgets | ZED2i | Fixposition | ROS Humble
This post is a quick and compact guide for working with Husky (ROS2).
Informative Links
Quick Start
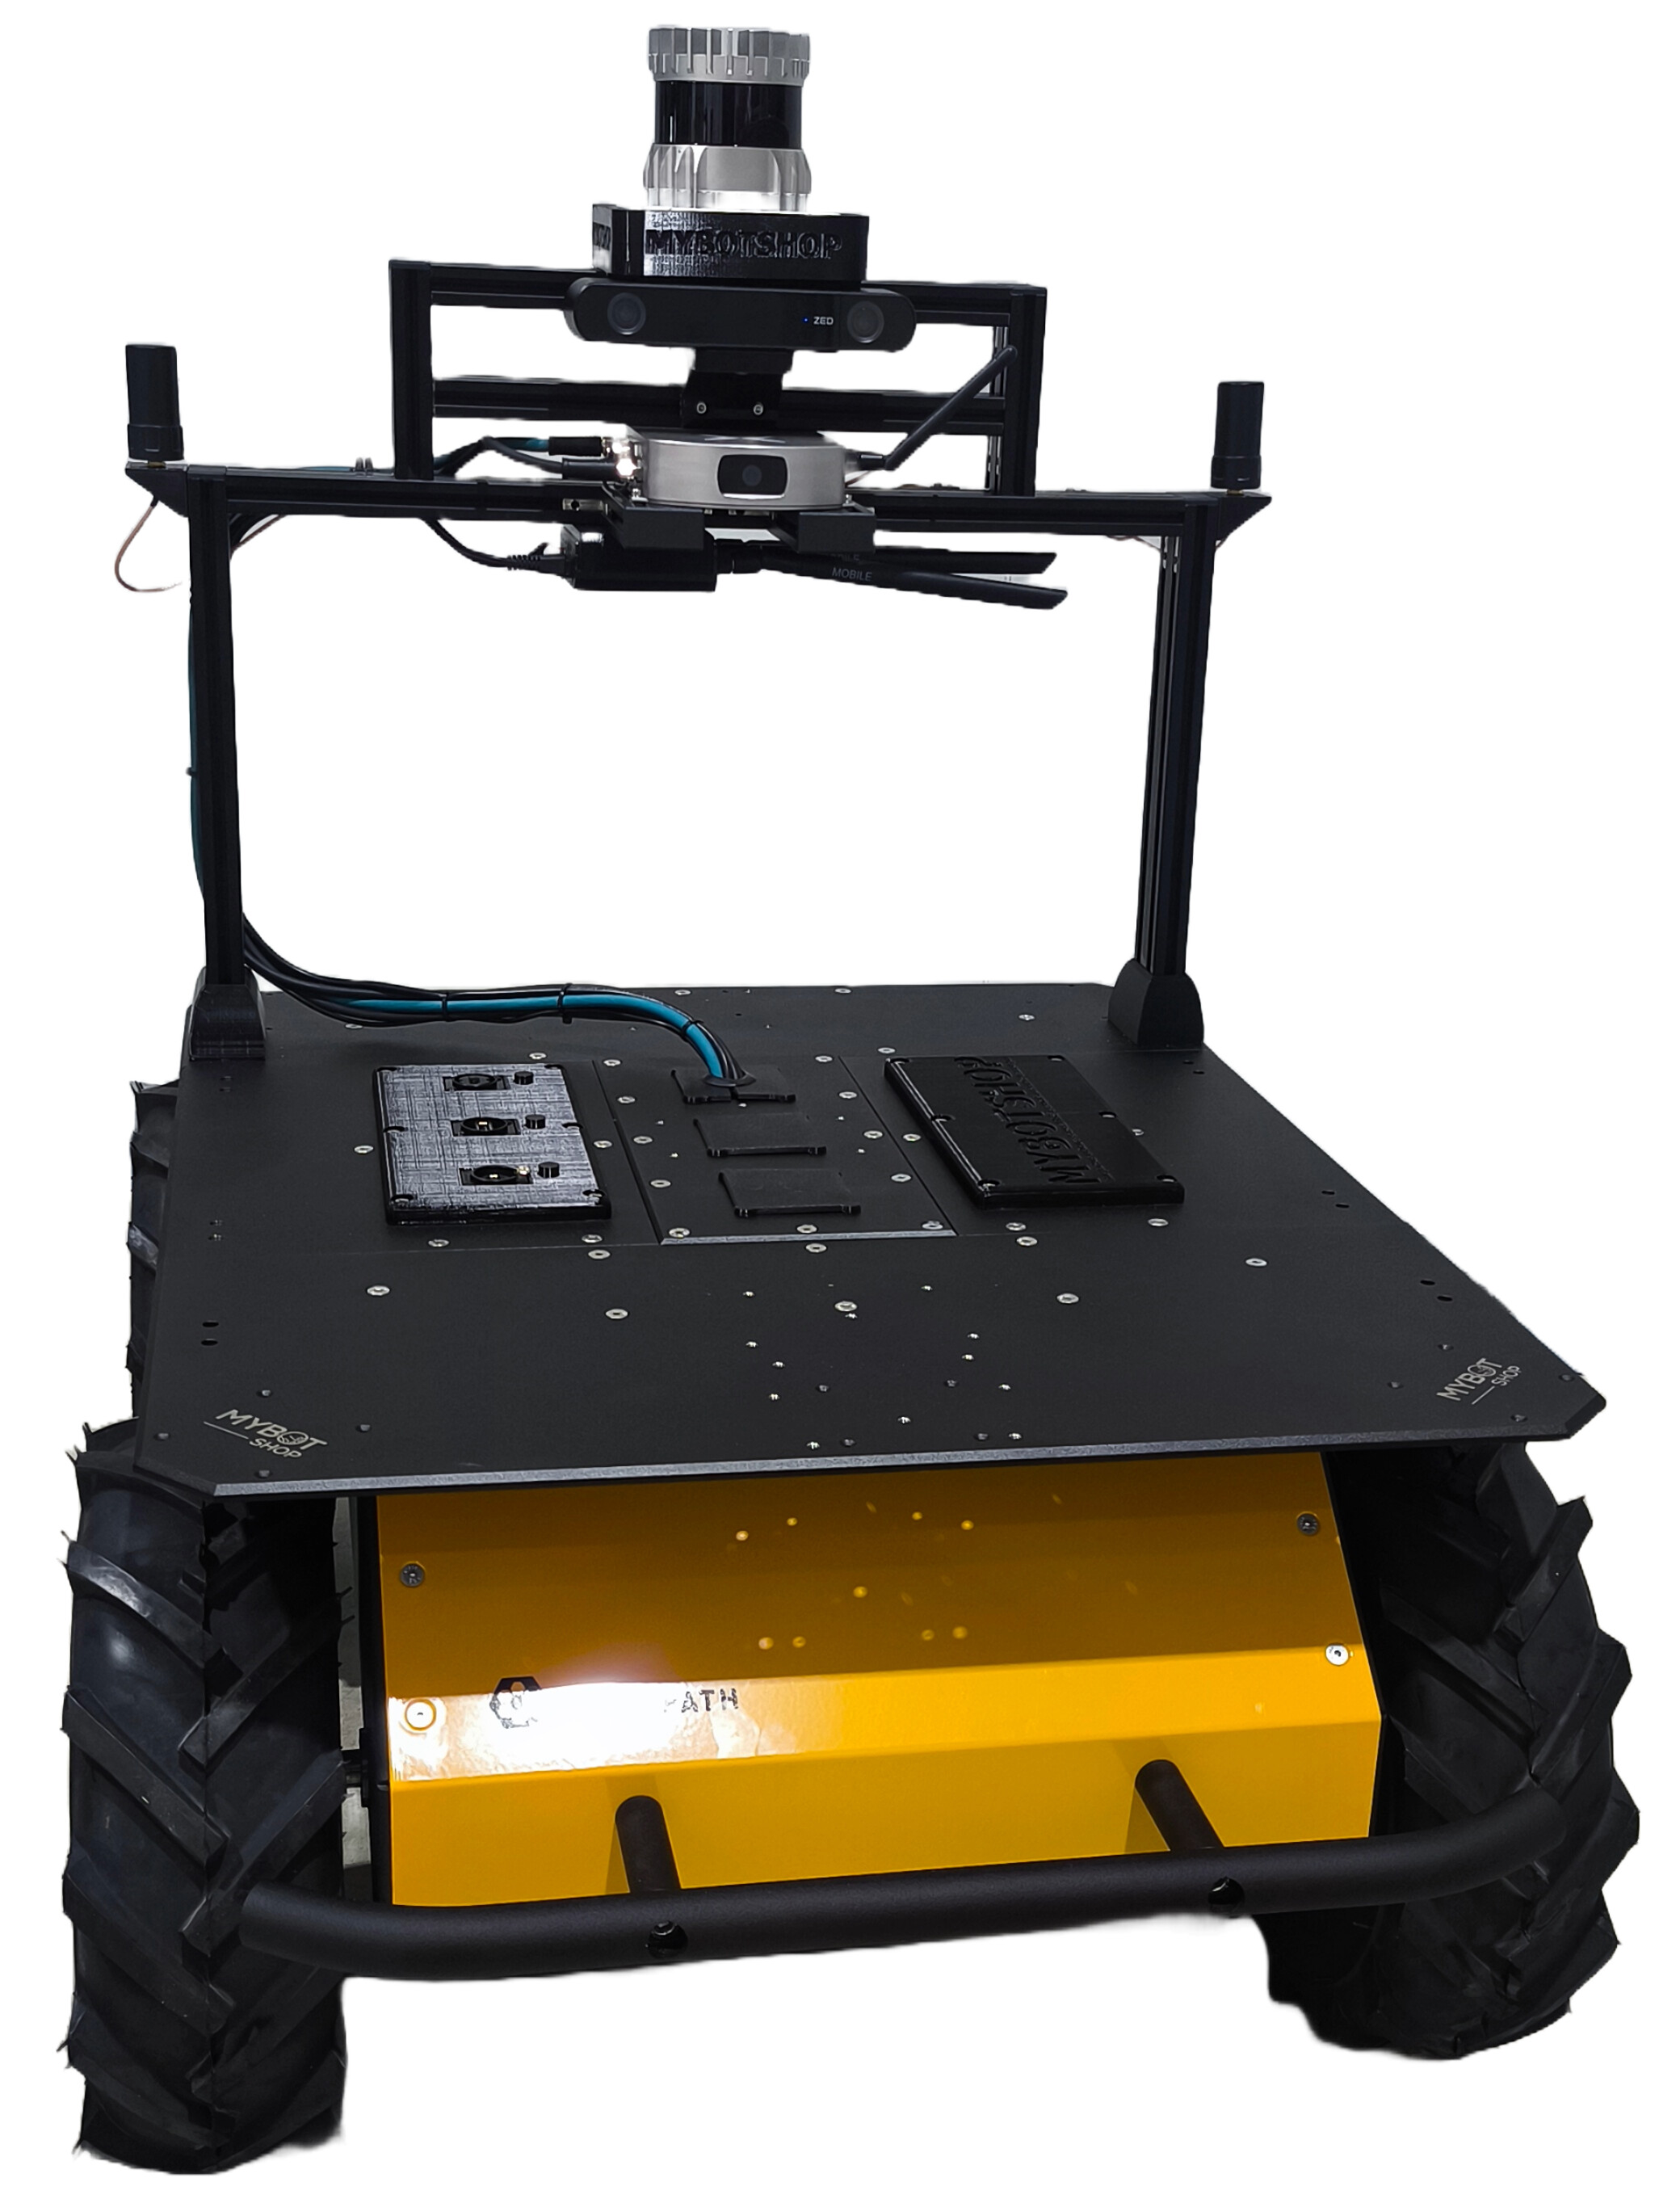
Activate the robot by pressing the power button. The initialization process of the Husky, along with the Ouster, Phidgets IMU, and NVIDIA, may require up to a minute to commence. A green light signals that the MCU (Microcontroller Unit) has successfully initiated, established a connection with the onboard PC, and is ready to receive commands from the onboard PC.
Steamdeck Controller | Teleop Control Joystick | Husky
Illustrative tutorials for steamdeck and ros2 usage from MYBOTSHOP!
It is recommended to go through the illustrative tutorial if you have never used the Steamdeck with the applications provided by MYBOTSHOP
When launching the Joylauncher, do not touch any of the buttons until the Steamdeck displays whether the robot is connected or not.
The Steamdeck usage is in the experimental phase. Loss of connection or (laggy connection) may lead to the robot moving and/or not stopping immediately. Caution should be taken when using the Steamdeck for the operation of the robot!
Steamdeck - Basic Controls
- Power button is on the top of the Steamdeck with the power symbol.
- R2 for mouse left-click
- L2 for mouse right-click
- Left trackpad for mouse scrolling
- Right trackpad for mouse movement
- L2+R2 for middle mouse button click
- - - - (The 3 dashes is located on the top right of the Steamdeck next to the Y button) Hold for 3 seconds to gamepadmode and hold for 2 seconds again to go to desktop mode (Switching to desktop mode activates the cursor for the trackpad as well).
Steamdeck - Initialization with Robot
Before usage:
- Ensure the Steamdeck is connected to the robot’s WiFi access point.
- This is automatically done!
- Ensure the robot is powered on and operational.
- Single tap the Joystick Launcher on the screen to activate the controller for the robot.
- Do not open multiple instances of the joystick launchers, as this can cause zombie nodes to spawn.
- Hold the - - - for 3 seconds until you sense vibration from the controller and then hold - - - for 3 seconds again. This is required to re-enable the mouse in the Steamdeck.
- Single tap the Rviz2 Launcher on the screen to visualize the robot.
Steamdeck - Termination
- Single tap the ROS2 Clean to terminate all ROS2 instances only in the Steamdeck (It does not affect the Husky).
Steamdeck - Robot Controls
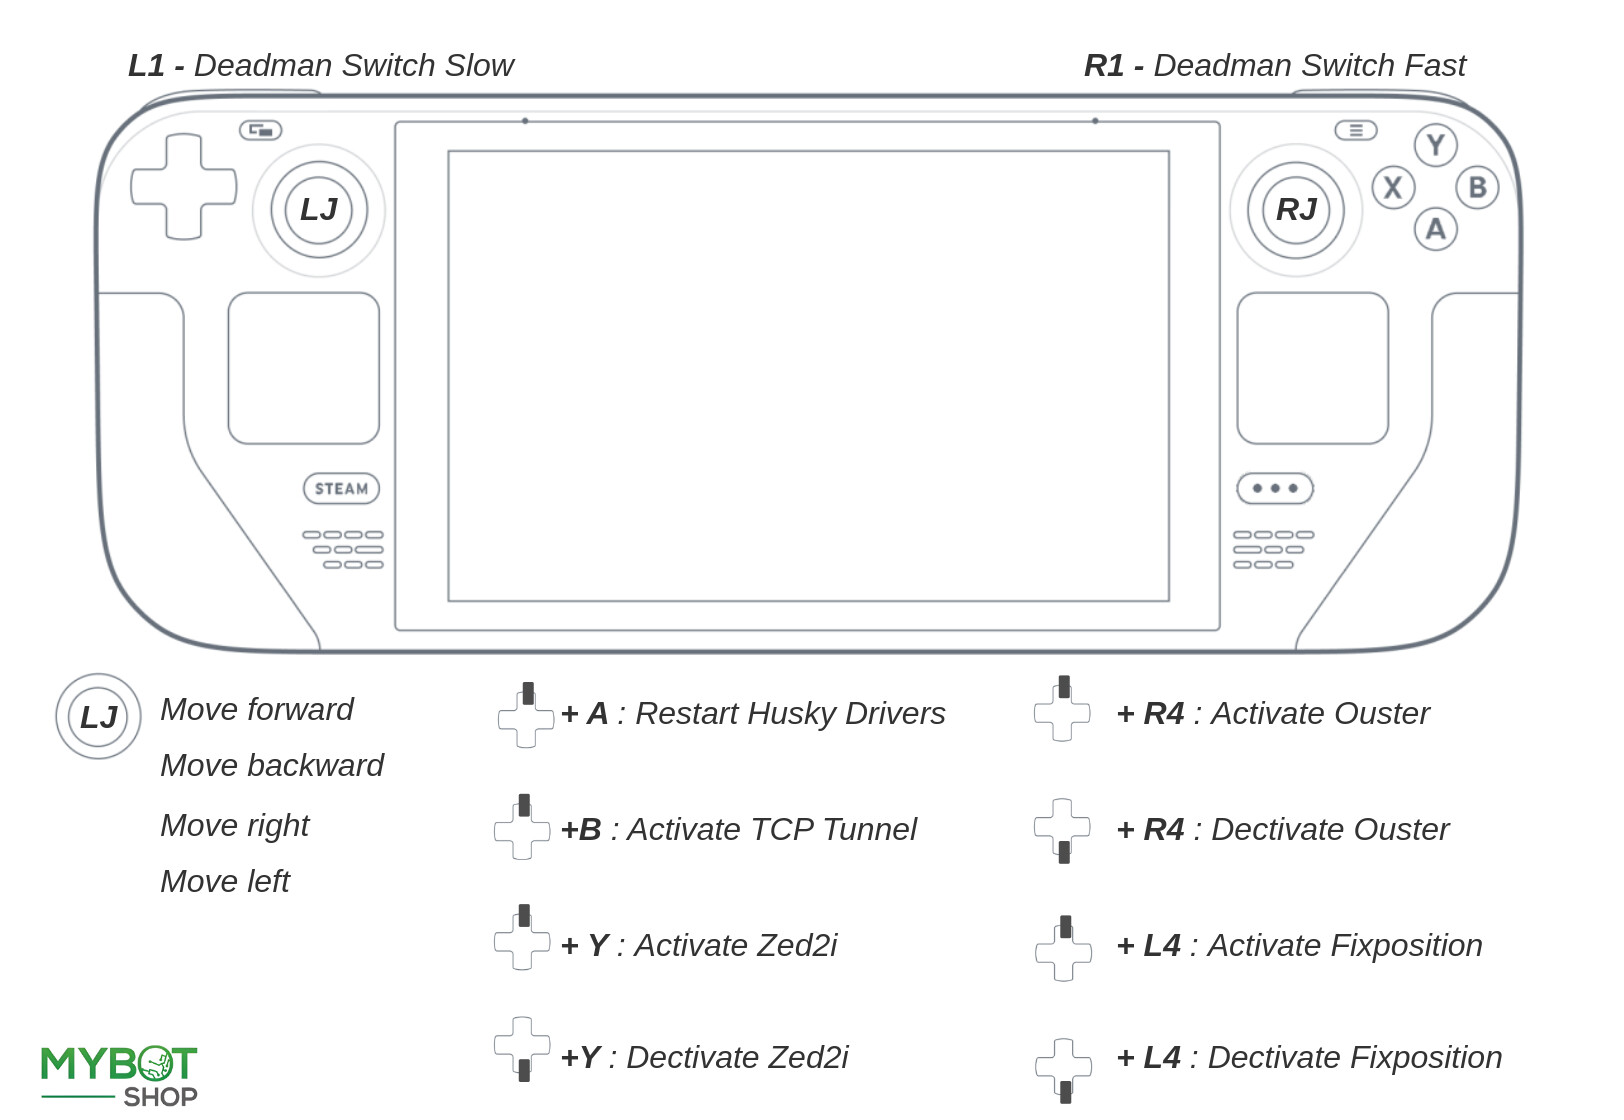
- L1 is the dead man’s switch for slow speed.
- R1 is the dead man’s switch for high speed.
- LJ (Left Joystick) is to move in x and y direction.
Steamdeck - Sensors Controls
- A + Up arrow Restart the Husky driver.
- B + Up arrow Activates TCP tunnel (This allows fast streaming of point-cloud and images over WiFi. This is currently configured for the Zed2i and requires that the Zed2i is activated prior).
- Y + Up arrow Activate ZED2i Depthcamera.
- Y + Down arrow Deactivate ZED2i Depthcamera.
- R4 + Up arrow Activate Ouster Lidar.
- R4 + Down arrow Deactivate Ouster Lidar.
- L4 + Up arrow Activate Fixposition GPS.
- L4 + Down arrow Deactivate Fixposition GPS.
Steamdeck - Rviz2 Controls
- Right trackpad is used as a mouse.
- Left trackpad can be moved up and down to zoom in and zoom out.
- L2+R2 should be held when wanting to move the orbit in the xy plane.
- R2 should be held to orbit around the cursor’s origin.
Husky Static Network Connection
To create a static connection in your PC (not the Husky), in Ubuntu go to Settings → Network then click on + and create a new connection.
-
The first task is to go to IPv4 and change the connection to manual.
-
The second task is to put the Address IP as 192.168.131.52 (may differ from robot to robot) and the Netmask as 24.
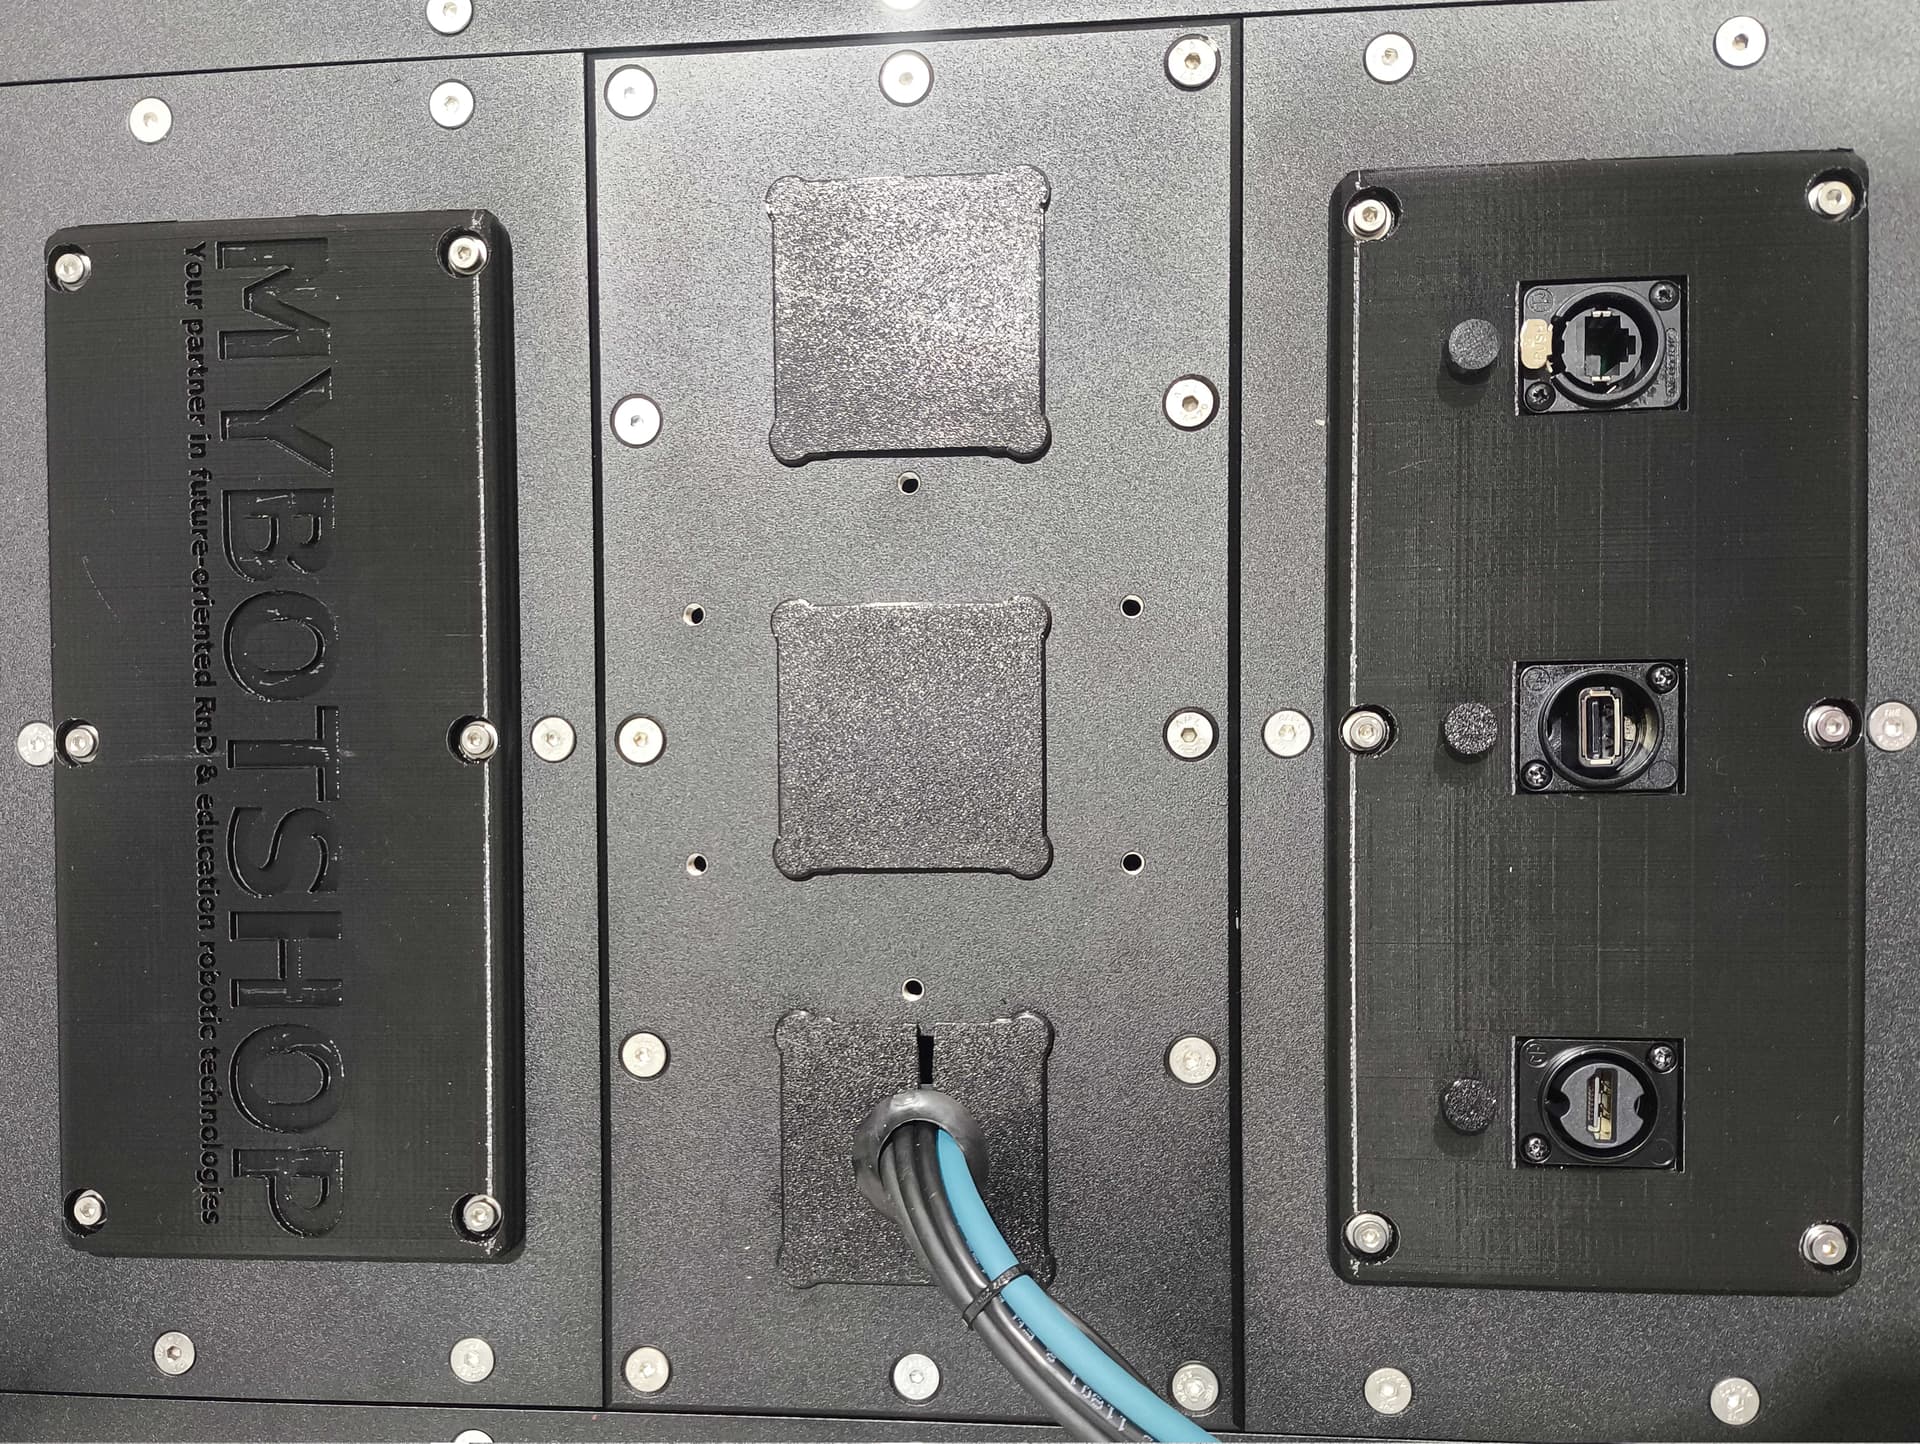
Click save and restart your network. Next is to open up the Husky as shown, and connect the LAN cable to the robot.
After a successful connection let’s check the host’s local IP by typing in the Host PC’s terminal.
ifconfig
This should show the host IP which was assigned in the above step. Now it is time to check if we can ping the robot or not, to do so type in your host pc
ping 192.168.131.1
After a successful ping, it’s time to access the robot. To access the robot you can type the following command:
ssh -X administrator@192.168.131.1
The password is
mybotshop
Once connected, you can SSH into the robot which would provide further information.
Note: in case you cannot ping the husky the ssh client may be missing in your pc. It can be installed via
sudo apt-get install openssh-server
Husky Screen Connection
An alternative for connecting to the Husky is by plugging in an HDMI cable as well as a mouse and keyboard.
Husky PC DHCP
The procedure is simply to go to your networks and add your WiFi. Then in the terminal type:
ifconfig
The IP that comes with the initial characters of wl is your WiFi’s IP. e.g. wlps0. With this IP you can SSH to your robot.
ssh -X administrator@192.168.0.228
192.168.0.228 is just an example of this. IP is taken from the ifconfig.
mybotshop
Network
Network configuration for the robot is.
| Device | Network | Username | Password |
|---|---|---|---|
| Main PC | 192.168.131.1 | administrator | mybotshop |
| Nvidia Orin | 192.168.131.4 | administrator | mybotshop |
| Ouster | 192.168.131.20 | - | - |
| Fixposition | 192.168.131.25 | - | - |
| Router | 192.168.131.100 | - | mybotshop |
| Router Web | 192.168.131.100 | admin | Admin123 |
Husky Software
The drivers configured by MYBOTSHOP for the Husky can be found in the ros2_ws. Within the src folder, the third_party directory includes drivers for the Husky, as well as additional sensors like the Ouster, Fixposition, and Phidgets IMU.
Husky Start-up Job
The start-up job is available for both the main PC and NVIDIA. In the main PC, the startup job launches several components.
Note: The convention from MYBOTSHOP is that all the sensors are powered on but the drivers are off. The drivers can be activated via steamdeck. Optionally, the services for turning on the sensors can be done via
sudo systemctl enable mbs-ouster
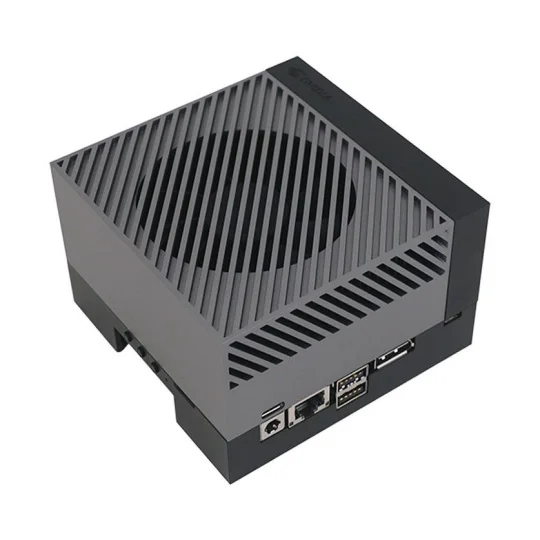
In the secondary computer, NVIDIA , the startup job launches ZED2i on startup but the driver is disabled and can be activated via steamdeck:
The launch file system.launch.py in the ros2_ws package of hsky_bringup (nv_bringup for Nvidia) includes everything that is being launched at the startup.
sudo service clearpath-robot status
Here’s what the different markers signify:
- Red Marker: Indicates a failed startup job.
- Green Marker: Indicates normal functioning.
- Grey Marker: Indicates the service hasn’t started yet.
In case of a red or grey marker, you can attempt to restart the service using:
sudo service clearpath-robot restart
sudo service clearpath-platform restart
Husky Sensors
Ouster
The Husky model provided comes equipped with the Ouster which is integrated into the system. To receive data from these lidars, it is necessary to run the corresponding drivers. This can be achieved using the following command:
ros2 launch hsky_lidar system.launch.py
Instructions for use are given in:
Zed2i
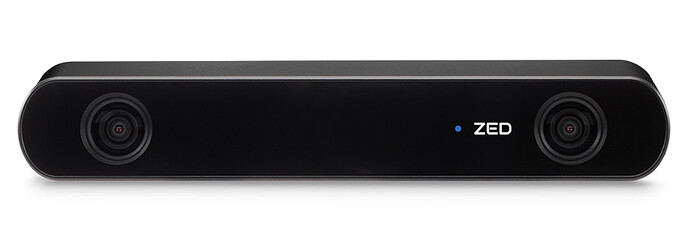
For the Zed2i, an onboard Nvidia AGX Orin is installed. The drivers are commonly built and provided in the third_party in the ros_nv_ws. If you have dis-plugged the camera, be sure to re-attach it USB3.0 otherwise it does not detect the camera. Instructions for use are given in:
Fixposition
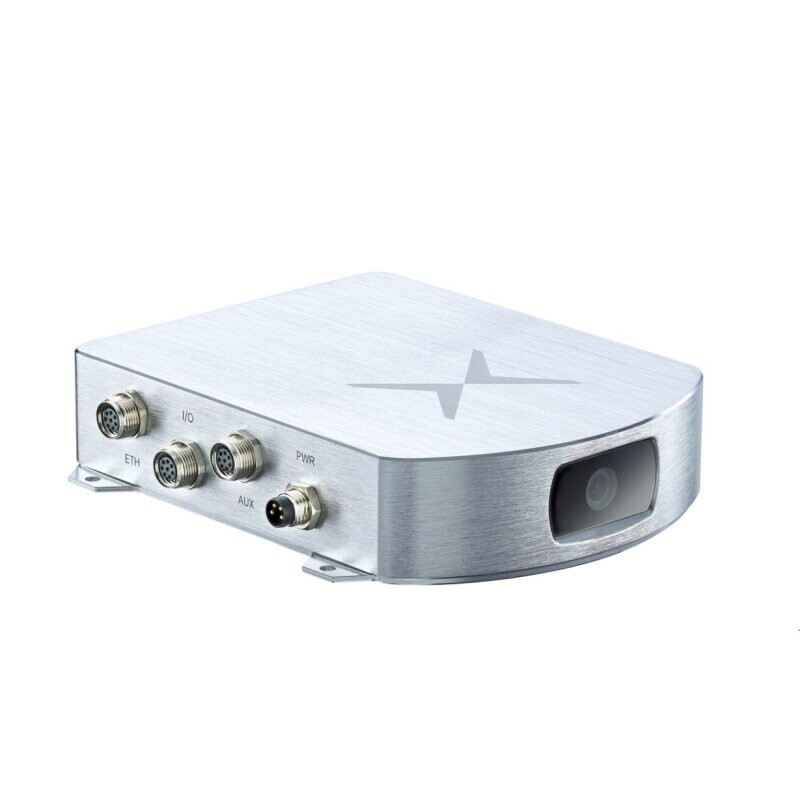
This Husky also comes with a Fixposition which is used for GPS localization. The topics are starting with ‘/fixposition/’ .
Instructions for use are given in:
Phidgets
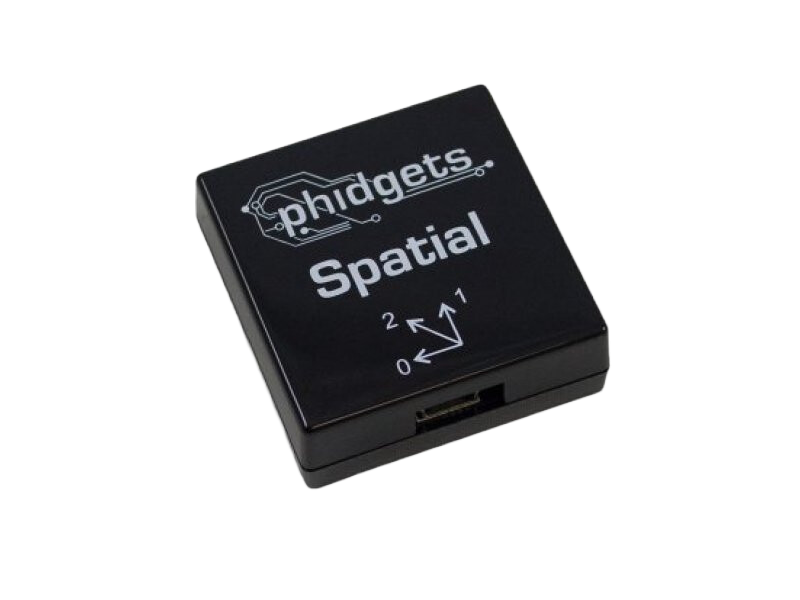
The provided Husky has a phidgets inertial measurement unit integrated into the husky. The parameters for odometry can be tuned in the folder ros2_ws/src/mybotshop/hsky_control/config/localization.yaml.
It is recommended not to change the parameters without a backup and expert supervision.
Instructions for use are given in:
CAN Module
A CAN module has also been integrated with the robot’s main PC. The cable color coding for the CAN module is as follows:
- White - CAN LOW
- Brown - Ground / GND
- Black - Ground / GND
- Blue - CAN HIGH
Autonomous Navigation
Odom Navigation
To perform odometry-based navigation, execute the command:
ros2 launch hsky_nav2 odom_navi.launch.py
This command lets you navigate the robot in the global frame of map
*Map Navigation
To initiate map-based navigation, the process involves mapping the environment first, followed by waypoint navigation. Here are the steps to achieve this:
- Start creating a map by executing the SLAM navigation command:
ros2 launch hsky_nav2 slam.launch.py
- Simultaneously, in a separate terminal, launch the visualization command to observe the map being constructed:
ros2 launch hsky_viz view_robot.launch.py
Utilize the joystick controller to navigate and create the map. Once satisfied with the map, export it using this command in one of the Jackal’s terminals:
ros2 run nav2_map_server map_saver_cli -f /home/administrator/ros2_ws/src/mybotshop/hsky_nav2/maps/custom_map
After saving the map, rebuild the packages to incorporate the new map:
colcon build --symlink-install --cmake-args -DCMAKE_BUILD_TYPE=Release
Upon successful rebuilding, in one terminal, launch the map navigation command to load the saved map:
ros2 launch hsky_nav2 map_navi.launch.py
Finally, in a separate terminal, execute the visualization command to visualize and control the robot via rviz:
ros2 launch hsky_viz view_robot.launch.py
Parameter Configuration
In the hsky_nav2 package, in the config folder, the parameters can be adjusted for further requirements. What is provided is just a minimal configured setup and it is recommended to adjust the parameters.
Caution
- Please read the instruction manuals about Clearpath Husky and Sensors before operating the robot.
- Always be vigilant and remain close to the emergency stop buttons when the robot is in operation.
Known Issues
- Husky moving forward on startup
- This may occur due to time synchronization of the internet causing the robot’s joint states to reverse. This is dependent on how the network is synchronized between the Husky’s computer and the internet.
- By default, we have disabled synchronization of time from the internet to prevent this issue, until Clearpath updates its drivers.
Frequently Asked Questions
-
Logitech controller not working
- Ensure that it is powered on.
- Ensure that the input mode is X, which is set on the backside of the controller.
-
Husky in standby mode (yellow color)
- Ensure that the emergency switch is twisted and released.
- Ensure that the key is in the unlock position.
- Ensure that the Husky’s battery is plugged in properly, especially the blue connector.
-
Unable to see some of the ros2 topic lists in remote PC.
- Ensure you are in the same network
- Ensure that your ROS DOMAIN ID is 0
- Ensure that your ROS LOCAL HOST is set to 0
- Ensure that your network system (+router) allows for ROS2 communication and/or is configured
- Restart the robot services:
- sudo service clearpath-robot restart
- sudo service hsky restart
-
Steamdeck right trackpad not moving the mouse.
- Click the 3 dots below the right trackpad.
- If 3 dots does not work, then hold the 3 bars for 3 seconds next to the Y button. Do this twice.
Issues
In case of any issues please first try restarting the service of the robot via:
sudo service clearpath-robot restart
sudo service clearpath-platform restart
In case of questions please contact support@mybotshop.de. For issues related to the software please attach a ros2 bag e.g.
ros2 bag record -a